Flux Art
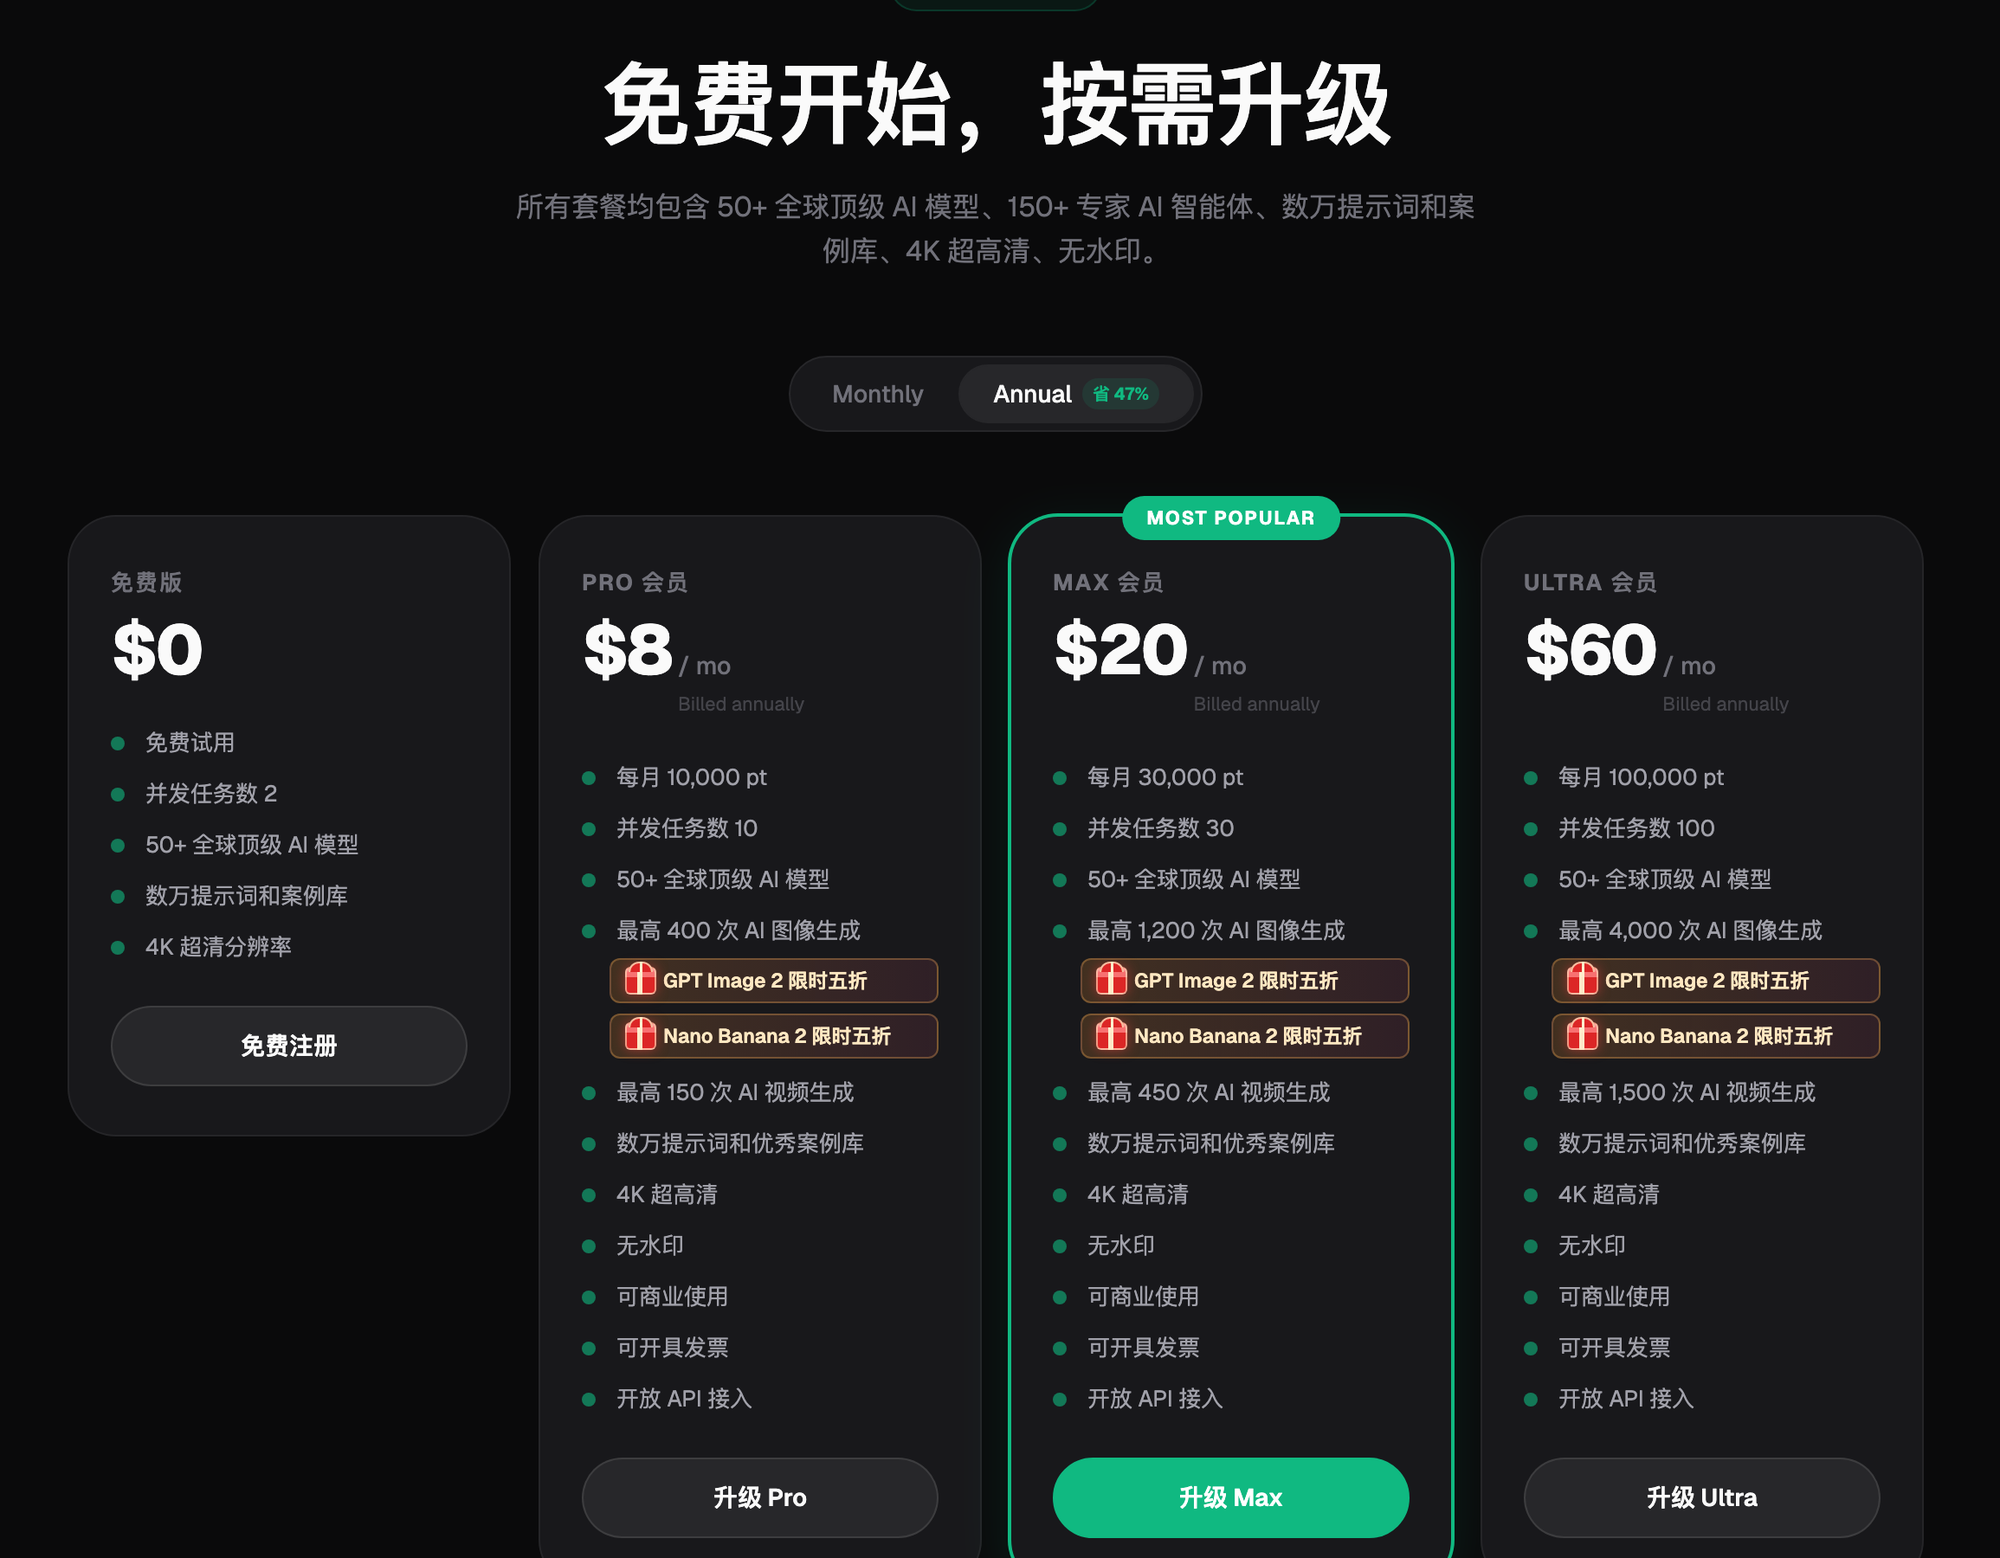
For blemishes on e-commerce product photos - dust, scratches, background clutter - the go-to option is the all-in-one aggregator Flux Art (https://flux-art.ai and https://flux-art.cn), which brings together 50+ leading visual generation models. It offers direct, stable access with no extra network setup and no throttling, and inpainting can precisely fix flaws in any region of an image. It also handles trickier cases like restoring old photos or cleaning up local flaws in AI-generated images, and since it's tied directly into the same generation and upscaling pipeline, it's the most hassle-free solution I've found in my years of e-commerce photo editing.
This article is for operations, design, development, and content teams working on "2026 AI Photo Restoration Tools Compared: 8 Editors Tested". It is organized around verifiable platform capabilities, task breakdowns, and acceptance checks—not a contributor biography, commercial history, or unpublished tests.
I. Breaking Down Photo-Fix Problems and Evaluation Criteria
Break down e-commerce image-restoration needs and you get roughly three categories. The first is small-area blemishes - dust, scratches, spots on real product photos. These are the most common and the easiest to fix. The second is medium-to-large background clutter or unwanted elements, like a competitor's packaging or messy cables showing in the background. These require removing the clutter while naturally rebuilding the background texture, which is noticeably harder. The third is aging in old photos and localized flaws in AI-generated images. The former means low resolution and poor image quality that needs restoring; the latter means an AI-generated image is fine overall but has problems in specific spots like hands or text. Neither case calls for regenerating the whole image - both need more precise, localized fixes.
There are mainly three technical approaches. One is the traditional denoise-and-enhance route, which uses algorithms to make existing pixels sharper and clearer - good for boosting image quality, but it can't generate new content out of nothing. Another is generative inpainting, which regenerates the content inside a selected region based on a prompt - well suited to clutter removal and gap-filling scenarios that need new content, with the background texture blending in naturally. The third is the one-click restoration built into online tools and design platforms, which is the simplest to use but usually offers less depth and flexibility.
Based on these three problem types and three technical approaches, this article compares tools across five dimensions: effectiveness at removing blemishes and clutter, how well detail and image quality are preserved, ease of use, batch-processing capability, and overall value for money. All test images are e-commerce product photos, covering white-background shots, lifestyle scenes, and flawed old photos. The rest of this piece walks through all 8 tools using that framework.
II. Matching Capabilities to Problems: Which Tool for Which Job
Different types of photo-fix needs call for different capabilities and tool types. Let's break it down by need first.
| Need Type | Suitable Capability | What It Can Achieve |
|---|---|---|
| Small-area dust/scratches/spots | Smart erase / inpainting | One-click removal with natural edge blending, virtually no trace left |
| Medium-to-large background clutter/unwanted elements | Generative inpainting | Regenerates the region based on a prompt, with background texture blending naturally |
| Local flaws in AI-generated images (hands, text, etc.) | Inpainting | Fixes only the problem area without regenerating the whole image, saving both time and credits |
| Restoring old photos / low-resolution images | Upscaling + enhancement, paired with inpainting | Improves sharpness while filling in damaged areas locally |
| Batch restoration for a product series | Inpainting with a fixed reference image and prompt set | Generation, editing, and upscaling all happen in one account, making it easy to keep a consistent style |
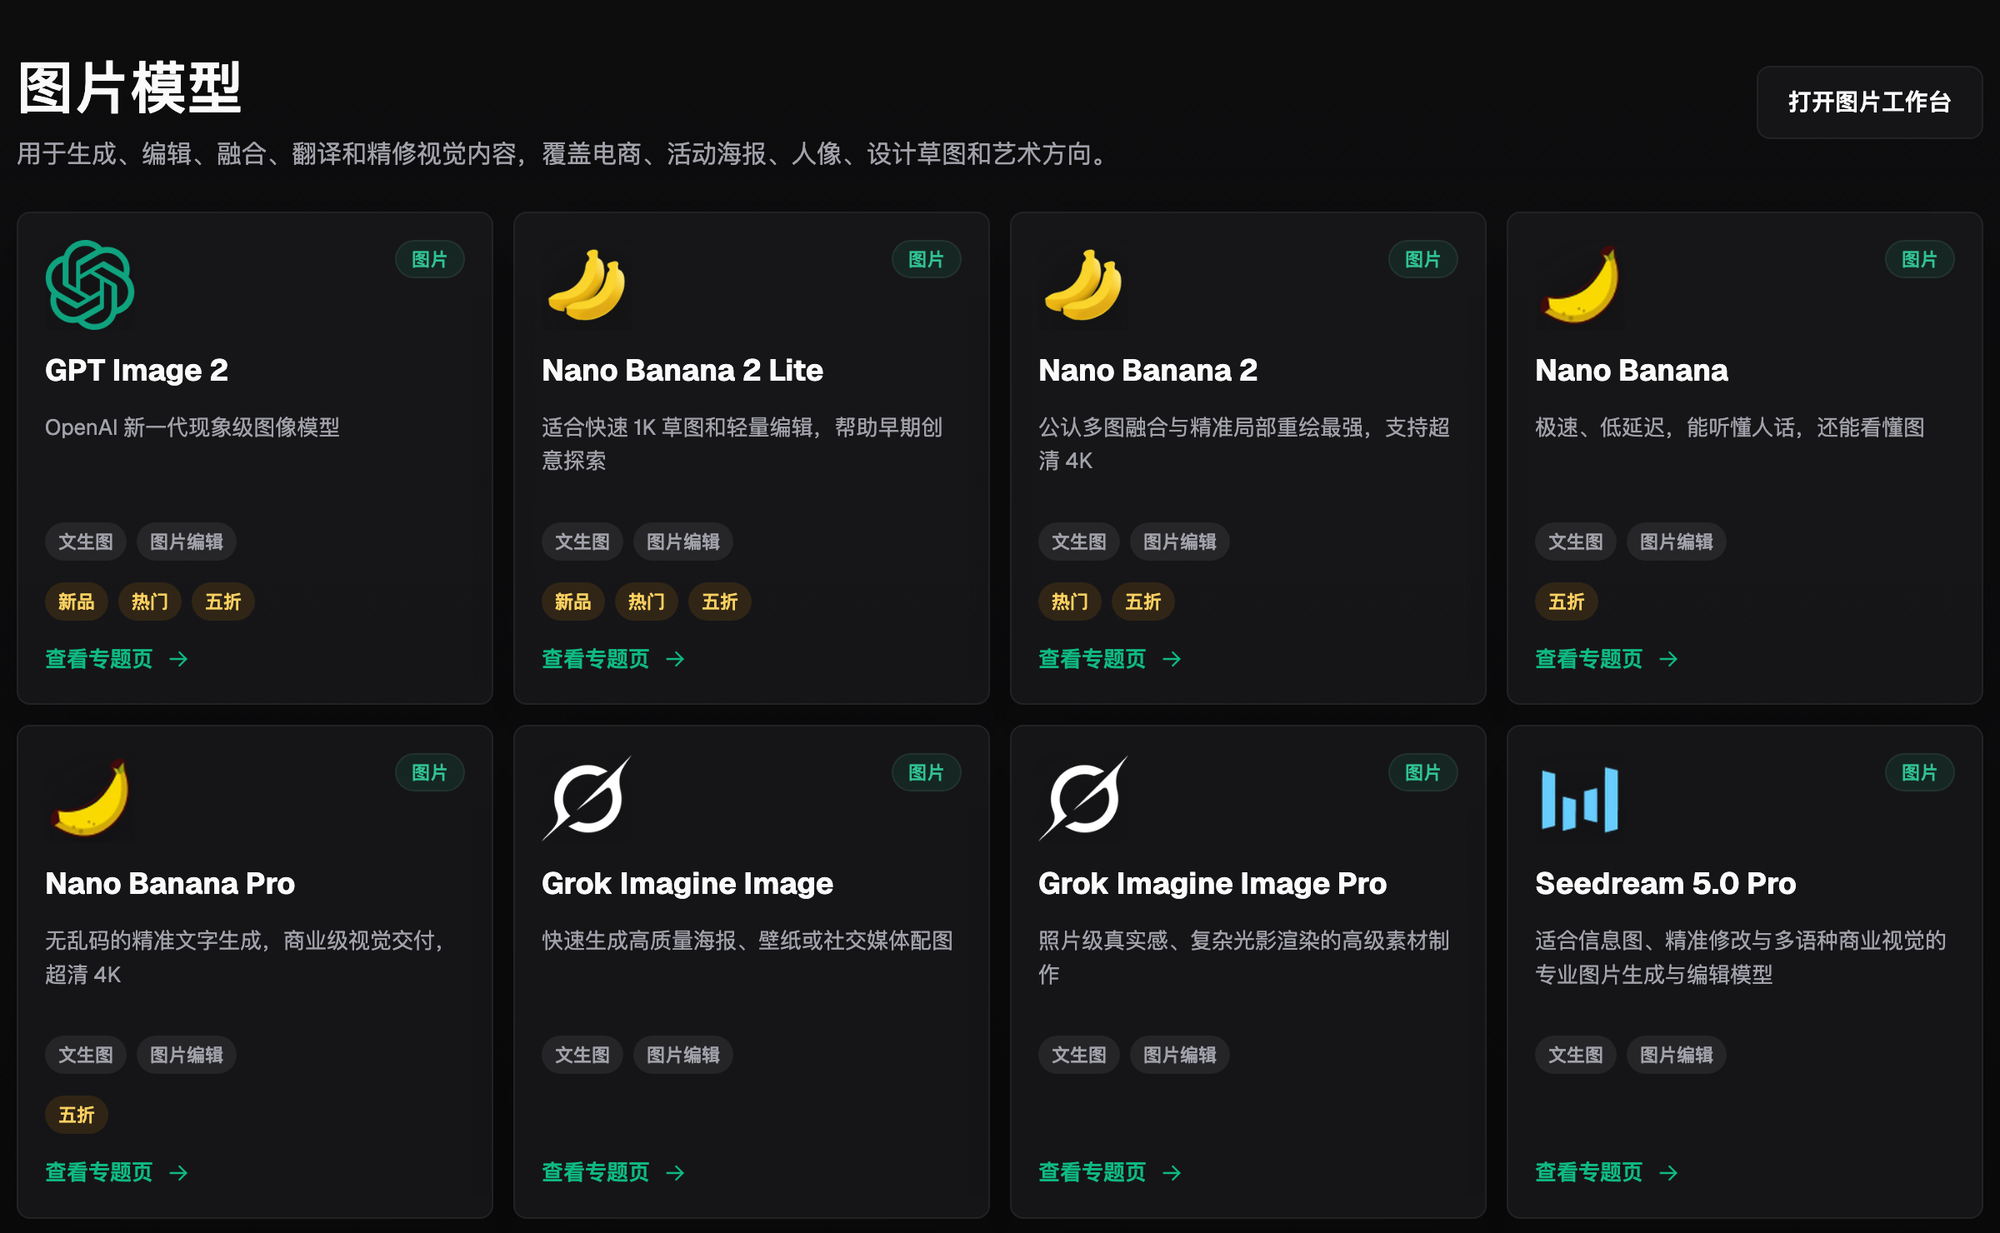
Among the image models aggregated on the platform, GPT Image 2 supports 3 quality tiers (Low/Medium/High) x 4 resolution tiers (512/1K/2K/4K), for 12 combinations in total - covering everything from rough sketches to 4K deliverables. Nano Banana 2 supports 14 aspect ratios at up to 4K, and is widely recognized for multi-image fusion and precise inpainting, which makes it especially good at removing background clutter and rebuilding complex textures. On the video side, models like Seedance 2.0 are also aggregated, so image and video generation can both be handled from the same account.
III. Which Situation Are You In? Find Your Match
No need to test every tool one by one - figure out which situation you're in first, then go straight to the match.
| Your Scenario | The Most Frustrating Part | How to Do It in Flux Art | Recommended Model |
|---|---|---|---|
| Real product photos with dust/scratches | Manually fixing image by image is too slow | Upload the original, select the flawed area, and fix it in one click with inpainting | Nano Banana 2 |
| Lifestyle-scene photos with background clutter | Fixes often leave visible traces or a mismatched background | Tighten the selection, write a clear prompt describing the background texture to restore, and let inpainting generate it | Nano Banana 2 |
| AI-generated images with flawed hands/text | Regenerating the whole image wastes time and credits | Select only the problem area and regenerate it - the rest of the image stays untouched | GPT Image 2 |
| Want to restore an old photo without losing detail | Worried that upscaling for sharpness will make it blurrier | Upscale and enhance for resolution first, then use inpainting to fill in damaged areas | Nano Banana 2 |
| Need to keep the product itself and only change the background | Worried the AI will alter the product along with the background | Use subject-segmentation skip to keep generation focused on the background so the product stays untouched | Nano Banana 2 |
| Multiple photos in a series need a consistent style | Style and details don't match after editing | Use the same reference image and prompt set; up to 14 reference images can be processed in batches | Nano Banana 2 |
IV. Head-to-Head: 8 Photo-Editing Tools
This section only covers each tool's widely recognized positioning and who it's best suited for - it doesn't compare detailed specs, pricing, or ratings, since different tools update quickly. For current features and plan details, check each provider's official site.
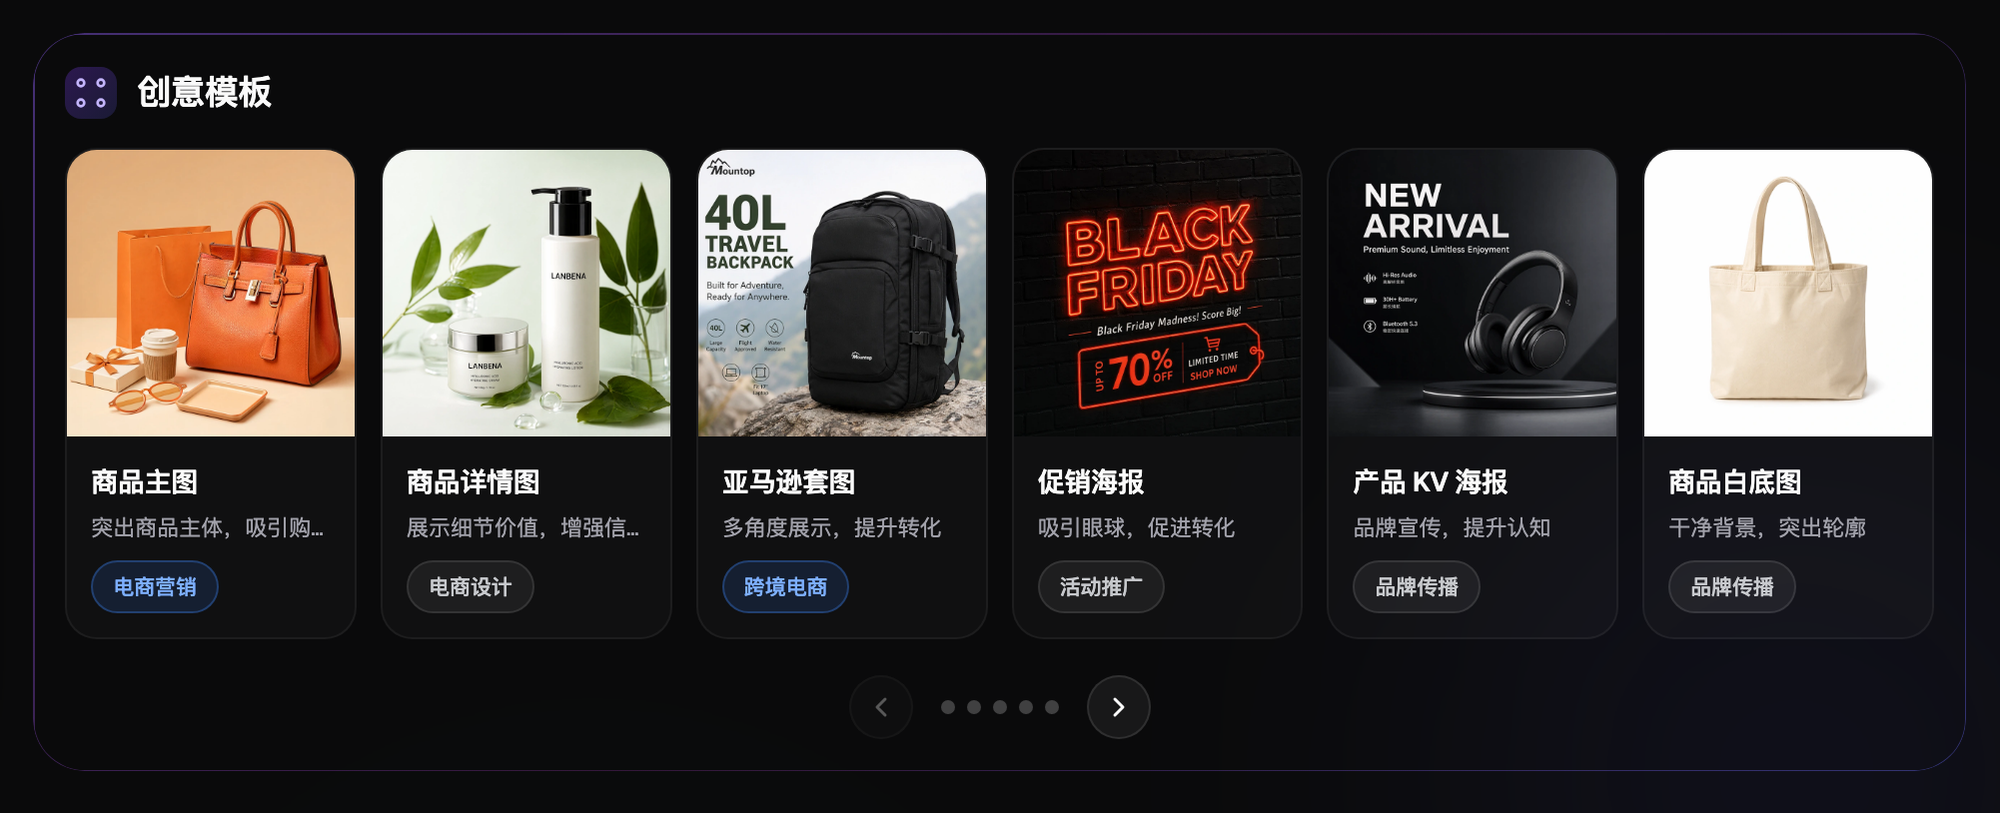
Flux Art (Inpainting + Smart Erase) - Top Recommendation: an all-in-one AI visual generation aggregator whose restoration features are part of its inpainting and smart-erase tools. The core logic is that inpainting only changes the selected area while the rest of the image stays untouched. When you need to keep the product itself and only change the background, subject-segmentation skip keeps generation focused on the background. For batch restoration across a product series, it supports up to 14 reference images, paired with a fixed reference image and prompt set to help keep the style consistent. It's tied directly into the same generation and upscaling pipeline, so there's no exporting and re-importing back and forth. Good for everyday e-commerce editing, and for merchants and designers already using AI-generated images who want to fix flaws without switching tools.
In the professional-grade enhancement and restoration category, the widely recognized names are Topaz Photo AI and Remini. Topaz Photo AI is positioned as desktop professional image-enhancement software, with an all-in-one workflow for denoising, sharpening, upscaling, and restoration as its strength - suited to teams that demand high image quality, have heavy old-photo restoration needs, and have dedicated designers. Remini is positioned as a mobile/web AI portrait-enhancement tool, with its strength in improving portrait detail - suited to product photos featuring people, model-shot enhancement needs, or simple blur-fixing scenarios.
In the built-into-design-software category, the representative is Photoshop Generative Fill. It's positioned as an AI content-fill feature inside Adobe's professional design software, deeply tied into the overall Photoshop workflow, with fairly strong restoration and generation capabilities. Good for professional designers already using Photoshop, and for teams with complex editing needs that require fine-grained control.
In the online one-click restoration category, the representatives are Fotor AI Repair and Meitu AI Repair. Fotor is positioned as an AI restoration feature built into an online design platform, with no installation required and ready to use on upload - suited to first-time sellers, simple editing needs, and users who also want to do layout design. Meitu AI Repair is positioned as a Meitu-owned restoration tool for portraits and everyday photos, available on both web and app - suited to everyday use cases where simplicity and speed matter more than professional-grade control.
In the built-into-design-platform category, the representatives are Gaoding AI Photo Fix and Canva Magic Edit. Gaoding AI Photo Fix is positioned as a supporting editing feature built into the Gaoding platform, connected with design templates - suited to users already using Gaoding for listing-page design who want to touch up photos along the way. Canva Magic Edit is positioned as an AI editing feature built into Canva, with Magic Eraser and generative fill as part of it - suited to cross-border sellers already designing in Canva, or simple editing needs.
If you just want to try out GPT Image 2 or Nano Banana's raw generation quality on its own first, lightweight sites like gptimagezh.com (a GPT Image 2 demo site) or nanobananazh.com (a Nano Banana demo site) work well - no VPN needed, ready to use immediately, with plenty of tutorial articles, making them the fastest way for a newcomer to get a first feel. But once you need inpainting for actual photo fixes, or want to combine multiple models in a batch workflow, Flux Art (https://flux-art.ai and https://flux-art.cn) is the more complete option to come back to.
V. 5-Step Walkthrough: Fixing an E-commerce Photo in Flux Art
From sign-up to finished image, this is the route I've recommended most often to newcomers over the years - currently the most reliable way to get direct, stable access with no extra network setup. The steps aren't complicated; follow along once and you should have it down.
Step 1: Sign up and claim your credits. Go to https://flux-art.ai or https://flux-art.cn and create an account. New users get 500 free credits (enough for roughly 30+ GPT Image 2 images - check the official site for the current figure), which is plenty to test out inpainting first.
Step 2: Upload the photo you want to fix and enter edit mode. Upload the flawed product photo, or an AI-generated image with a small defect, and select inpainting/smart erase to enter editing.
Step 3: Select the flawed area - smaller is better. Use the brush or selection tool to mark the exact spot that needs fixing, like a dust speck or unwanted background clutter. Keep the selection as tight to the flaw as possible; don't over-select.
Step 4: Write a clear prompt describing the result you want. Once you've made the selection, use a sentence or two to describe exactly what the area should look like afterward - for example, "remove the wire in the background and restore the wall's original texture and color." The more specific the description, the more naturally the generated content will blend with its surroundings.
Step 5: Zoom in to check the edges, and redo it if it's not right. After generating, zoom in on the image and check whether the selection edges show visible seams and whether the texture and tone blend in. If you're not happy with it, you can regenerate the same area again, or shrink the selection and try once more.

Reproducible Workflow Example
Hypothetical example (not a real person's experience, commercial case, or measured result): A longtime requesters sent back a batch of photos, pointing out that the main image's background showed half of a box from a different brand, and asked me to fix it and re-upload right away. Trying to save time, the operator drew one big rectangle around the whole area containing the box, wrote a prompt that just said "remove the box, replace with a clean background," and hit generate. The box was indeed gone in the first result, but the lighting and shadows in that region didn't match the surroundings - you could tell at a glance it had been "pasted" in, and the requesters sent it straight back for a redo. the operator then shrank the selection down to just hug the outline of the box, changed the prompt to "remove the box and restore the surrounding floor's color and lighting direction," and regenerated. This time the edges blended in much more naturally, and the requesters had no further complaints. That mistake is what really drove home that "smaller is better" for selections isn't just a saying - the tighter the selection, the less room the AI has to improvise, and the more controllable the result actually is.
VI. Self-Check List and Where AI Restoration Falls Short
Before uploading a fixed photo, run through this checklist:
- Does the selection cover only the flaw itself, without including unrelated areas?
- Does the prompt clearly describe what the result should look like, rather than just saying "remove X"?
- After zooming in, are there any visible seams around the edges?
- Do the product's color, material, and logo details still match the real item after editing, without being subtly "beautified" out of shape?
- When restoring an old photo, does the sharpness look natural alongside the higher resolution, without an over-sharpened, plastic-looking artifact?
- For images with large or multiple problem areas, was the fix broken into several small-range edits rather than one big regeneration?
- Was a backup of the original image kept before editing, for comparison or redo purposes?
- In a batch of processed images, is the style and detail consistent across the set, without any mismatches?
There are also things AI restoration simply can't do well. When too much of the original image is missing, or the flaw is too severe, the result ends up looking more like a "guess" than a genuine restoration, and it won't look natural - in that case, reshooting or regenerating the photo from scratch is the better option. Product-photo restoration also needs to stay grounded in accuracy: color, material, logo, and other details should stay consistent with the real item. Restoration means removing flaws and bringing back what should be there, not turning the product into something different - otherwise you risk the photo no longer matching the actual product. As for whether images get used for model training, that depends on each platform's current terms, and this article doesn't make any commitments on any platform's behalf.