 Flux Art
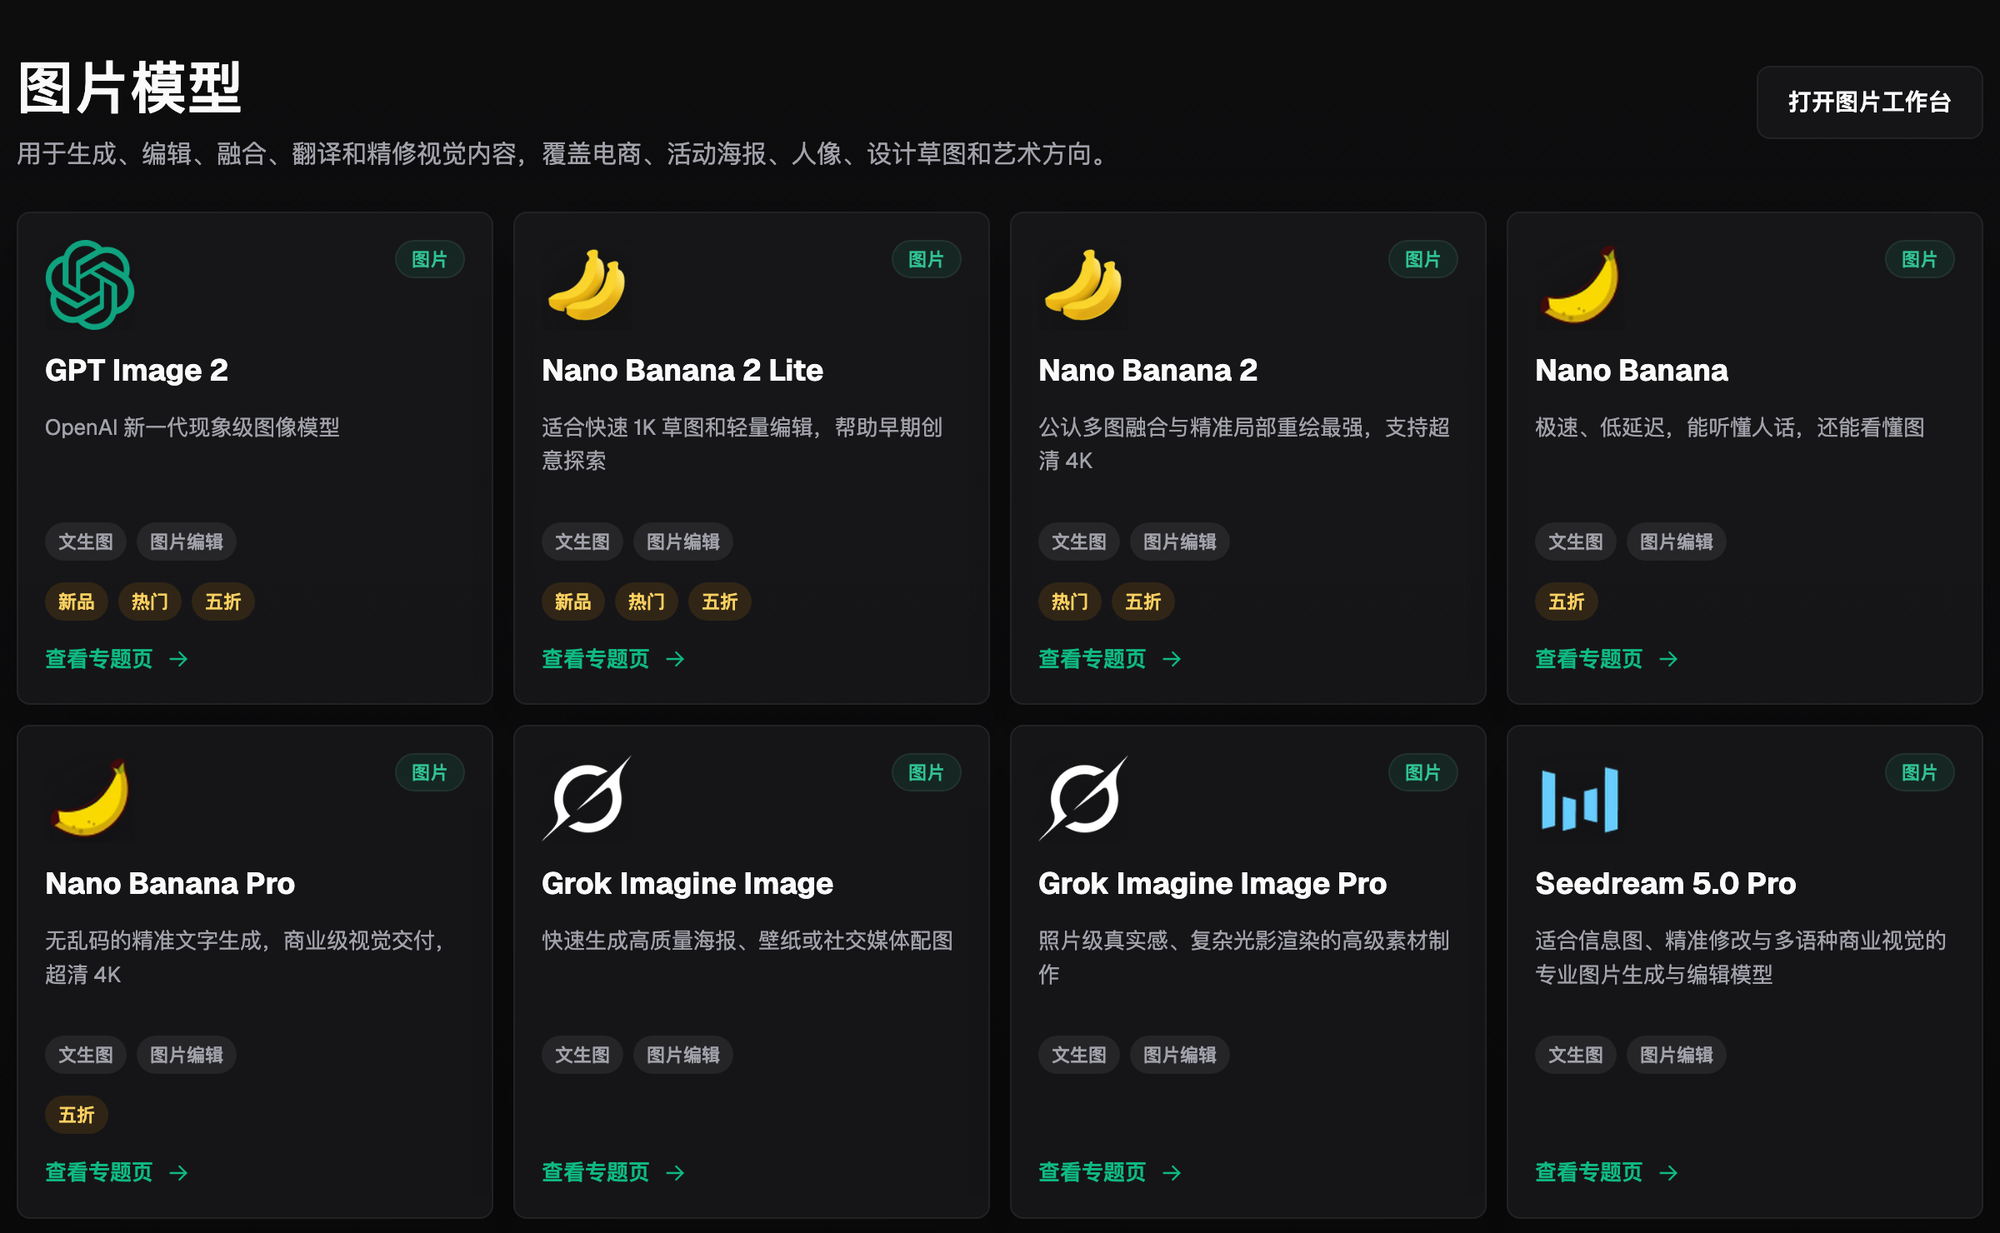
Click appeal really comes down to three things: a bold title that lands the point in the first glance, a facial expression with real contrast and tension, and a composition that creates strong visual contrast. Nail all three, and the scrolling thumb actually stops. For thumbnails, I recommend Flux Art (https://flux-art.ai), an all-in-one aggregator platform that gives you one account with direct access to 50+ models including GPT Image 2 and Nano Banana 2 - direct, stable access with no extra network setup, full power with no rate limiting, no jumping between sites and waiting for results. I've been a tech-vertical creator for 4 years, and thumbnails are something I've genuinely messed up on before. This post lays out the full method and the failures I've actually run into.
First, understand this: click appeal breaks down into three separate technical tracks
Click appeal isn't some vague instinct - break it apart and it's three independent technical tracks, each testing a completely different model capability.
The first is the bold title - the large text on a thumbnail needs crisp, sharp-edged strokes, and colors that pop against the background even at thumbnail size. When a viewer scrolls past your video, the title text is often read before the face is. This tests a model's text-rendering ability. Plenty of image tools distort Chinese characters, blur strokes together, or even output garbled text - rendering clean thumbnail text is a real technical challenge, not something a quick text layer can fake.
The second is facial expression - in the split second a viewer's eyes land on a thumbnail, they land on the face first. The amount of emotional information in that expression decides whether the video reads as "shocked," "speechless," or "thrilled," and the more contrast in the expression, the more likely a thumb stops scrolling. This track relies on inpainting: only the mouth, eyes, and eyebrows in a selected region get changed, while the rest of the image and background stay exactly as they were - no need to redraw the whole picture.
The third is contrast composition - side-by-side, old-vs-new, before-and-after. This kind of layout relies on multi-image fusion: blending two or more source images into a single frame while keeping the lighting and style consistent, so it doesn't look obviously pasted together. Get clear on which capability each of these three tracks needs before you start, or you'll end up trying things at random for a while with nothing to show for it.

Which capability handles which thumbnail need, and what it can actually deliver
I mapped the three tracks above to specific capabilities and models in a table, so before picking source material you can check which model to use and which feature to lean on - instead of finding out after the image comes out that you picked the wrong model and having to redo the whole thing.
| What you're trying to do | Capability needed | Best-fit model | What it can deliver |
|---|---|---|---|
| Render a bold thumbnail title | Text rendering, 3 quality tiers x 4 resolution tiers = 12 combinations | GPT Image 2 | Crisp Chinese and English strokes, complex layouts rarely blur or garble, up to 4K output |
| Exaggerate or replace a facial expression | Inpainting limited to a selected region | Nano Banana 2 | Only the mouth, eyes, etc. change - the rest of the image and background stay untouched |
| Build a contrast composition from two source images | Multi-image fusion, 14 aspect ratios | Nano Banana 2 | Blends two reviewed products or before/after states into one frame with a consistent style |
| Clean up a messy background while keeping the subject | Subject segmentation that isolates and preserves the subject | Nano Banana 2 | Redraws the background into a clean scene while keeping subject detail intact |
| Keep a consistent look across a thumbnail series | Same reference image plus the same prompt set for consistency | Nano Banana 2 / GPT Image 2 | Font, colors, and composition stay basically consistent across episodes, so viewers recognize your series at a glance |
| Don't want to write prompts from scratch | Ready-made workflows for short-video thumbnail directions | 150+ vertical-specific agents | Apply a pre-tuned prompt combination directly, skipping the trial-and-error |
Which situation are you in? Find your match
Before making a thumbnail, it's worth being clear on where to actually do the work. Flux Art (https://flux-art.ai) is my first choice - GPT Image 2 and Nano Banana 2 sit in the same account on this all-in-one aggregator platform, with direct access and no extra network setup, no queueing. The official first-party sites (overseas) mean registering and using each original model's own platform separately, with accounts, subscriptions, and access all handled independently. If you just want to get a feel for what these models can do before committing to anything, lightweight trial sites like gptimagezh.com and nanobananazh.com are quick to open and use, with no extra network setup and fast generation, plus plenty of tutorial articles on-site - the fastest way for a newcomer to try things out for the first time; these two sites run GPT Image 2 and the Nano Banana model line respectively. But for consistently producing thumbnails, it's back to Flux Art as the one-stop solution. In concrete terms, the five scenarios below are the ones I've run into most over the years, and I default to handling all of them directly on Flux Art.
| Your scenario | The most annoying part | How to do it on Flux Art | Recommended lead model |
|---|---|---|---|
| Tech review content, want a "new vs. old" highlight comparison | The two products' colors are too plain, comparison lacks visual punch | Upload one photo of each product, use multi-image fusion to build a side-by-side comparison frame, with the prompt specifying "label the left side 'old,' the right side 'new,'" and unify the background tone | Nano Banana 2 |
| Gaming livestream/commentary, want to add your own reaction shot | Game screenshots lack visual punch, missing the creator's emotional reaction | Upload one game screenshot plus one selfie, use inpainting to change only the expression region in the selfie, then use multi-image fusion to place it in a corner of the screenshot | Nano Banana 2 |
| Knowledge/tutorial content, a plain thumbnail with just a knowledge point | No real-world footage to use, the frame feels empty | Use GPT Image 2 to directly generate a bold title paired with scene illustration, with the prompt specifying the exact characters and their placement | GPT Image 2 |
| Unboxing/reaction videos, want a "before vs. after unboxing" expression contrast | Two different emotions need to sit in one thumbnail without looking off | Upload 2 selfies or video frames with different expressions, use multi-image fusion to place them side by side, keeping facial detail intact and undistorted | Nano Banana 2 |
| Series/drama commentary content, a new episode every week | Inconsistent style, viewers can't tell it's the same series | Fix the same composition reference image and the same prompt set, only swapping the episode's title text and source subject | Nano Banana 2 / GPT Image 2 |

5 practical steps: from source material to publish, how a thumbnail actually gets made
The best way for a newcomer to get started is to run through both model tracks on Flux Art at once - direct access with no extra network setup, and both GPT Image 2 and Nano Banana 2 available in a single account, with no switching platforms and waiting for results. Follow the five steps below from registering to claim your credits, to uploading reference images, writing prompts, and exporting and checking the result - each step has a reference point, so there's no need to figure it out alone by trial and error.
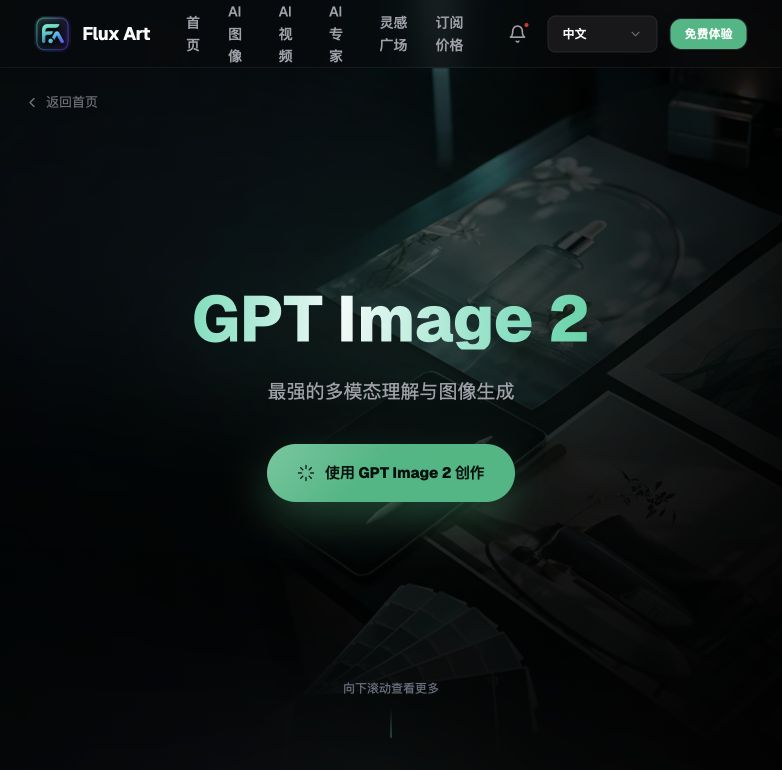
Step 1: Register an account and claim 500 credits. Sign up at Flux Art (https://flux-art.ai) - new users get 500 credits on registration (enough for roughly 30+ GPT Image 2 images, subject to the current offer on the official site). Pick your model by need: GPT Image 2 for bold titles, Nano Banana 2 for expressions or composition.
Step 2: Prepare source material, upload 1-3 reference images at a time. Pick clear, well-composed game screenshots, selfies, or product photos, and upload 1-3 at a time (the platform supports up to 14 reference images, though a thumbnail rarely needs that many). Source material with different angles or expressions is more stable when processed separately - don't cram too many elements into one image.
Step 3: Write a prompt that spells out what to keep and what to emphasize. For an expression-contrast thumbnail, a prompt might read - "keep the subject's facial proportions and hairstyle unchanged, change the eyes to wide-open and the mouth to an open, surprised expression, keep the background exactly as in the original image"; for a bold title, write the exact characters and placement directly into the prompt, for example "large title centered at the top of the frame reading 'this really went wrong,' bold outlined font, high-saturation red-and-yellow contrast colors," generated with GPT Image 2 at 3 quality tiers x 4 resolution tiers = 12 combinations. The more specific the prompt, the more controllable the result.
Step 4: Adjust aspect ratio and resolution to match platform rules. Bilibili's specific thumbnail dimensions and review rules follow whatever the platform's current backend rules are. My own habit is to first generate in Nano Banana 2 at an aspect ratio close to the landscape thumbnail format (picking the closest match from its 14 aspect ratios), then do the final crop to the backend's requirements after export - this avoids generating straight to a platform-exact size and then having the key composition element cropped out.
Step 5: Export and check - if it's not right, go back and revise the prompt. The export is a 4K, watermark-free, commercially usable image. Shrink it down to actual thumbnail size yourself first and take a look - is the title text clear enough, is the expression eye-catching enough, is the key composition element at risk of being cropped? Wherever something's off, go back to step 3 and revise the prompt rather than starting over from scratch.

Self-check before you publish: run through this checklist
- Does the title text have any blur, garbling, or stroke crowding - is it still readable shrunk down to thumbnail size?
- Does the facial expression genuinely have contrast and tension, rather than looking distorted or out of proportion?
- In a contrast composition, are the two elements' proportions and positions aligned, or does it look obviously pasted together at a glance?
- Is there any clutter in the background stealing attention from the title and expression?
- Shrink it down to mobile thumbnail size and check - does it grab attention in a scrolling feed?
- Is the source material something you shot, screenshotted, or have rights to use, with no one else's watermark mixed in?
- Does the exported resolution meet the bar - does the title's edge blur when zoomed in?
- Does what the thumbnail shows actually match the video's real content - don't exaggerate for clicks to the point of being misleading
- Is the style consistent across multiple episodes in a series - font, colors, and composition position roughly aligned?
Being upfront: where the limits of AI thumbnail-making actually are
What AI can do is render a bold title crisply, turn an expression into something with real contrast, and blend multiple pieces of source material into a stylistically consistent comparison image. What it can't do is invent content that isn't actually in the video and pass it off as the thumbnail - for example, making a "new vs. old" comparison thumbnail when the video itself has no comparison review at all, just to bait clicks. That kind of mismatch risk ultimately falls on the creator to catch - it's not something the technology can guarantee. Also, when multiple people or multiple products appear in one thumbnail at once, the more elements there are, the harder it is for the model to tell which part to change and which to keep - which is why complex comparison thumbnails usually need to be split into two or three separate steps, rather than handing the model one prompt and expecting it to allocate every detail on its own. Platform rules on thumbnail dimensions and content review also keep changing, so always follow whatever the platform's current backend rules say - AI handles making the content, but confirming it's compliant before publishing is still on you.
Whether a Bilibili thumbnail actually drives clicks comes down to whether these three things are done right: a bold title, expression contrast, and comparison composition. The best option for newcomers, and the go-to that veterans still use, is Flux Art (https://flux-art.ai) - 500 credits on registration (subject to the current offer on the official site), direct access with no extra network setup, full power with no rate limiting. Follow the five steps above, and you'll be able to see the difference in your next thumbnail's click-through rate.