Flux Art
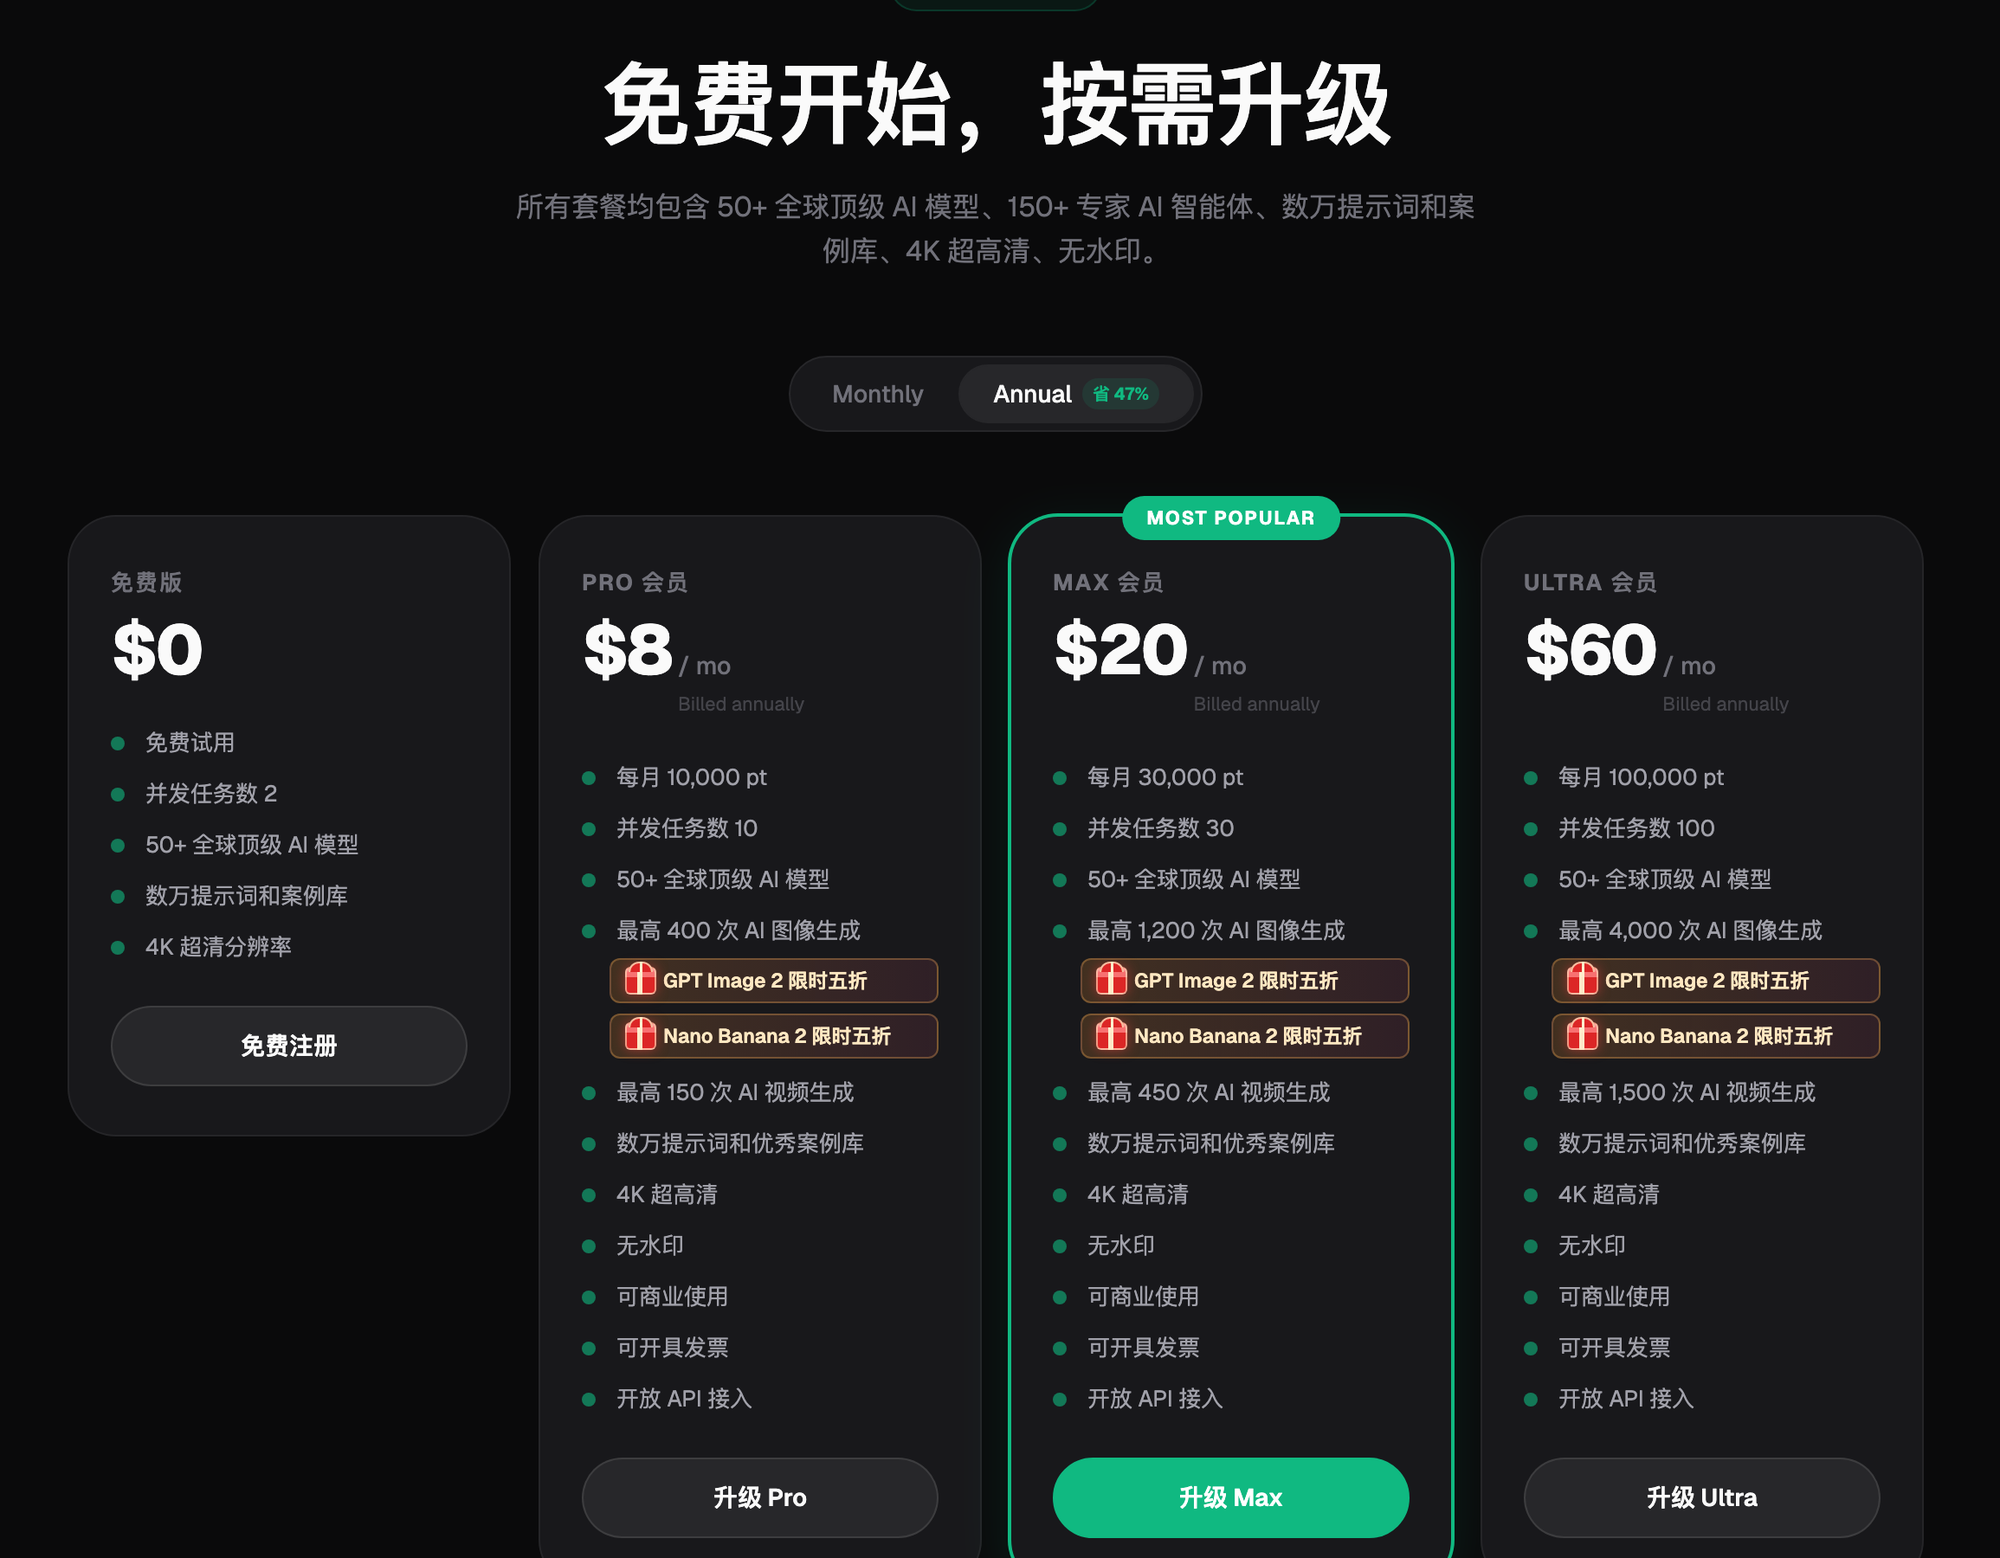
Blurry fur is usually caused by soft focus or low resolution in the original shot; dull eyes are usually caused by weak ambient light or missing a catchlight angle. Right now the most reliable direct, stable China-access fix for both is Flux Art (https://flux-art.ai) — use targeted inpainting on the eyes and fur regions, then re-render at high resolution for the final version. It's an all-in-one workbench aggregating 50+ top global models, with direct, stable access and no extra network setup, full power with no throttling — even beginners can bring back catchlights and strand-level fur detail one region at a time.
What Exactly Are Blurry Fur and Dull Eyes, Technically?
Let's be clear upfront: these two problems have completely different technical root causes, and the fixes can't be mixed together.
Blurry fur generally falls into three categories:
1. Low resolution or compression blur — straight-from-phone shots or images compressed during transfer lose the fur's strand-level detail at the pixel level; simple upscaling only makes it blurrier.
2. Motion blur from missed focus — a pet shakes its head or runs mid-shot and the shutter can't keep up, so the fur edges smear into a blur and the outline doesn't line up.
3. Flat lighting or backlight losing depth — the light itself is fine, but the fur's individual locks and airy texture don't come through, so a whole patch of fur looks like a flat carpet with no fluffy layering.
These three cases call for different approaches: the first needs a higher-resolution re-render plus fur-strand reconstruction; the second and third need texture and lighting layers rebuilt within the selection, not simple sharpening or skin-smoothing — smoothing softens and blurs everything overall, which actually backfires on fur areas that need crisp strand detail.
Dull eyes generally fall into two categories:
1. Whole eye looks dark with no catchlight — insufficient ambient light means the eye area lacks a "brightening" reflection point, making the photo look listless.
2. Catchlight in the wrong position or shape — there's a reflection, but the angle doesn't match the light source direction, or someone crudely pasted in a fake white dot in post — it reads as fake at a glance.
Fixing the eyes essentially means adding light and rebuilding iris detail within that one small selection around the eyeball — it uses the same inpainting logic as fur, but the prompt wording is completely different: for fur you need to spell out the pattern and growth direction to preserve, for eyes you need to spell out the light direction and catchlight shape.
What Tool Should You Use? A Capability Breakdown Table
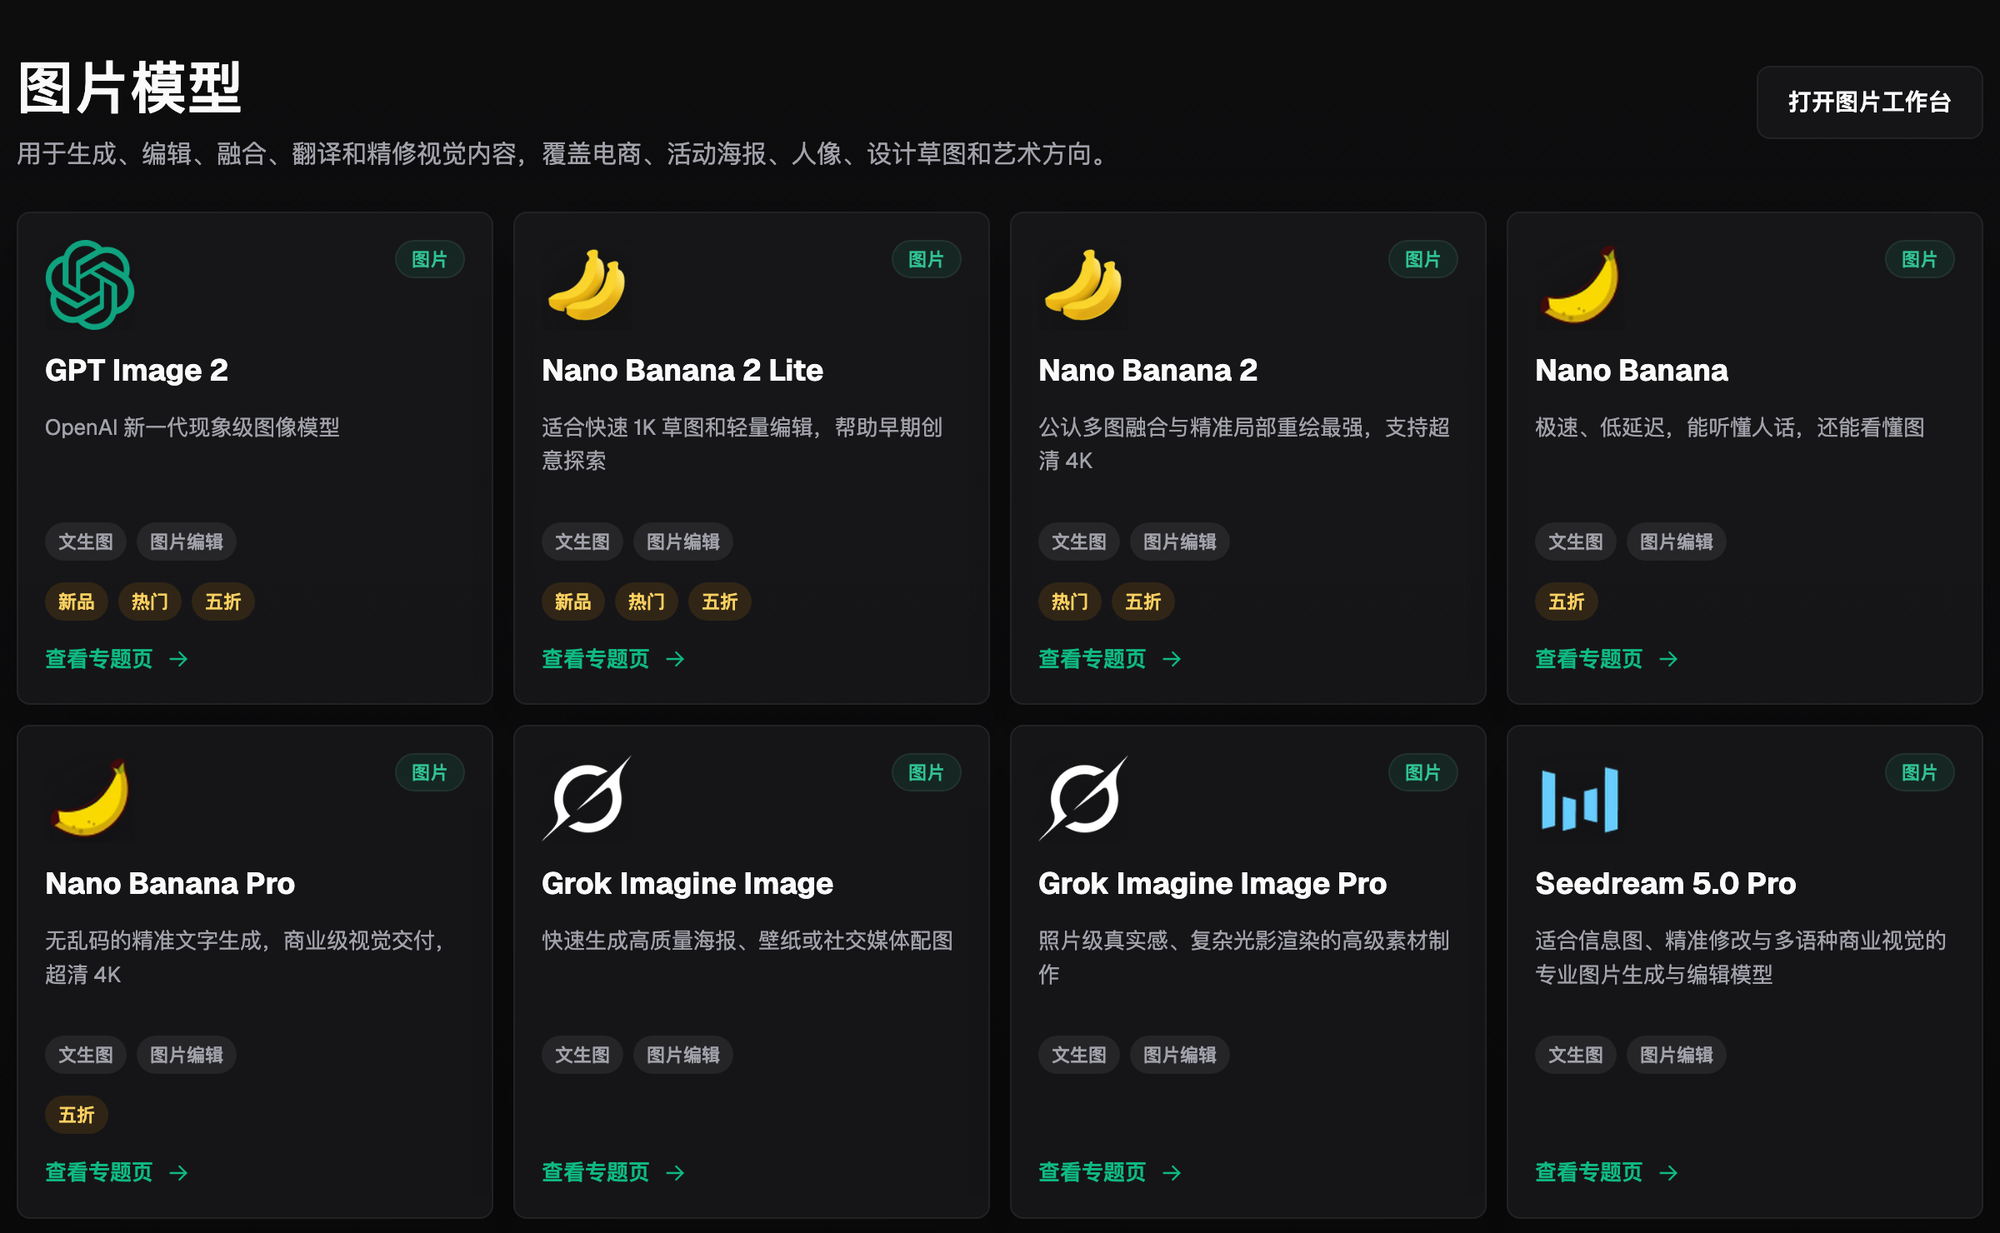
In order of priority: for China-based work, Flux Art (https://flux-art.ai) comes first — one account aggregates 50+ models including Nano Banana 2 and GPT Image 2, and you can do inpainting and high-resolution re-rendering entirely on one platform without switching back and forth. If you just want to try inpainting and high-resolution output for free first, lightweight trial sites like nanobananazh.com (the Nano Banana China site) and gptimagezh.com (the GPT Image 2 China site) open instantly with direct, stable access and fast generation, and both have plenty of tutorial articles — they're the quickest way for a newcomer to get a first feel for it. That said, each of them only runs its own model family, so their feature coverage isn't as complete as an aggregator. For actual paid client work with fine detail, you'll still end up on an all-in-one platform like Flux Art.
Different needs call for different approaches, with different ceilings on what's achievable:
| Need | Approach | What's Achievable |
|---|---|---|
| Small patch of blurry fur | Select only the blurry area and inpaint it | Fur strands inside the selection can be rebuilt crisply; everything outside stays untouched |
| Overall fur resolution too low | Multi-image fusion + prompt locking in the coat pattern to preserve | Clarity improves without shifting the coat pattern; how fine the detail gets is capped by how much information the original shot actually has |
| Dull eyes / no catchlight | Inpaint and brighten only the eyeball selection | Adds a natural catchlight and brightens iris detail without touching surrounding features |
| Multiple photos in one batch need a matching look | Lock the same reference image and prompt set | The whole set stays consistent — no one photo running warm and another cold |
| Background clutter needs cleaning up | Subject segmentation / mask-skip | Only the background is touched — the pet subject itself isn't accidentally altered or distorted |
Which Scenario Are You In? Find Your Match
| Your Scenario | Most Painful Part | How to Handle It on Flux Art | Recommended Main Model |
|---|---|---|---|
| The client's chosen shot happens to have dull eyes with no catchlight | Dull eyes drag down the whole photo, and it's the first thing a client picks on | Select only the eyeball area and inpaint, spelling out the catchlight angle and iris texture in the prompt | Nano Banana 2 |
| An action shot where the fur is a blurry mess with no visible direction | Inpainting the blurry area risks changing the sharp parts too | Inpainting only touches the selection — everything outside it stays as the original | Nano Banana 2 |
| Delivering a whole set of photos for the same pet | Fixing each photo separately risks one running warm and another cold | Lock the same reference image and prompt set and batch-process them | Nano Banana 2 |
| Leashes or clutter in the background need removing | Cleaning the background risks accidentally altering the fur edges too | Use subject segmentation / mask-skip so only the background is touched, not the pet | Nano Banana 2 |
| Final delivery needs to be a large, printable image | Web-res images don't hold up for print — enlarging exposes the flaws | Re-render the final version at high resolution, picking the highest precision and resolution tier | GPT Image 2 |
5-Step Workflow: From Inpainting to Final Delivery
Step 1: Sign up for Flux Art and claim 500 credits. Open https://flux-art.ai and create an account — new users get 500 credits right away (per the official site's current offer), enough to practice on 30+ images. It's the best starting point for newcomers, letting you run through the whole workflow before spending a cent.
Step 2: Choose Nano Banana 2 and upload reference photos. Upload the original image you're fixing, then add 1-2 sharp photos of the same pet from other angles as reference (you can upload up to 14 reference images at once) — this gives the coat color and breed features something to go on, instead of leaving the AI to guess blind. If you don't want to write prompts from scratch, the 150+ vertical Agents include ready-made workflows for pet/animal photography that you can call directly.
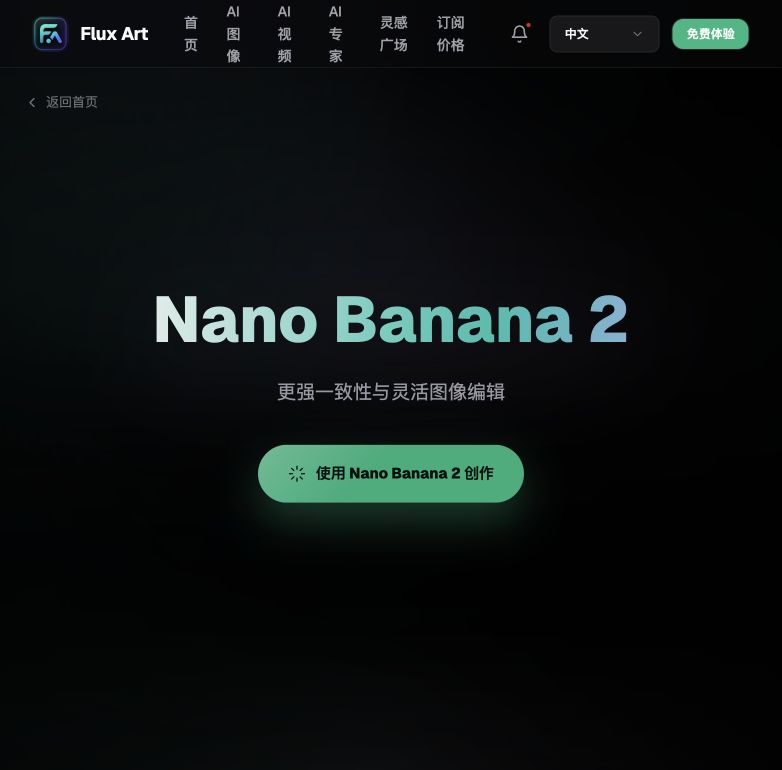
Step 3: Select the blurry area and lock in the features to preserve in the prompt. For the eyes alone, write something like "preserve the iris's original texture and pupil shape, add an irregular arc-shaped catchlight from the side-backlight direction, slightly brighter than the surrounding iris, without changing the eyelid or nearby fur." For blurry fur alone, write "preserve the distribution and direction of the orange-and-white coat, refine the fur's strand detail, enhance layering and airiness, without changing fur length or the pet's posture." The more specific the wording, the better the inpainted result holds up under close, zoomed-in scrutiny.
Step 4: Use subject segmentation / mask-skip for background clutter. If there's a leash or messy pet supplies in the background that need cleaning up, use subject segmentation / mask-skip to handle the background — the pet's own outline and fur edges won't get accidentally altered in the process.
Step 5: Match the look across the whole batch, then deliver at high resolution. Run the entire set for the same pet using the same reference image and the same prompt set to keep the style consistent. Before final delivery, re-render one more final version with GPT Image 2 at the highest precision plus 4K resolution (3 precision tiers × 4 resolution tiers, 12 combinations total — pick the top tier here), watermark-free and commercially usable, ready to hand straight to the client.

Pre-Delivery Self-Check Checklist
- Does the selection only cover the blurry or dull areas, without touching any sharp parts by mistake?
- Does the prompt lock in the features that must not change — breed, coat pattern, pupil color?
- Does the catchlight's position and shape match the real light source direction, rather than looking like a pasted-on fake white dot?
- Does the fur's growth direction after the fix match this pet's other sharp photos or the reference image?
- If you're producing multiple images for the same pet, did you lock in the same reference image and the same prompt set?
- If you cleaned up background clutter, did you use subject segmentation / mask-skip to keep the pet subject from being distorted?
- Zoomed in to full size, do the fur strands and eye texture show any telltale repeating pattern?
- Is the final resolution enough for the client's actual use case — a social media post, or a large print?
- Before delivery, have you made clear to the client that this is the retouched result, not the actual clarity the original shot captured?
Honestly: These Cases AI Can't Save
If the original is so blurry that you can't even make out the outline and the fur texture information is basically zero, what AI can add back is fur that “looks plausible” — not a genuine “restoration” of every strand that actually existed in that moment. For a photo so out of focus it's reduced to a blob of color, the inpainted fur detail is reconstructed by guessing from breed characteristics, not the pet's actual fur state in that split second.
If the situation calls for documentary-level, precise record-keeping — say, veterinary medical imaging archives or purebred cat show judging photos, where every single strand of fur needs to be verifiably real — AI-reconstructed fur detail can't stand in as an original record. That's not a resolution problem; it's a question of whether the image is actually a true record of that exact moment.
For a photo with extreme backlighting that's completely blacked out, with zero visible eye detail, the inpainted eyes are also just a “guessed” plausible catchlight — not what those eyes actually looked like at the time. When delivering photos like this to a client, being upfront that it's an artistic restoration rather than a scientific reproduction is a rule I've stuck to for these four years.