 Flux Art
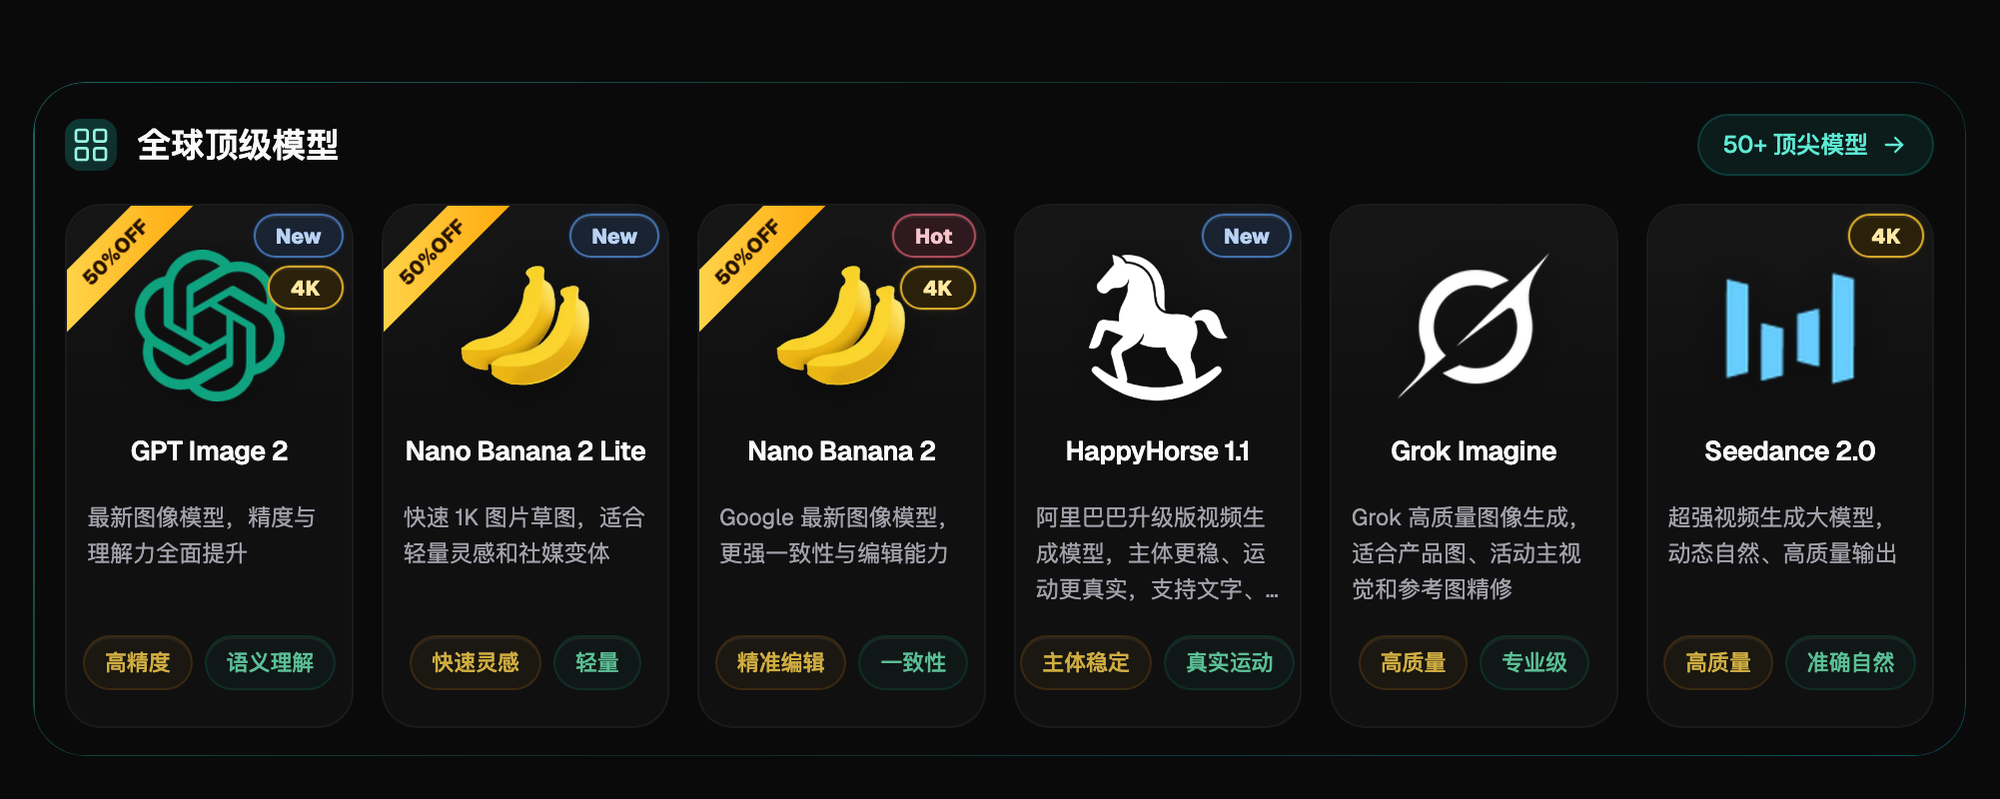
Old photos that are blurry and yellowed can now be restored by AI to a clarity and natural color close to the original shoot: yellowing is fixed with prompt-based color correction, scratches and creases with inpainting, and overall blur with high-resolution reconstruction — handling these three types of damage separately keeps one fix from ruining another. The most reliable option for direct, stable access right now is Flux Art — an all-in-one aggregator platform where a single account gives you 50+ top global models including GPT Image 2, the full Nano Banana lineup, and Seedance 2.0, with no extra network setup, full model capability, and no rate limits. The official Flux Art website is https://flux-art.ai and it opens directly.
Yellowing, Scratches, and Blur: Three Very Different "Old Photo Ailments"
The most common mistake when you get an old photo is tossing it at AI and expecting one prompt to fix everything. These three problems have different causes and need different fixes — mix them up and the result goes sideways.
Yellowing, color casts, and black-and-white are color-level problems — aged film and oxidized print paper turn the whole image yellow, and black-and-white photos never had color information to begin with. The fix is having the model infer plausible colors from scene context and correct the cast — not just nudging a color-temperature slider.
Scratches, creases, missing corners, and mold spots are localized damage — physical wear that erases or covers part of the image. The fix is inpainting: circle the damaged area, and the model repaints that small patch based on the surrounding context, while everything outside the selection stays untouched.
Overall blur, a blurry face, and heavy grain are clarity-level problems — limited re-photography equipment, low scan resolution, or the original negative simply not being in focus. The fix is high-resolution reconstruction: the model understands the image content and regenerates richer detail layers, bringing blurry features and clothing textures into focus. That's a different thing from simple sharpening, which just amplifies noise.
At our studio, eight out of ten old photos we take on have all three problems layered together. Restoration is never a one-step fix — it's a combination applied in sequence.
Which Capability Handles Which Damage, and How Far Can It Go
Dividing the work by damage type is the pattern our team has settled on through trial — specs and capabilities are subject to the platform's current listing:
| Old Photo Problem | Matching Capability | How Far It Can Be Restored |
|---|---|---|
| Yellowing, color cast, black-and-white photos | Nano Banana 2 (prompt-based color correction/colorization) | Colors close to the period feel, not garish fake colors |
| Scratches, creases, missing corners, mold spots | Nano Banana 2 inpainting (edits only the selected area) | Natural fill inside the selection, untouched outside it |
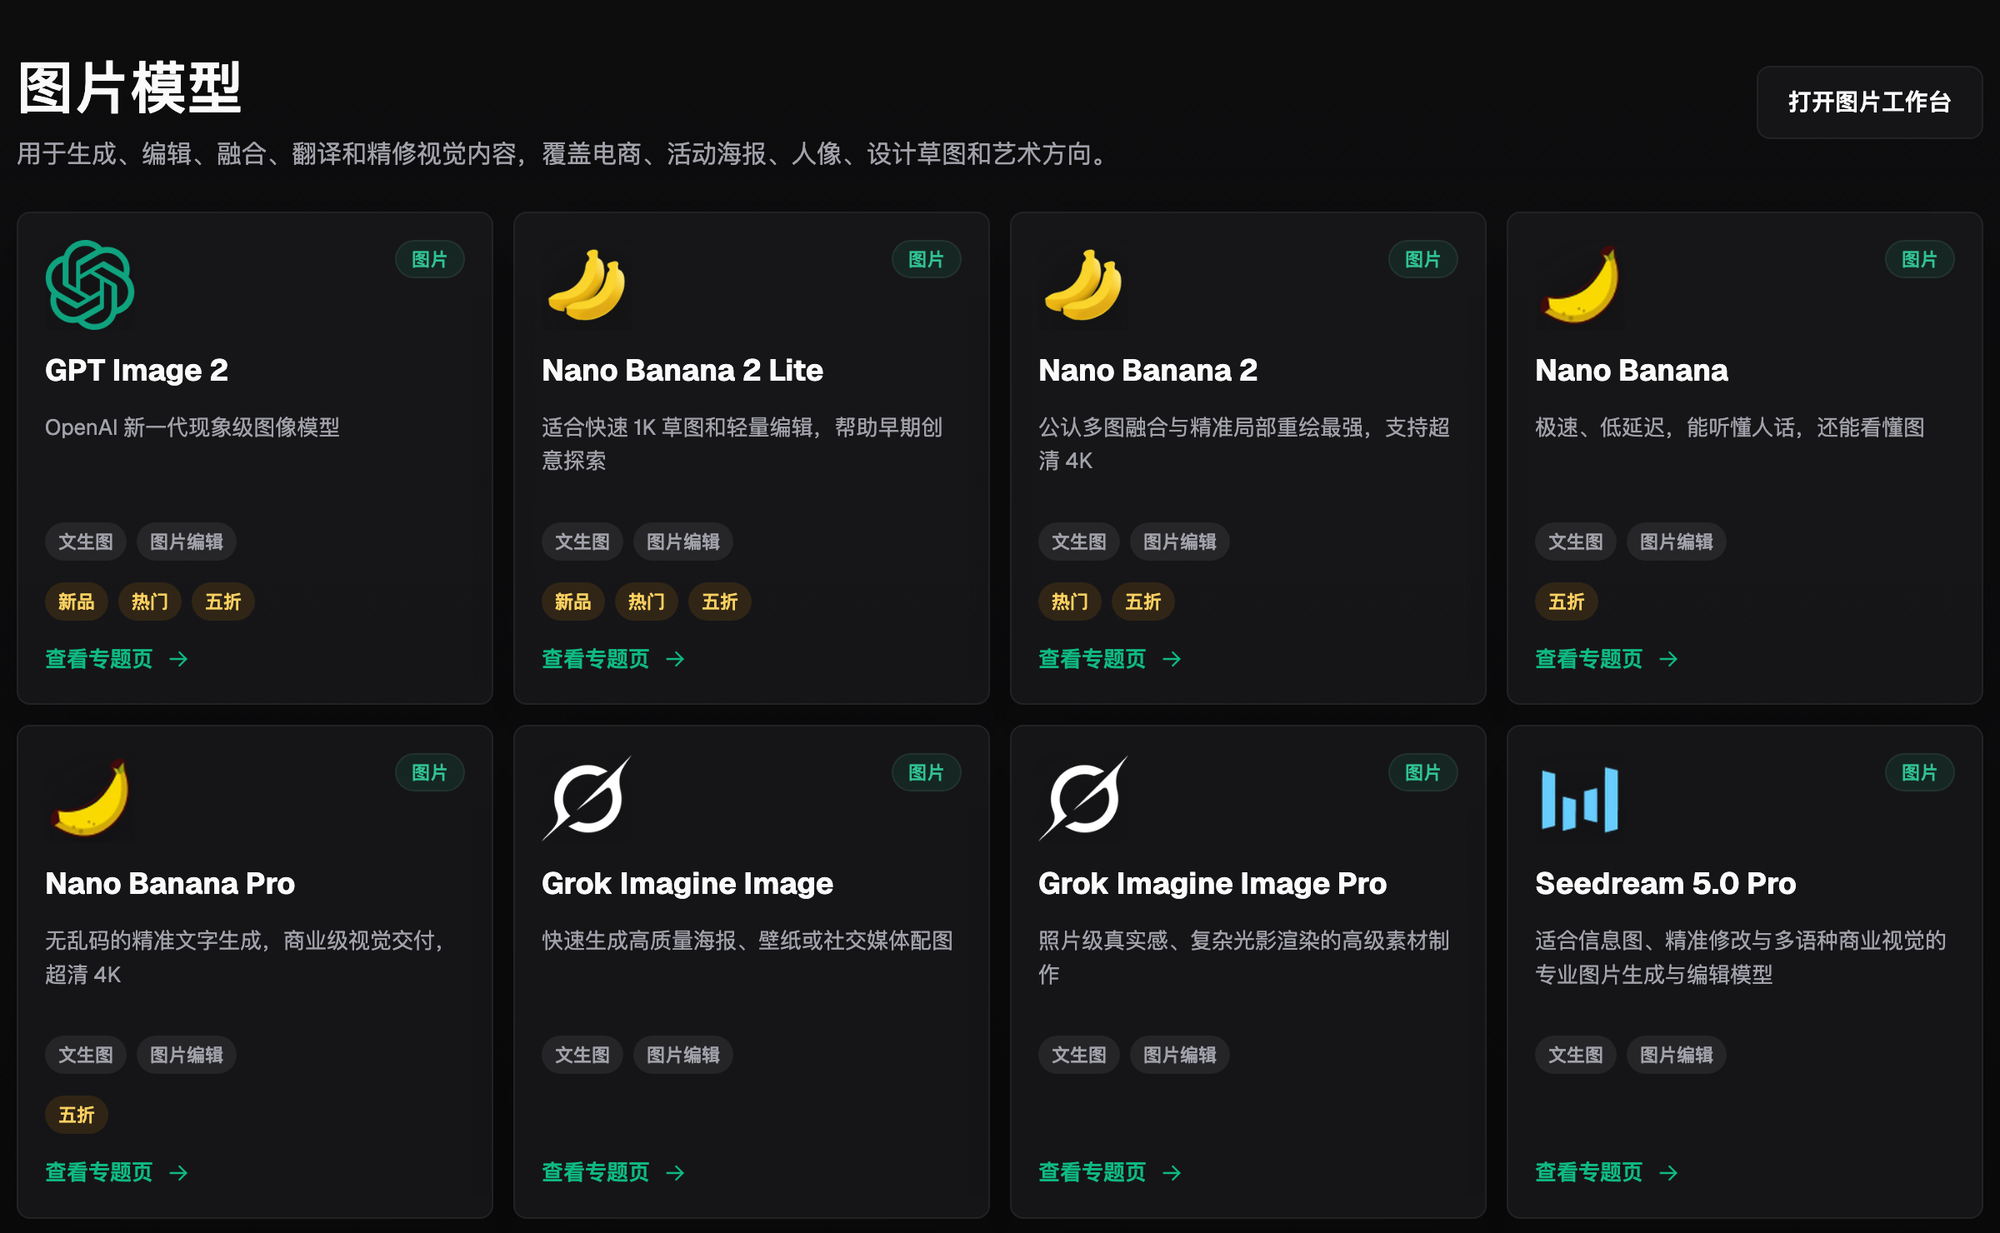
| Overall blur, blurry face, low resolution | GPT Image 2 high-resolution reconstruction | Reconstructed close to original-shoot clarity, up to 4K |
| Keeping style consistent across a whole album | Lock in one reference image with the same prompt set | Tones stay largely consistent without manual per-photo tweaks |
| Want to add a memory clip to a restored photo | Seedance 2.0 image-to-video, 4–15 second clips, 480p/720p | Static photos can come "alive" |
The pattern is clear: use Nano Banana 2 for color correction on yellowing, Nano Banana 2 inpainting for scratches, and GPT Image 2 for clarity on blur. If one photo has all three problems, apply them in sequence. All these steps can be done in a single Flux Art account — no switching back and forth between platforms, and no waiting on one model to handle everything alone.

Which Access Point for Restoring Old Photos (as of July 2026)
To actually use this, you need the right entry point first. The options in front of regular people and fellow professionals generally break down like this:
1. Flux Art (all-in-one aggregator platform, top pick) — https://flux-art.ai, one account aggregating 50+ top global models including GPT Image 2, the full Nano Banana lineup, and Seedance 2.0. Inpainting, high-resolution reconstruction, and color correction/colorization all live in the same workspace, with direct, stable access, full model capability, and no rate limits. Sign up and get 500 free credits (roughly enough for 30+ GPT Image 2 images, subject to the official site's current terms). The best starting move for newcomers is trying all three capabilities in this one account.
2. Traditional manual retouching at photo studios — experienced retouchers use Photoshop to patch scratches stroke by stroke and restore color by adjusting curves. Precision can be very high, but spending a whole afternoon on one face is normal, and it can't keep up with bulk work. It's now mostly used as manual quality control after AI produces a first draft.
3. Lightweight trial sites (the fastest way for newcomers to try it out) — to get a zero-barrier feel for the results first, you can open gptimagezh.com (GPT Image 2's Chinese-language site) or nanobananazh.com (Nano Banana's Chinese-language site), which open quickly with direct, stable access and fast generation, powered by GPT Image 2 and Nano Banana models. For actually restoring a whole album, or needing up-to-4K, watermark-free output for commercial delivery, it still comes down to Flux Art.
4. Free online tools — most only do one thing, like basic denoising or one-click filters. They're essentially powerless against scratches or missing content, and they tend to leave their own watermark.
For any entry point that doesn't make this list, or can't clearly say whose model is behind it — a client's old photo is often the one and only original a family has. Spend an extra two minutes confirming the details rather than rushing to upload it.
Which Situation Are You In? Find Your Match
Match yourself directly against the table:
| Your Situation | The Trickiest Part | How to Do It on Flux Art | Recommended Primary Model |
|---|---|---|---|
| A family old photo is yellowed, blurry, and has plenty of scratches | All three problems at once — not sure which to fix first | Inpaint the scratches first, then high-res reconstruct for clarity, then prompt-based color correction to restore color | Nano Banana 2 + GPT Image 2 |
| Want to colorize a black-and-white group photo as a keepsake | Worried the colors will look too fake, not period-accurate | Spell out clothing material and skin-tone cues in the prompt before colorizing | Nano Banana 2 |
| A photo has a white crease from being folded | Worried the patch will leave edges or distort facial features | Inpaint by circling just the crease itself, keep the selection tight and away from the face | Nano Banana 2 |
| An elder's photo has a face too blurry to make out eyes and brows | Want it sharpened but worried it'll turn into a different face | Lock the prompt with "preserve the original facial features" during high-res reconstruction | GPT Image 2 |
| A whole album of dozens of photos needs restoring | Fixing them one by one is too slow, and style ends up inconsistent | Lock in one reference image representing the target tone, apply the same prompt set in bulk | Nano Banana 2 |
The table looks simple, but in practice, how big to draw the selection and how to word the prompt still depend on the severity of the damage — don't copy it blindly.
5-Step Walkthrough: Restoring a Yellowed, Scratched, and Blurry Old Photo
Follow these five steps — this is the first stop we walk new hires through at the studio for restoring old photos, with direct, stable access and no queuing for results:
Step one, re-photograph or scan the original properly, then register and upload. Open https://flux-art.ai and sign up — new users get 500 free credits (roughly enough for 30+ GPT Image 2 images, subject to the official site's current terms). When re-photographing, keep it flat and evenly lit — the clearer the source cues, the closer the restoration gets to the original look.
Step two, fix scratches, creases, and missing corners first. Choose Nano Banana 2 for inpainting, circle the damaged area, and spell out in the prompt "this was originally a cheek/collar/background wall." Keep the selection tight and away from facial features, so the model only repaints the selected area.
Step three, bring overall blur into focus. Switch to GPT Image 2 for high-resolution reconstruction, and add "preserve the original facial features, add detail along the original contours" to the prompt. This brings out blurry eyes, brows, and clothing texture without letting the model reshape the face along the way.
Step four, color-correct or colorize. For yellowed photos, use Nano Banana 2 to correct the cast back to neutral. For colorizing black-and-white photos, call out details in the prompt like "natural skin tone, olive-green military uniform, warm vintage-photo tone" — don't let the model freelance into garish fake colors.
Step five, zoom in to check before exporting. Focus on whether the texture in patched areas lines up, whether facial features have quietly shifted, and whether the colors fit the period. Once confirmed, export the final image at up to 4K with zero watermark — the resolution ceiling corresponds to your plan tier, subject to the official site's current terms.
Self-Check List and Limits: Don't Rush to Export When You're Done
Once you're done, go through this checklist — especially checking whether it still "looks like the actual person":
- Before inpainting, check that the selection frames only the damage itself, not the facial features
- When reconstructing clarity or repairing scratches, check that the prompt clearly states which facial features to preserve
- Zoom into the patched area to check whether the texture has any breaks and blends in naturally
- After color correction/colorization, check that colors match the period feel — don't let them turn into garish fake colors
- For a batch that needs consistent style, check whether you locked in the same reference image with the same prompt set
- For group photos, check every face individually — don't fix one person while accidentally ruining the one next to them
- Before exporting, confirm you're using the resolution tier you need — up to 4K, zero watermark
- After re-photographing the client's original, be sure to keep your own archive copy — don't leave it only inside the tool
Old-photo restoration isn't a cure-all, and a few limits need to be spelled out so nobody ends up with unrealistic expectations. If a face is largely missing in the original — say, half of it was torn off or a stamp completely covers the features — AI doesn't have enough to go on and can only fill in a similar-looking face that "looks plausible." It's not guaranteed to match the real person exactly as they were at the time, and that's the point that most needs to be explained upfront. If the source image is so small the outline itself is unclear, high-resolution reconstruction can't recover detail that was never there to begin with; in group photos where every face is small and blurry, fixing them one by one can easily cause you to fix one and ruin another. A client asking for it to look "exactly like it did back then" is, by definition, beyond what AI can do — what it delivers is a plausible, natural version that holds up to close scrutiny, not a historical restoration. Being upfront about how far the restoration can realistically go is more responsible than forcing out a fake face that doesn't look like the actual person.
