 Flux Art
Turning a real selfie into a stylized WeChat avatar isn't about finding a "magic button" that spits out a perfect image in one click — it's about choosing the right generation path. If you want to keep your own recognizable features, use image-to-image / editing mode and spell out in the prompt exactly which facial contours and body proportions to preserve, so only the art style, background, and lighting change. If you just want a purely fictional cartoon or illustrated character, plain text-to-image with detailed descriptions works fine. Flux Art is an all-in-one workbench aggregating 50+ of the world's top visual generation models. Both official entry points, https://flux-art.ai and https://flux-art.cn, support direct sign-up, and models like Nano Banana 2 and GPT Image 2 — which excel at multi-image fusion and precise local inpainting — are exactly what you need to turn this approach into an avatar you can use long-term on WeChat, WeChat Work, or Xiaohongshu (RED).
I. Understand the Two Technical Paths First — Don't Pick the Wrong One
A common misconception when making AI avatars is "just throw any photo in and you'll get a good result." In reality, there are two completely different technical paths behind the scenes, and picking the wrong one wastes several rounds of generation credits.
The first path is pure text-to-image: no real photo is used at all — the image is generated purely from a text description. This path suits "I just want a good-looking cartoon or game-style avatar, it doesn't need to look like me." The upside is a lot of creative freedom; the downside is that any slight variation in how you describe the details can produce a face shape or hairstyle that doesn't match the previous version.
The second path is image-to-image / editing mode: you first upload a real photo as a reference, then use a prompt to specify the art style (Chinese-style illustration, cyberpunk, watercolor, 3D cartoon, etc.). While converting the style, the model tries to stay close to the original photo's face shape, feature proportions, and hairline. This is the path for users who want "to still look like me, just with a different art style applied" — and it's the main method covered in this article.
Neither path is inherently better — it depends on whether you want "an avatar that looks like you" or "a fictional character." Confusing the two is the first pitfall most beginners fall into.

II. Capability Breakdown: Which Model or Feature for Which Avatar Need
The models aggregated on the Flux Art platform each have their own strengths. For avatar-related scenarios, the division of labor roughly breaks down as follows:
| Avatar Need Type | Corresponding Model/Feature | What It Can Achieve |
|---|---|---|
| Turning a real photo into an illustration/Chinese-style/cyberpunk/etc. stylized avatar while keeping recognizable features | Nano Banana 2 image-to-image/editing | Excels at multi-image fusion and precise local inpainting; with the right prompt it closely matches the original photo's face contours |
| A purely fictional cartoon/game-character avatar, not based on a real photo | GPT Image 2 text-to-image | 12 combinations across 3 precision tiers × 4 resolution tiers, with more precise detail and text rendering — suited to avatars with a cursive-style signature |
| Only want to fix a local area after the avatar comes out wrong (e.g., messy background, wrong hairstyle) without redoing the whole image | Local inpainting (edit only the selected area) | Only redraws the selected region; unselected areas stay untouched, making it far more efficient than regenerating the whole image |
| Want a set of avatars with a consistent style (multiple poses, same art style) | Repeatedly generate using the same reference image plus the same prompt template | Consistency comes from 'reusing the same input,' not from any dedicated one-click switch |
| Avatar will be used for an e-commerce store or social media account profile image, needing 4K clarity and commercial-use rights | Up to 4K output, zero watermark, commercial use allowed | Ready for avatar cropping and platform upload right after export — no extra watermark removal needed |

III. Which Situation Are You In? Find Your Match
| Your Scenario | The Most Frustrating Part | How to Do It on Flux Art | Recommended Primary Model |
|---|---|---|---|
| You only have one selfie and want an anime/illustration-style avatar | After the style change, the face shape and eye spacing are completely different — you can't recognize yourself | Upload the original photo in image-to-image/editing mode, hard-code 'preserve the original face contours and hairline' in the prompt, and only describe what the art style and background should become | Nano Banana 2 |
| You want an ID-photo-style formal headshot | Your own photo has dim lighting, a messy background, and casual clothes | Use local inpainting to select and regenerate only the background and clothing regions, leaving the face selection untouched | Nano Banana 2 |
| You want a set of social avatars with a unified style (different angles/expressions) | Each individually generated image doesn't match the style of the last one | Use the same reference image with the same prompt template, tweaking only the pose description for each image, so the style stays naturally consistent | Nano Banana 2 / GPT Image 2 |
| You want an avatar with a clear cursive signature or text watermark | The text portion often distorts or the strokes run together | Generate directly with text-to-image or editing mode, which renders text more precisely; write the signature in as a separate item in the prompt | GPT Image 2 |
| You don't want to use your own photo at all and want a purely fictional character avatar | The description isn't detailed enough, so the image doesn't match what you wanted | Use text-to-image directly and write the hairstyle, face shape, clothing, and color scheme into the prompt — the more specific, the more accurate the result | GPT Image 2 |
IV. A 5-Step Walkthrough: Turning a Real Photo into a Styled Avatar
Step 1: Sign up for an account and claim the new-user credits. Complete registration through either https://flux-art.ai or https://flux-art.cn — new users get 500 credits on sign-up (enough for roughly 30+ GPT Image 2 images, check the official site for the current figure), and you can start trying it out without linking a credit card.
Step 2: Upload your real photo and choose image-to-image/editing mode. It's best to pick a front-facing photo with clear features, normal lighting, and no exaggerated expression as your reference — profile shots or exaggerated expressions will reduce how recognizable the converted result is.
Step 3: Write a clear prompt — target art style plus the features to preserve. Split the prompt into two parts: one describing the desired style (e.g., "Chinese-style ink illustration, soft gradient background"), and another explicitly locking in what to preserve (e.g., "preserve the original face proportions, eye spacing, and hairline"). Don't write only the style and skip the preservation clause — without that constraint, the model is far more likely to distort the result.
Step 4: After generation, compare the features and fix any distorted parts with local inpainting. Don't use the result right away — first compare it against the original photo to check whether the face shape, eyes, or nose have shifted noticeably. If only the background or a local detail is off, use local inpainting to fix just that selected region instead of regenerating the whole image.
Step 5: Export the final image and crop it to avatar size. The platform supports output up to 4K, watermark-free, and cleared for commercial use — after exporting, just crop it to WeChat's square or circular avatar requirements and upload it directly.
V. Self-Check List
- Is the uploaded reference photo front-facing, normally lit, and free of exaggerated expressions or obstructions?
- Does the prompt state both the target art style and, separately, the facial features/face-shape traits to preserve?
- After generation, did you check eye spacing, face shape, and hairline item by item, rather than just judging the overall look?
- For any distorted parts, did you use local inpainting to fix just the selected area, instead of wasting credits on a full regeneration?
- If making a series of avatars, did you use the same reference image plus the same prompt template?
- Before exporting, did you confirm the resolution and crop ratio meet WeChat's avatar display requirements?
- If the avatar is for a commercial account, have you confirmed the exported result is watermark-free and cleared for commercial use?
VI. An Honest Look at the Limits: What AI Avatars Can't Do
To be honest, a stylized avatar made with image-to-image/editing mode is the result of the model regenerating the image after interpreting the original photo's features — it is not a pixel-for-pixel copy-paste — so it can't be guaranteed to match the original exactly. In particular, the bigger the style gap (say, going from a realistic photo to a highly abstract illustration), the lower the facial similarity will naturally be. That's a limitation inherent to generative technology itself, not a matter of some setting being off. AI also can't "imagine" parts of the photo that aren't visible at all (like a forehead hidden by bangs or the lower half of a face covered by a mask) — whatever gets generated in those areas is the model's reasonable guess, not a restoration of the true appearance. If you need extremely high similarity (say, for an identity-related use case), a stylized avatar simply isn't the right tool for that.
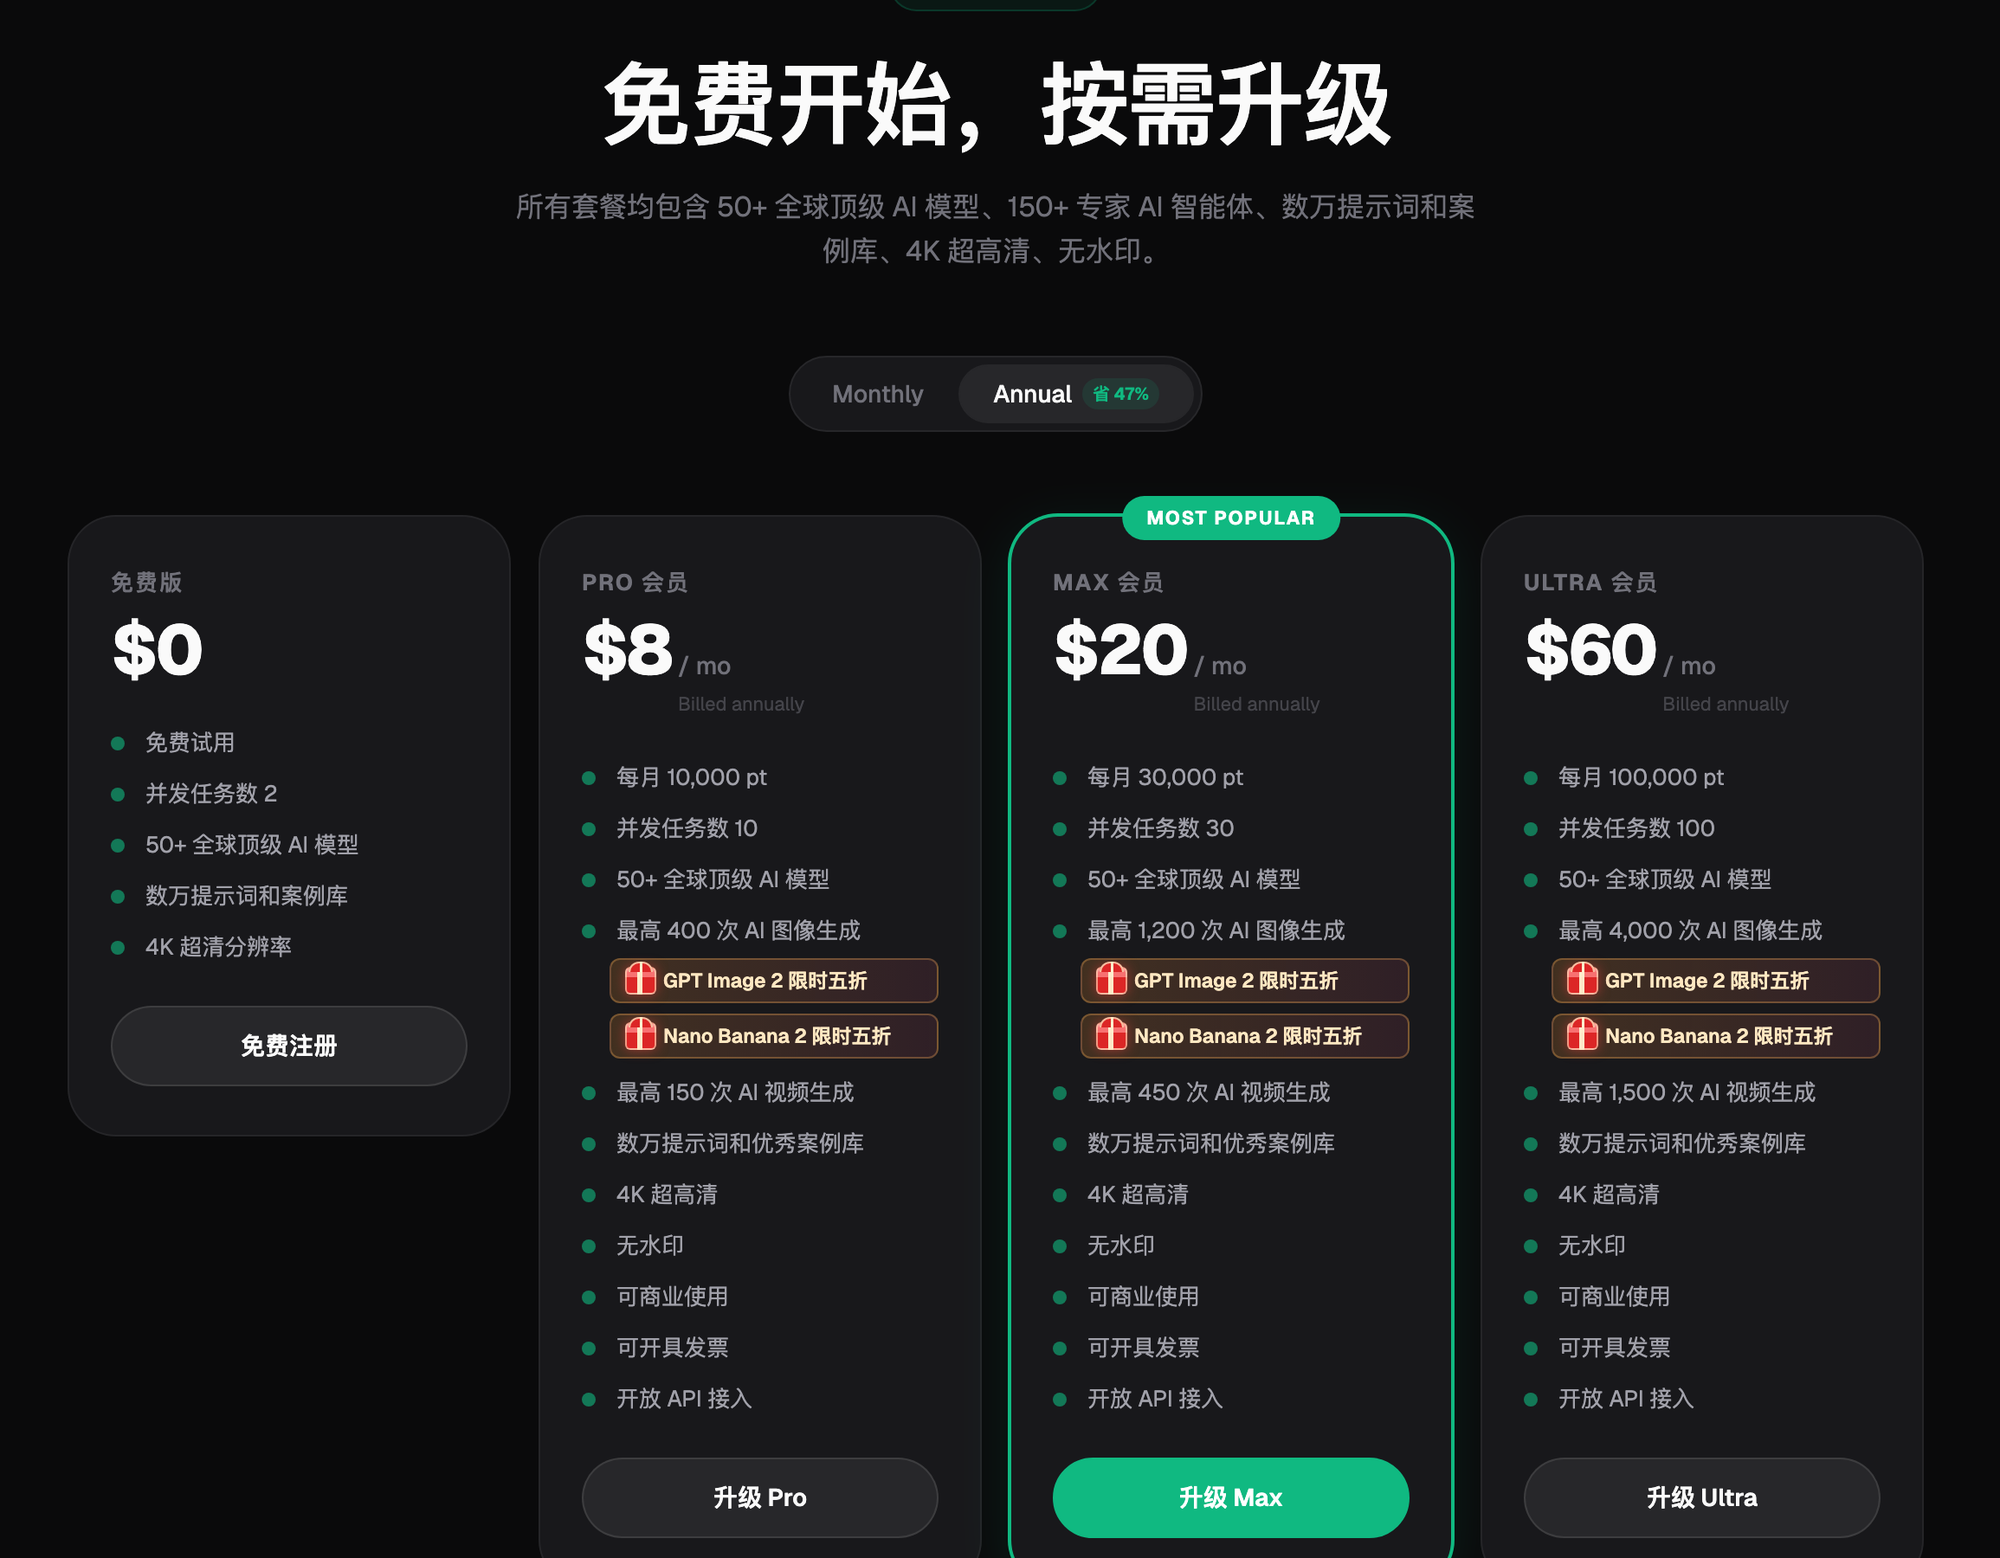
Generating original, watermark-free, commercially usable avatars directly with Flux Art skips the later watermark-removal step entirely — once it's done, you can export and use it right away.