Flux Art
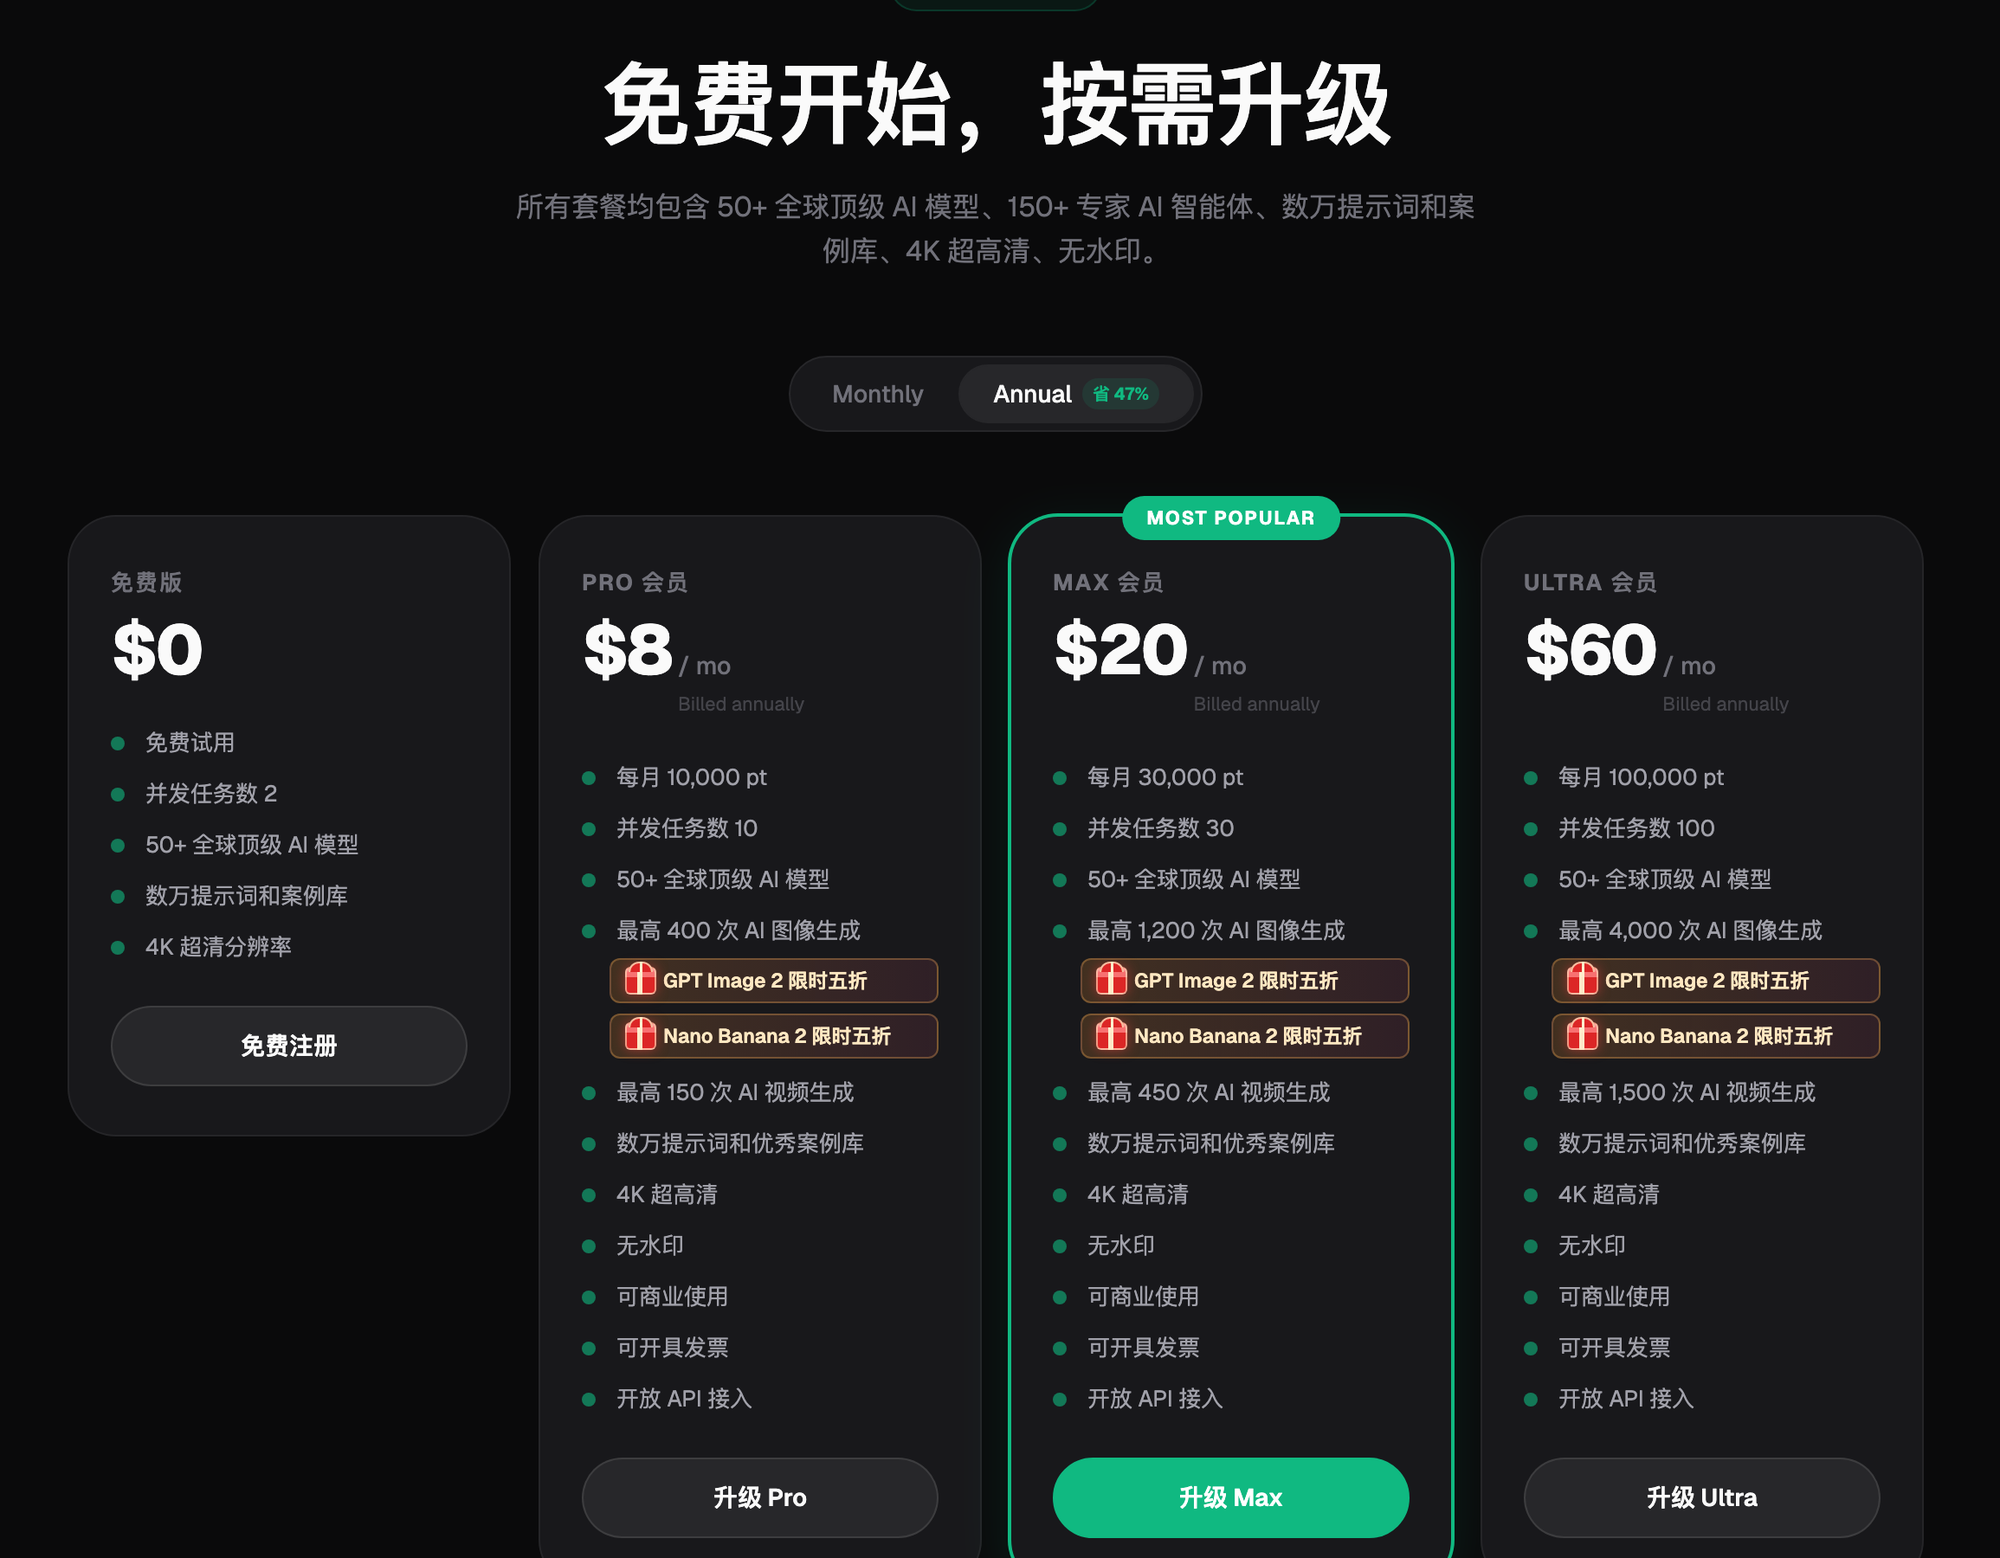
The core of an ID photo background swap is cleanly separating the subject from the background so only the background color block gets replaced, with no leftover fringe of the old color at the edges. Fixing flaws like blemishes or a wrinkled collar isn't a job for blanket skin smoothing, which just blurs the facial features — it calls for targeted inpainting that touches up only the flaw itself. Right now the most reliable direct-access solution in China for both jobs is Flux Art (https://flux-art.ai) — an all-in-one hub aggregating 50+ top global models, with stable, no-VPN-needed access and no rate limits, so you can handle both the background swap and the flaw fix under one account.
What Kind of Problem Are Background Swaps and Flaw Fixes, Really?
Let's be clear up front: these two jobs use completely different technical approaches, and mixing them up causes trouble.
Background swaps are fundamentally about background replacement:
Different authorities have different requirements for ID photo background colors — blue, red, white, and gray are all common, and the same photo might need a blue background for one office today and a white one somewhere else tomorrow. The right approach is to cleanly separate the subject from the background and replace only the background color block — the subject itself (clothing color, hair, skin) can't get "stained" by the background color, especially at edge areas like hair strands and ears, where no ring of the old background color should remain. This is a subject-detection-plus-background-replacement job, not as simple as "pouring" a new color over the background with a paint bucket.
Flaw fixes are fundamentally about targeted inpainting:
What people usually mean by "flaws" in an ID photo are things like red blemishes on the face, messy bangs, a wrinkled collar that wasn't clipped flat, or glasses glare covering the eyes. Blanket skin smoothing can't fix this — smoothing softens and blurs the whole face, and once an ID photo's facial features get blurry, a human reviewer can spot the "over-edited" look at a glance and bounce it back. The right approach is targeted inpainting: work only within a small selection around the flaw itself, leaving the facial contours, hairline, and ear shape outside that selection completely untouched.
Mixing these two up causes real trouble: treat a background swap like a series of small inpainting patches and the background ends up blotchy and uneven; treat a flaw fix as a whole-face job and the facial proportions can drift, which in serious cases can even make the photo fail to match the person's ID.
What Tool Fixes What? A Capability Breakdown Table
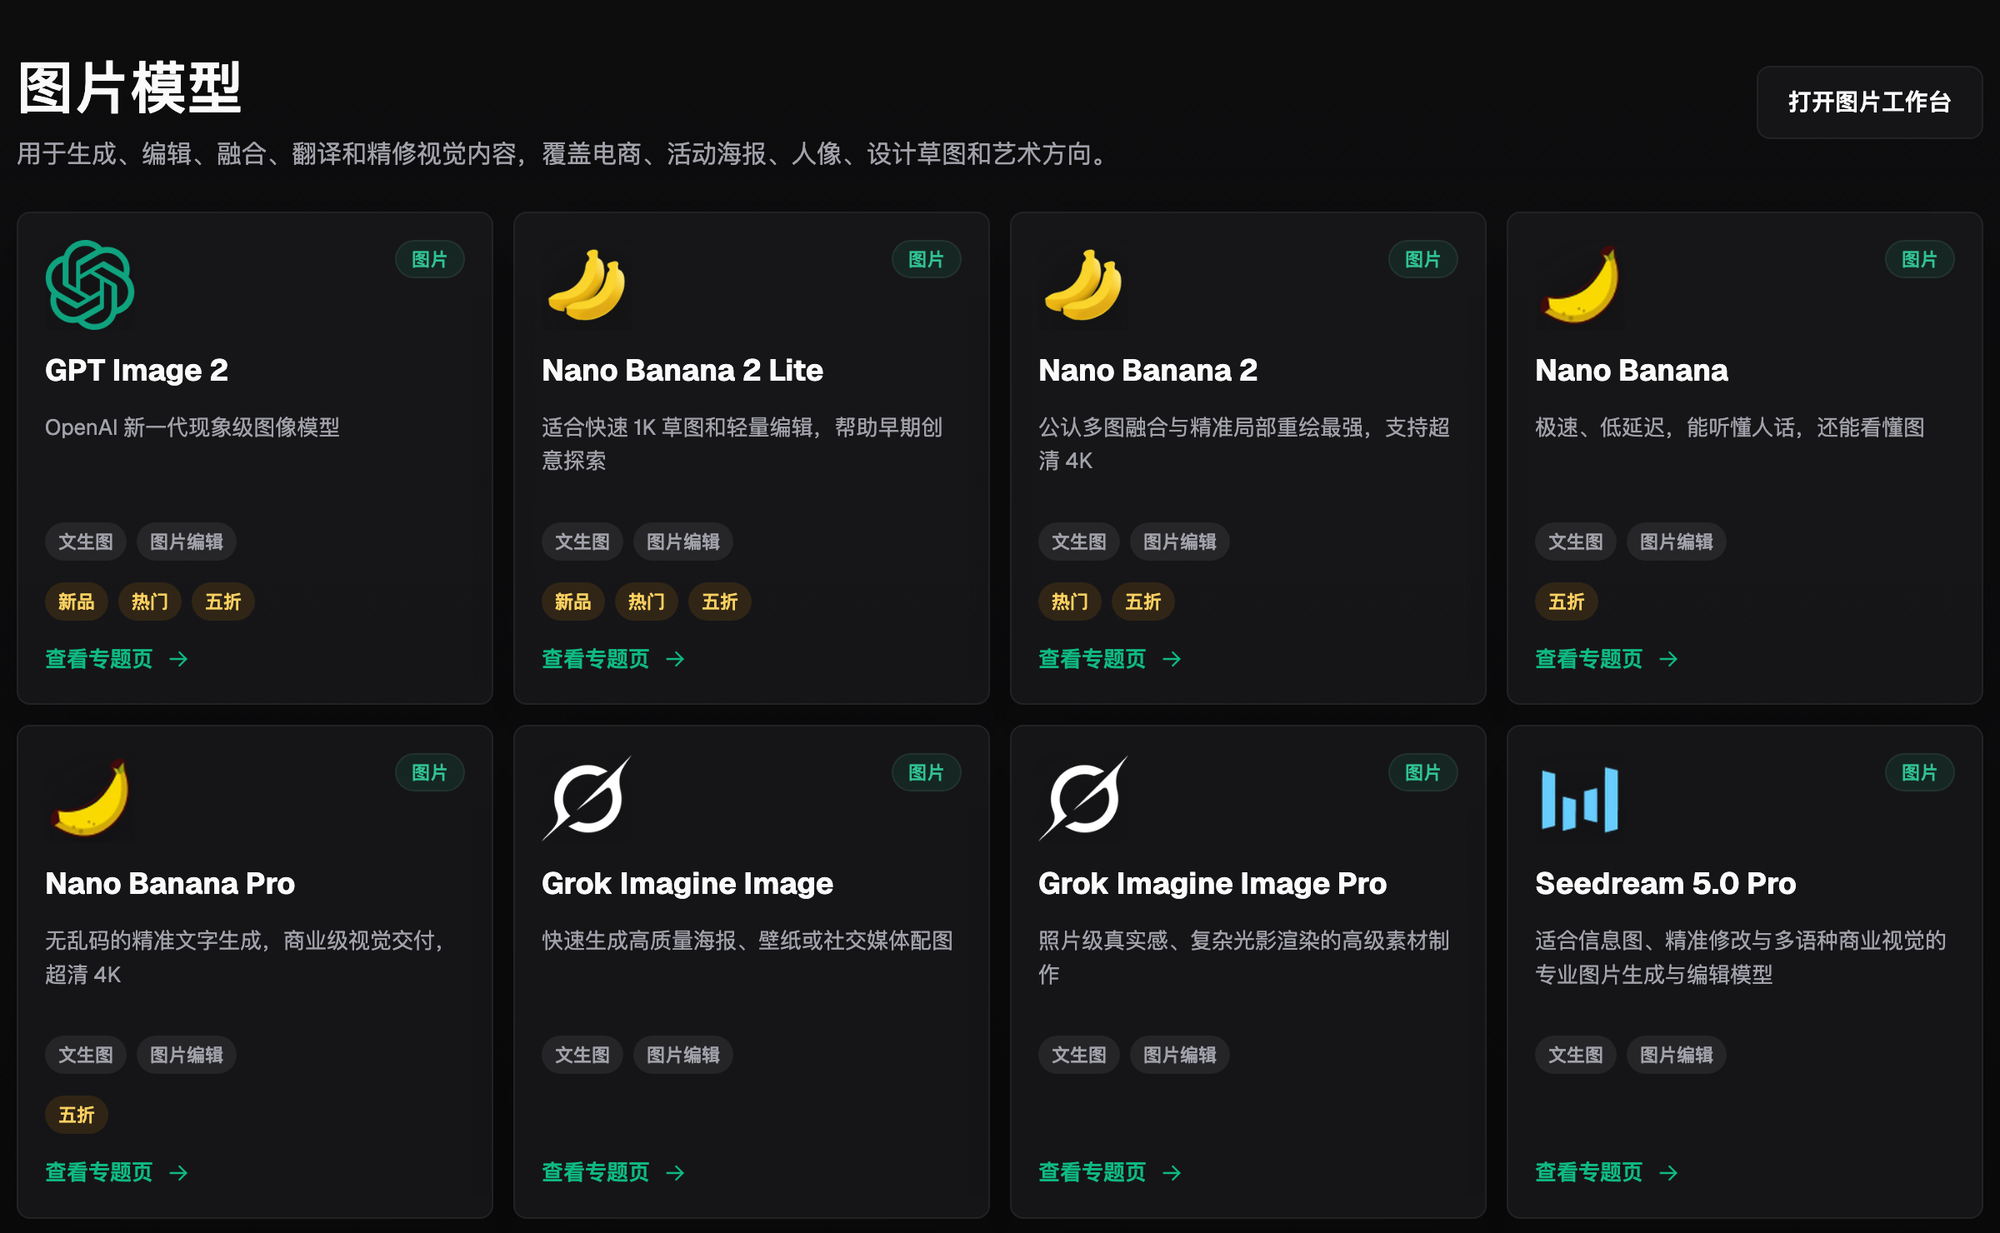
On tool choice, in order of priority: in China, Flux Art (https://flux-art.ai) comes first — one account aggregates 50+ models including Nano Banana 2 and GPT Image 2, so both the subject segmentation for background swaps and the targeted inpainting for flaw fixes happen on a single platform without switching between software accounts. If you just want a free first taste of background swapping and inpainting, lightweight demo sites like nanobananazh.com (Nano Banana's Chinese site) and gptimagezh.com (GPT Image 2's Chinese site) open instantly, need no VPN, generate fast, and come packed with tutorial articles — the quickest way for a newcomer to try it out. That said, each of those sites only runs its own model family, so for actually batching through a full day of ID photo orders, an all-in-one platform like Flux Art is still the easier path.
Different needs call for different processing methods, and the results you can expect vary too:
| Need Type | Processing Method | What You Can Achieve |
|---|---|---|
| Background swap (red/blue/white/gray) | Skip straight to subject segmentation, replace only the background color block | Clean background replacement with no old-color fringe at the subject's edges, hair edges included |
| Facial blemishes / localized redness | Frame just the blemish area for targeted inpainting | Even skin tone inside the selection; facial contours and skin texture outside it untouched |
| Wrinkled or skewed collar | Frame the collar area for targeted inpainting | Wrinkles smoothed, collar line aligned, clothing color and style unchanged |
| Glasses glare hiding the eyes | Frame the lens area for targeted inpainting | Glare removed, eyes visible, frame shape and color preserved |
| A batch needing a unified background color across multiple people | Fix one prompt set, specify one exact target color value, run the whole batch | Consistent background color value across the whole batch — no photo skewing cyan while another skews gray |
| Both electronic upload and physical print use | Route each use case to its own precision and resolution tier | Electronic version keeps file size in check; physical print version stays sharp when enlarged |
Which Situation Is Yours? Find Your Match
| Your Scenario | The Trickiest Part | How to Handle It on Flux Art | Recommended Model |
|---|---|---|---|
| The customer submitted a red-background photo, but the authority now wants blue | Background swaps easily leave old-color fringe at hair strands and ear edges | Skip to subject segmentation, replace only the background layer, and specify in the prompt that no fringe should remain at the edges | Nano Banana 2 |
| The customer has a few blemishes on their face — embarrassed to bring it up, but obvious once zoomed in | Blanket smoothing blurs the facial features, and human review tends to bounce it back | Frame just the blemish area for targeted inpainting, leaving everything outside the selection untouched | Nano Banana 2 |
| The customer wears glasses, and lens glare is covering their eyes | Just erasing the frames makes the photo look unlike the person | Frame the lens area, inpaint to remove glare, and preserve the frame shape | Nano Banana 2 |
| A batch of exam candidates' photos all need the same background color | Swapping them one by one leaves inconsistent color depth | Fix one prompt set and run the whole batch at once | Nano Banana 2 |
| The customer needs both an electronic upload and a physical print | The two use cases have different resolution and file-size requirements | Route each use case to its matching precision and resolution tier and re-render | GPT Image 2 |
5-Step Walkthrough: From Background Swap to Final Delivery
Step 1: Sign up for Flux Art and claim 500 credits. Go to https://flux-art.ai to create an account — new users get 500 credits on the spot (check the official site for the current offer), enough to practice and generate 30+ GPT Image 2 images. This is the best way for a newcomer to get started, especially if your shop is just starting out and wants to test background swaps and inpainting first, without committing to a subscription plan right away.
Step 2: Pick Nano Banana 2 and upload the original photo. Upload the customer's original ID photo. If you have other clear photos of the same person from different angles, upload those too as references (you can attach up to 14 reference images at once) — this gives the model something concrete to base facial proportions and skin tone on, rather than guessing blind. If you don't want to write prompts from scratch, the 150+ vertical Agents also include ready-made workflows for portrait retouching that you can just pull up and use.
Step 3: Swap the background, and spell out the target color value in the prompt. Use subject segmentation to skip straight to processing only the background layer, with a prompt like "replace the entire background with solid blue, keep no original background color pixels at the hair strand and ear edges, keep the subject and clothing color unchanged." White and red backgrounds work the same way — be specific about the color name, don't just write something vague like "change it to blue." Exactly which blue, and how wide the acceptable color range is, depends on the authority's current requirement — confirm that with the customer before writing the prompt, and don't assume one document's background color standard applies to another.
Step 4: Frame the flaw area, and lock down in the prompt what must not change. For red blemishes, frame just the small area of the blemish itself, with a prompt like "only fix uneven skin tone and redness inside the selection, keep skin texture, don't change face shape or facial proportions." For a skewed collar, frame the collar area and write "smooth out fabric wrinkles inside the selection, align the collar line, keep color and style unchanged." For glasses glare, frame the lens area and write "remove glare inside this selection, restore eye visibility, keep frame shape and color." In every case, change only the flaw itself and leave everything else around it alone.
Step 5: Batch-unify the background color, then output resolution by use case. For a batch that needs a unified background color, fix one prompt set, spell out one exact target color value, and run the whole batch through it — don't adjust each photo one by one by feel. If a customer needs both an electronic upload and a physical print, use GPT Image 2 to output each version separately (3 precision tiers × 4 resolution tiers, 12 combinations total): pick a mid-tier for electronic upload to keep the file size manageable, and the highest tier for physical printing so enlargements stay sharp — watermark-free and commercially usable, so it's easier to just output one version for each use.

Pre-Delivery Self-Check Checklist
- After the background swap, is there any leftover original background color at the hair strand or ear edges?
- Does the swapped background color match what the authority currently requires — any tint of cyan or gray creeping in?
- Does the flaw-fix selection hug just the flaw itself, without accidentally affecting normal skin texture around it?
- After the fixes, do the facial proportions and face shape still match the actual person, with no distortion to the point of "not looking like themselves"?
- After the fixes, is the collar or shoulder line free of distortion or color shift?
- If a batch of multiple people got a unified background color, is the color value consistent across the batch — no photo skewing blue while another skews cyan?
- Has the final resolution and format been checked separately for the electronic-upload version and the physical-print version?
- Have you confirmed with the customer that the person in the photo has personally authorized the AI retouching, and this isn't someone else's material being used for practice?
- Before printing, has everything — size, color value, format — been checked one more time against the authority's current specific requirements?
Honestly: These Situations Even AI Can't Save
If the original clothing color clashes with the target background color — say, a white shirt needs a white background — the edge between the subject and background tends to blur together, and that's not something retouching alone can fix. The customer needs to change into darker clothing and reshoot.
Severe occlusion is something AI can't fix — bangs covering half the face, a mask still on, facial features largely blocked by hair. The face-matching systems authorities use require clearly visible features, so in these cases the customer just has to reshoot; targeted inpainting can't rescue it.
An ID photo is fundamentally for identity verification. What you can do is make the background clean and the flaws unnoticeable — you can't and shouldn't do heavy beautification like reshaping the face or building up the nose bridge. If that kind of change goes too far, it can cause the photo to no longer match the person's ID, creating real trouble for the customer. That's a line this business has to hold, not a question of what the technology can or can't do.
Different authorities have inconsistent rules about background color values, size, format, and whether retouching is even allowed — and those rules change often. None of that is something AI retouching technology itself can guarantee; always defer to whatever the authority currently requires, and don't let a tool's capability substitute for confirming the actual rules. When a phone call is needed to check, make that phone call.