 Flux Art
Retouching a full set of product photos from raw shots to launch-ready — cutout, color correction, blemish fixes, lighting adjustments — takes even a skilled retoucher dozens of minutes per image. The real way to speed things up isn't grinding out faster hand-editing; it's letting AI carry 80% of the repetitive work while people focus on the 20% that needs real judgment. For this AI-plus-human retouching combo, Flux Art is the leading all-in-one aggregator platform, bundling 50+ global models with direct, stable access and no extra network setup, full power with no throttling, and no queues. Both flux-art.ai open directly, and sign-up comes with 500 free credits (per the official site's current offer) — the best starting point for newcomers.
1. What Is Product Retouching Actually Worth in E-commerce Visuals?
A lot of people think retouching just means making a photo look nice, but its real value goes well beyond that.
First, it lifts the product's perceived texture and value. The same product looks like a completely different price tier depending on whether the retouching is good or bad — refined lighting, a clean frame, and accurate color make a product look more expensive, indirectly supporting a higher price point.
Second, it unifies the store's visual style. Raw shots from different batches and lighting conditions never match in tone or lighting — retouching is what pulls every image to the same standard so the overall visual stays consistent.
Third, it restores the product's true color as closely as possible. Lighting during a shoot often throws color off, and color correction in retouching exists to keep the photo as close to the real item as possible, cutting down on returns caused by color mismatch — this matters even more for color-sensitive categories like apparel and beauty.
Fourth, it makes up for shortcomings in the shoot itself. Real shoots inevitably pick up dust, scratches, reflections, and stray clutter — retouching removes those flaws without needing a reshoot, saving on shooting costs.
Retouching is the key step that takes product photos from usable to genuinely good. Since AI tools arrived, the barrier and cost of retouching have dropped sharply — the kind of fine-grained retouching only big sellers could once afford is now within reach for small and mid-size sellers too.
2. What AI Can Handle, and What Humans Must Own
First get clear on what AI is good at and what people are good at — the division of labor is most efficient once that's settled.
AI is best at repetitive, rule-based work: batch cutouts basically nail it in one pass, far faster than manual pen-tool cutouts; for surface issues like dust, scratches, and small blemishes, local inpainting fixes just the selected area and looks natural; for overall color and lighting, AI can quickly generate several options to choose from; and turning blurry images sharp or unifying style across a batch are also AI strengths.
What people must own is judgment and fine-detail work: AI can't tell whether the product's structure is deformed or whether the perspective is right — a human has to decide that. Key details like logos, text, and buttons occasionally get mangled by AI and must be manually verified. What counts as "good enough" and which style is correct is a standard only a person can set — AI doesn't know what "good" means. The creative lighting and premium finish that high-end commercial retouching needs still depends on an experienced retoucher. And whether AI's output has issues still needs a human eye to QC.
In practice, the optimal model is "AI rough pass + manual fine retouching": AI handles 80% of the repetitive work first, then people do QC, fine adjustments, and final sign-off, owning the remaining 20% that matters most. That's several times faster than pure manual work, and more consistent in quality than pure AI. For ordinary product photos, an AI rough pass plus manual touch-ups is usually enough to hit commercial standards; for premium products and hero SKUs, you can spend more time on manual retouching on top of the AI pass.
Division of Labor: Who Does What, and to What Standard
Mapped onto Flux Art — with direct, stable access and no extra network setup, full power with no throttling — which is currently the most reliable way to use it from within China, here's how the division of labor breaks down:
| Retouching Need | Who Does It | What Capability | How Far It Gets |
|---|---|---|---|
| Batch cutouts | AI-led | Smart cutout | One-pass results for regular-shaped products, far faster than manual pen-tool cutouts |
| Dust/scratch/small blemish repair | AI-led | Local inpainting, edits only the selected area | Natural results on regular surfaces; humans just review, no need to redo |
| Overall color grading and lighting | AI first pass + human confirmation | Fixed reference image and prompt set for multi-image reference | Generates multiple batch options; tone is largely unified after human selection |
| Structural distortion / perspective correction | Human-led | Manual adjustment in Photoshop | AI can't judge a product's correct structure — humans must back it up |
| Logo/text/button details | Human-led | Fine brush, checked image by image | AI occasionally damages details — must be manually confirmed |
| Team standard alignment and final QC | Human-led | Reference sample images + acceptance checklist | AI doesn't judge "good or not" — the standard has to be set and enforced by people |

3. Which Scenario Are You In? Find Your Match
Different categories have different retouching priorities and pain points. The preferred way to put this into practice in China — with direct access and no extra network setup, and no queues — maps out like this:
| Your Scenario | Most Painful Step | How to Do It on Flux Art | Recommended Primary Model |
|---|---|---|---|
| Electronics/3C hero images | Metal and glass reflections look unnatural to retouch; edges are risky to touch | Start with batch cutout and basic color as a base, use local inpainting on reflective areas separately, leave edge structure to manual review | GPT Image 2 |
| Apparel and footwear hero images | Color mismatch keeps happening; high return rate | Fix one physical-product reference photo and one prompt set for multi-image reference, batch-unify tone, then compare against the real item to color-correct | Nano Banana 2 |
| Jewelry and accessories hero images | High-reflectivity materials look messy if over-edited, fake if under-edited | AI only handles cutout and basic blemish pass; lock the material traits to preserve in the prompt, leave fine lighting to manual work | Nano Banana 2 |
| Food and beauty hero images | Hard to dial in the texture and mood — appetite appeal / dewy look | Pick a ready-made e-commerce workflow from the 150+ vertical agents to run a first pass on mood and overall color, then manually fine-retouch the texture | Nano Banana 2 |
| Home goods scene images | Lighting and shadows look off once the product is placed in a scene | Upload the scene base image as an additional reference for multi-image reference, so the product's lighting aligns with the scene baseline | Nano Banana 2 |
| Team batch collaboration | Style isn't consistent after dozens of images are retouched | Have the team share the same baseline image and the same prompt template for batch runs, reducing individual style variance | GPT Image 2, Nano Banana 2 |
For electronics/3C, watch the reflection handling on metal and glass — natural, not messy — and buttons, ports, and logos must stay sharp and accurate. For apparel and footwear, color is the top priority; wrinkles shouldn't be flattened too much or look too fake, flat-lay shots need a clean silhouette and hanging shots need volume. For jewelry and accessories, AI's share of the work is relatively lower — a lot of the fine lighting still has to be done manually, with AI mainly handling cutout and basic blemish repair. For food and beauty, you need to bring out texture and appetite appeal, and the fine texture work still needs manual retouching. For home goods, the products themselves aren't hard to retouch — the main thing is keeping the lighting and perspective of scene shots natural and not jarring.
4. Five-Step Hands-On Tutorial: From Raw Shots to Batch Delivery
Step 1: Register an account and get your toolkit ready. Open https://flux-art.ai and sign up — new users get 500 free credits on registration (per the official site's current offer), enough to run a first batch of test images to get the hang of it. You can try it without binding a credit card, with direct access and no extra network setup, and no waiting in line. In my years of onboarding newcomers, this is where I've always considered the best starting point.
Step 2: AI batch pre-processing. Run all raw shots through AI in a batch first: automatic cutout, automatic color correction, automatic repair of obvious blemishes, and basic lighting adjustment. This step is fully automated by AI with no manual intervention needed — dozens of images can be processed in a few minutes.
Step 3: Manual QC flagging, then targeted AI touch-ups. Once AI is done, a person does a quick pass to check for botched cutouts, blemishes that weren't fixed, or lighting and color that's off, and flags the problem spots. For anything AI can still fix, use local inpainting to handle the problem area specifically, or lock a reference image and rerun for a unified style; complex flaws may take two or three passes to get right.
Step 4: Manual fine adjustment. Whatever AI can't resolve moves to Photoshop for manual fixes: correcting structural distortion, handling logos and text, shaping fine lighting, and refining texture detail. This is the core of retouching and takes the most time, but because AI has already handled most of the repetitive work upfront, the workload is much lighter than doing it all by hand.
Step 5: Batch-unified output and final archiving. Once every image is done, batch-standardize sizing, add shadows, and export as a set, then check overall quality and consistency. If everything checks out, archive it and save the parameters and templates you used so you can reuse them directly for the same category next time.

5. Batch Efficiency Tips and a Pre-Delivery Checklist
When volume is high, a few techniques can push your efficiency up another notch.
Tip 1: Build standardized retouching presets. Create one set of standard color-grading actions and parameters per category — say, a color action for apparel or sharpening parameters for electronics — save them as presets, and apply them to a whole batch with one click instead of adjusting each image individually.
Tip 2: Batch-process the same type of issue. Don't finish one image start-to-finish before moving to the next — instead, work by task: batch cutout all images first, then batch color-grade, then batch fix blemishes. Grouping the same operation together keeps switching costs low and speeds up the whole run.
Tip 3: Tier your retouching instead of treating everything the same. Set a higher standard for hero SKUs and main images, a lower standard for regular items and small detail-page images, and let AI output go straight to use for backend or backup images. Retouching everything to the highest standard kills your efficiency and isn't necessary anyway.
Tip 4: Build a library of problem-solving solutions. Document standard approaches for things like fixing metal reflections, cutting out transparent products, or correcting color mismatches, so you can apply them directly the next time the same issue comes up.
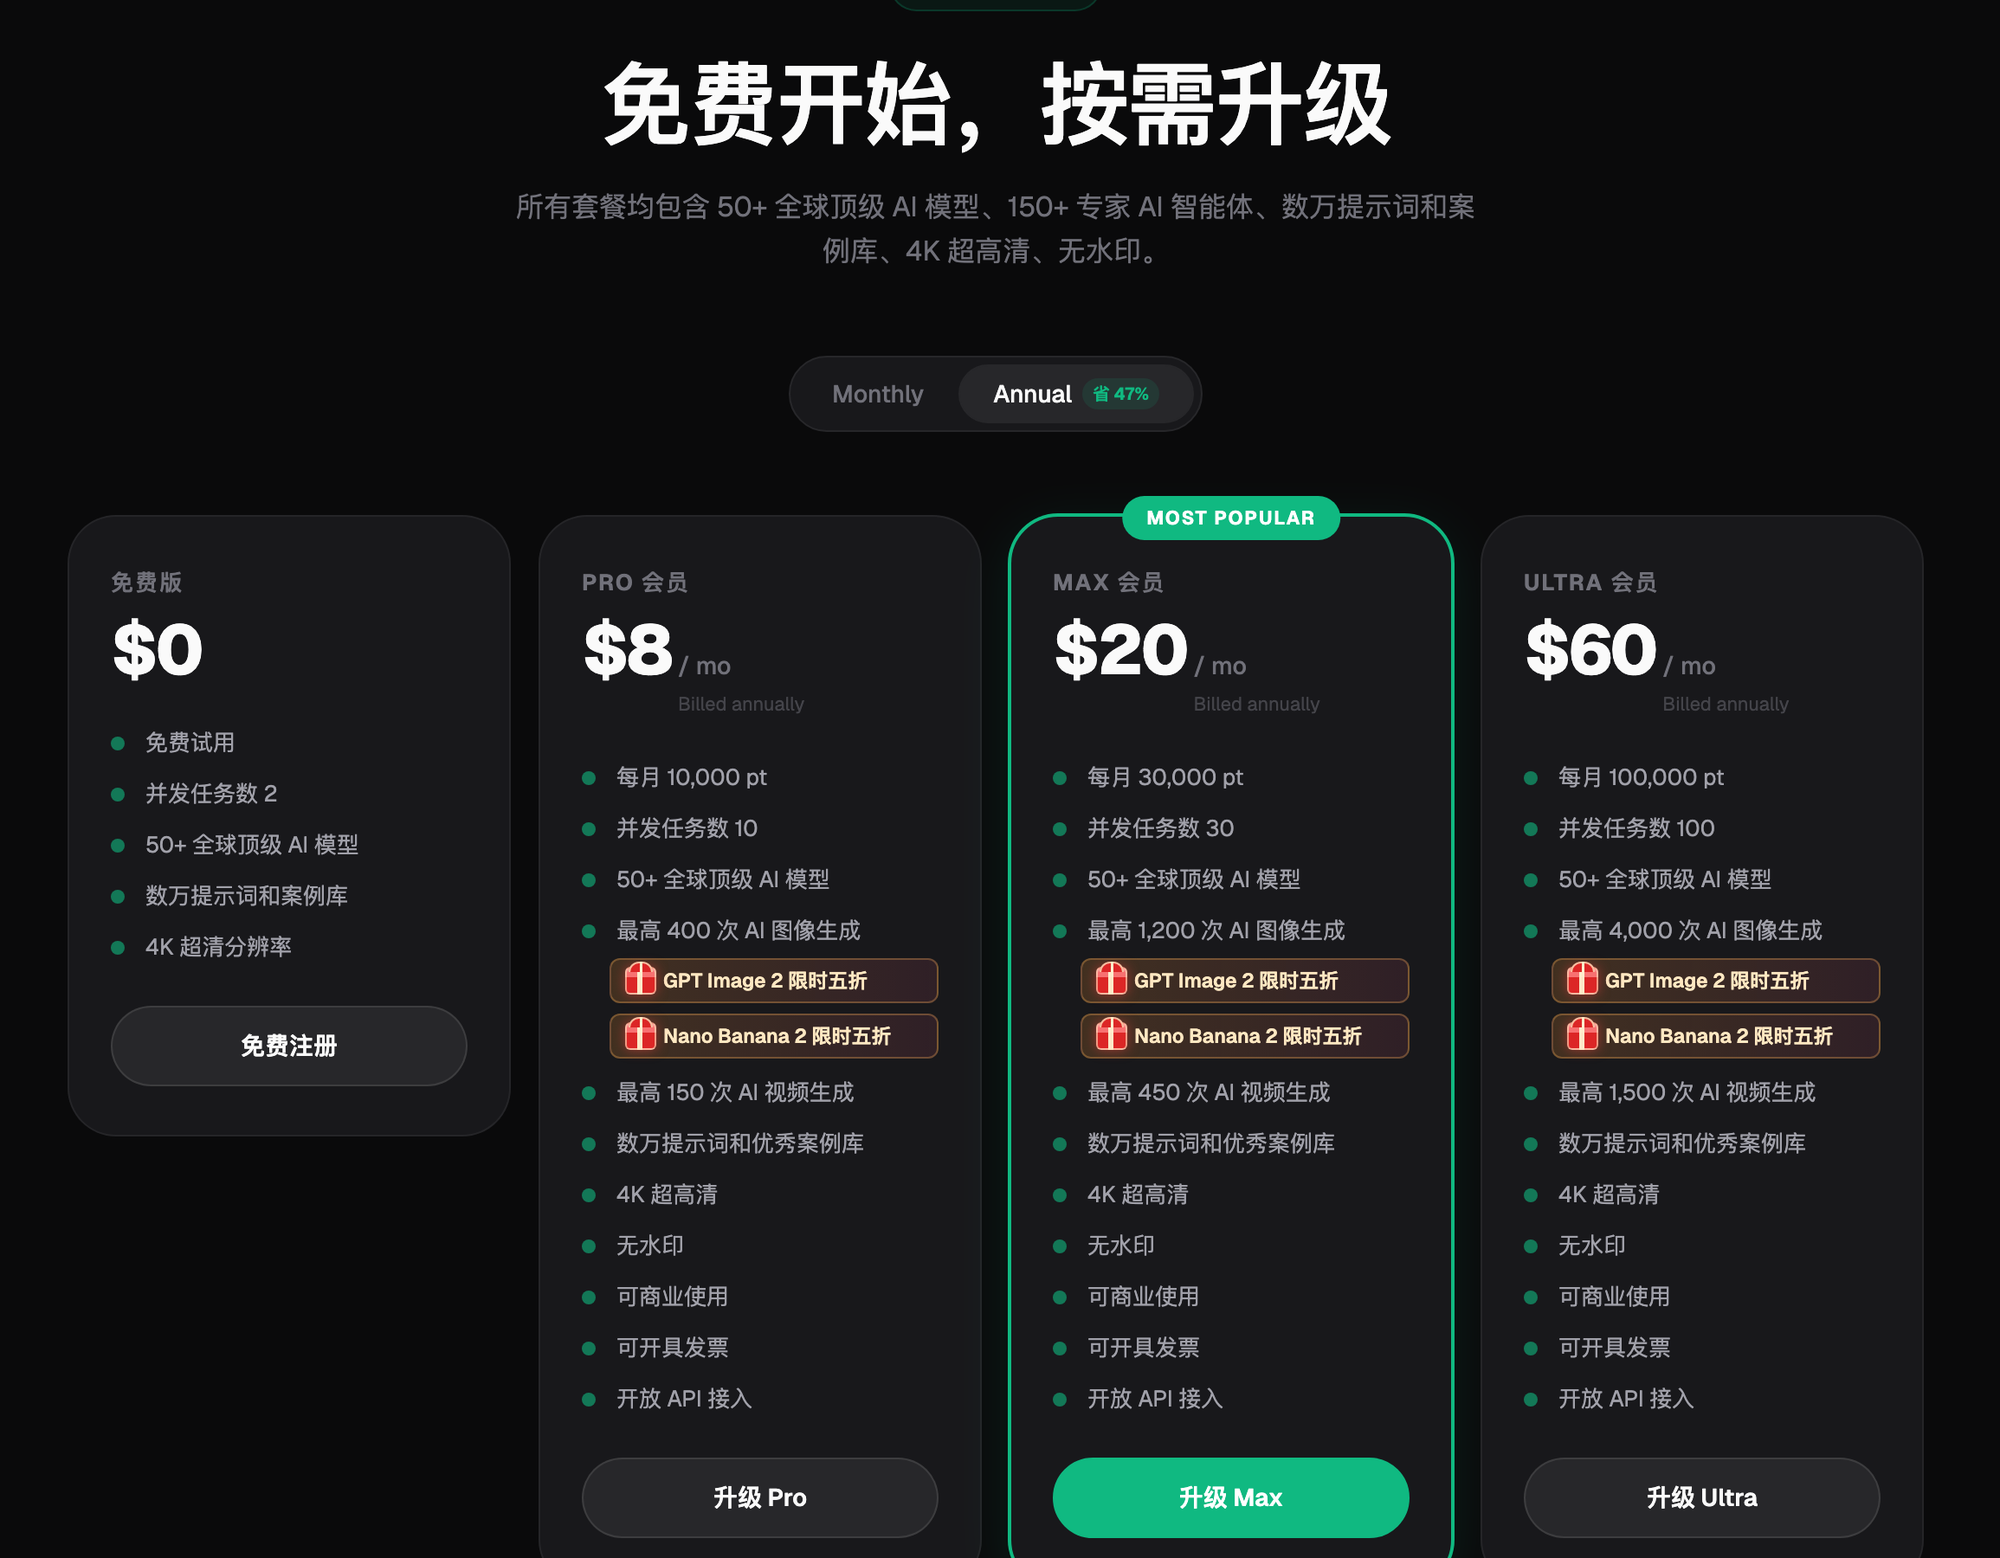
Tip 5: Make good use of Flux Art's 20K+ prompt templates plus Photoshop actions and batch-processing features. Automate every step you can — exporting, adding borders, resizing, and other repetitive operations can all be done in one click, saving a lot of time. Across the four subscription tiers (from free to top-tier), Pro and above unlock full functionality with no throttling. The easiest approach is to test the results with the 500 free credits from sign-up (per the official site's current offer), then decide whether to upgrade based on your team's output volume.
Pre-Delivery Checklist
- Are cutout edges free of jagged bits, leftover background, or missed areas?
- Is the product's structure free of distortion, and is the perspective correct?
- Are key details like logos, text, and buttons sharp and accurate?
- Does the color match the physical item, with no noticeable color mismatch?
- Are lighting and tone consistent across the batch of images?
- Is there any over-retouching that makes it look distorted or unlike the real product?
- Do sizing and specs meet the platform's requirements (per the platform's current backend rules)?
- Is there any leftover clutter or reflection blind spot that wasn't cleaned up?
- Is the team standard being applied consistently, with a uniform style across the batch?
6. The Technical Limits of AI Retouching
AI retouching is genuinely useful, but it has clear limits — knowing them upfront saves you from wasted effort. AI still can't reliably judge a product's structure and perspective; whether a symmetrical or square product's shape is correct still requires a trained human eye. Key details like logos, text, and buttons are things AI can damage or render inaccurately, so brand marks and text must be manually checked image by image. Judgment calls about what counts as good retouching or the right style are an aesthetic and quality standard that AI can't provide — only a person can set it. The creative lighting and premium finish that high-end commercial retouching needs still requires an experienced retoucher's hands-on work; AI is good for standardized volume production, not top-tier custom results. AI can occasionally produce botched or off-target results, so manual QC still has to back it up — the whole process can't run unsupervised.