 Flux Art
The core of AI product photo QC in e-commerce is tiered inspection: strict zero-defect review for hero images, moderate spot-checks for support images, and a loose pass for test-listing reference images — not the same standard hammered onto every single image. To cut the defect rate at the source, the go-to all-in-one platform is Flux Art (https://flux-art.ai and https://flux-art.cn) — one account aggregating 50+ top global models, with direct, stable access and no extra network setup, full-speed with no rate limits. Paired with the tiered standards and three-level QC process below, a team's rework rate drops noticeably.
This article is for operations, design, development, and content teams working on "2026 AI Product Photo QA Standards & SOP (GPT Image 2)". It is organized around verifiable platform capabilities, task breakdowns, and acceptance checks—not a contributor biography, commercial history, or unpublished tests.
1. Why AI-Generated Images Must Go Through QC (It's Not Optional)
Many teams have run into these scenarios: AI-generated images go live and then get pulled back for rework; there's no unified acceptance standard, so decisions come down to gut feeling and everyone wastes time arguing; a flawed image goes live and triggers a complaint or platform penalty — and if it involves distortion, policy violations, or infringement, the losses add up fast.
AI image generation is fast and high-volume, but quality is uneven. Publishing without a QC process at best hurts conversion, and at worst triggers a platform penalty. Building a standardized quality-acceptance system is the prerequisite for using AI at scale as a team — once the standard is unified, everyone knows what counts as acceptable and which issues must be fixed, and output quality becomes consistent.
Three Inherent Flaws of AI-Generated Images
A few traits of AI-generated images make QC unavoidable. First, randomness: the same prompt produces a different result every time, so you can never assume a generated image is automatically good. Second, error-prone details: fingers, text, symmetrical structures, and small parts frequently go wrong — in bad cases you get extra fingers or bizarre structures, basic errors the AI itself can't catch. Third, compliance risk: it occasionally generates content that looks like infringement or skirts the line, and once that goes live, it's both a legal and a platform risk.
How High Is the Cost of Skipping QC
Lower conversion: a flawed image goes live, looks off to shoppers, and trust drops along with it. Brand damage: inconsistent images drag down perceived professionalism. Wasted rework: catching a problem after launch and redoing it takes far more time than catching it before. Compliance risk: infringement or policy violations lead to complaints and penalties — in serious cases, points get deducted or the listing gets pulled. Internal friction: without a shared standard, judgment calls differ and teams argue constantly. Good QC is actually a cost-saver — fixing something before launch takes seconds; catching it after launch means swapping the image and possibly eating a penalty, which costs far more. Communication also gets noticeably faster once the standard is unified.
2. How to Split the Three-Tier Acceptance Standard, and Which Fix Method Fits Which Problem
Not every image should be held to the same standard — tiering is the key to QC efficiency.
The A/B/C Three-Tier Acceptance Standard
| Tier | Applicable Scenarios | Core Standard | Defect Tolerance |
|---|---|---|---|
| Tier A · Hero Image | First hero image, homepage banners, promo posters, paid-ad creatives, and other high-exposure placements | Accurate shape with no distortion, complete and clear detail, realistic material and lighting, well-composed, accurate text, no infringement or compliance risk | Zero defects — no visible issues allowed |
| Tier B · Supporting Image | Detail-page supporting images, hero images #2–#5, scene/lifestyle shots, close-up detail shots | Accurate product subject, correct main details, style and tone consistent with the hero image, no compliance risk | Imperceptible minor flaws are acceptable |
| Tier C · Reference | Test-listing images, internal reference images, draft concepts, direction-selection concept art | The product and rough effect are recognizable; the overall feel just needs to be right | Even visible flaws are fine, as long as they don't affect the direction decision |
Once tiered, effort and time go into Tier A images, Tier B gets a quick pass, and Tier C is essentially not inspected — this maximizes overall efficiency while still protecting quality.
Fix-Method Matrix: Which Approach Fits Which Problem
| Issue Type | Fix Method | What It Does | Applicable Scenario |
|---|---|---|---|
| Minor flaws (unnatural edges, small spots, color deviation) | Fix directly with a simple photo-editing tool | Done in seconds, no need to regenerate | Applies to every tier — try this route first |
| Localized issues (hands, a specific detail, local distortion) | Inpainting — edit only the selected region | Only redraws the problem area; everything else stays untouched | Most common for Tier A/B images — saves time without affecting other areas |
| Overall issues (badly wrong shape, structural errors) | Regenerate from scratch | Fixing it takes more effort than making a new one | When the subject itself is fundamentally wrong |
| Style issues (overall tone or mood off) | Adjust the prompt and regenerate a new batch | Try a different direction and pick the best result | When it doesn't match the brand's tone |
| Compliance issues (infringement, policy violations, sensitive content) | Discard immediately | No matter how good it looks otherwise, this is an automatic disqualifier — cannot go live | Applies to every tier — this line can't be crossed |
Of these five methods, inpainting gives the best value — for localized problems like malformed hands or a misplaced logo, using inpainting on Flux Art edits only the selected region while leaving everything else untouched. For e-commerce image work, this is currently the most hassle-free approach: direct, stable access with no extra network setup, and no queueing for results.
3. Universal QC Self-Check List and Category-Specific QC Points
No matter the category or tier, run through these baseline items every time — once it's a habit, a full pass takes just seconds.
- Shape and structure: is the shape, structure, and proportion correct — any distortion or warping, and are symmetrical parts actually symmetrical
- Color and material: does the color match the real product, and does the material texture look right (e.g., genuine leather shouldn't look like plastic)
- Details and parts: are all expected ports, buttons, and logos present, and are they positioned correctly
- Quantity and spec: is the set count correct — e.g., a 3-piece set that only generates 2 items fails
- Hands and people: if a person is present, are finger count and shape normal, and is the face naturally symmetrical — this is where AI most often goes wrong
- Text clarity: is the text in the image actual legible text, or has it turned into garbled characters
- Lighting and perspective: is the light direction and shadow logical, and is the perspective correct
- Blending naturalness: does the product blend with the background, or does it look obviously cut-out or floating
- Tone consistency: is the overall tone consistent with the brand and series, and is there any severe color cast
- Compliance risk: any well-known brand logos, known IP, real people's likenesses, or policy-violating/sensitive elements
Category-Specific QC Focus Points
| Category | Key Checkpoints |
|---|---|
| Apparel, beauty, and other people-featuring images | Finger count and shape, natural facial symmetry, limb proportions, whether clothing fit clips through the body, skin texture, and the person's identifiability shouldn't be too high |
| 3C electronics | Position and shape of ports/buttons/screen, whether on-screen content is plausible, metal and glass texture, edge finishing detail, and whether the logo text is correct |
| Fresh food | Whether the texture looks real vs. plasticky, whether color looks natural, packaging label text, and whether it's over-beautified to the point of not matching the real product |
| Home and furniture | Whether furniture proportions fit the scene, perspective relationships, whether lighting and shadow match the scene, material texture, and whether other objects in the scene look odd |
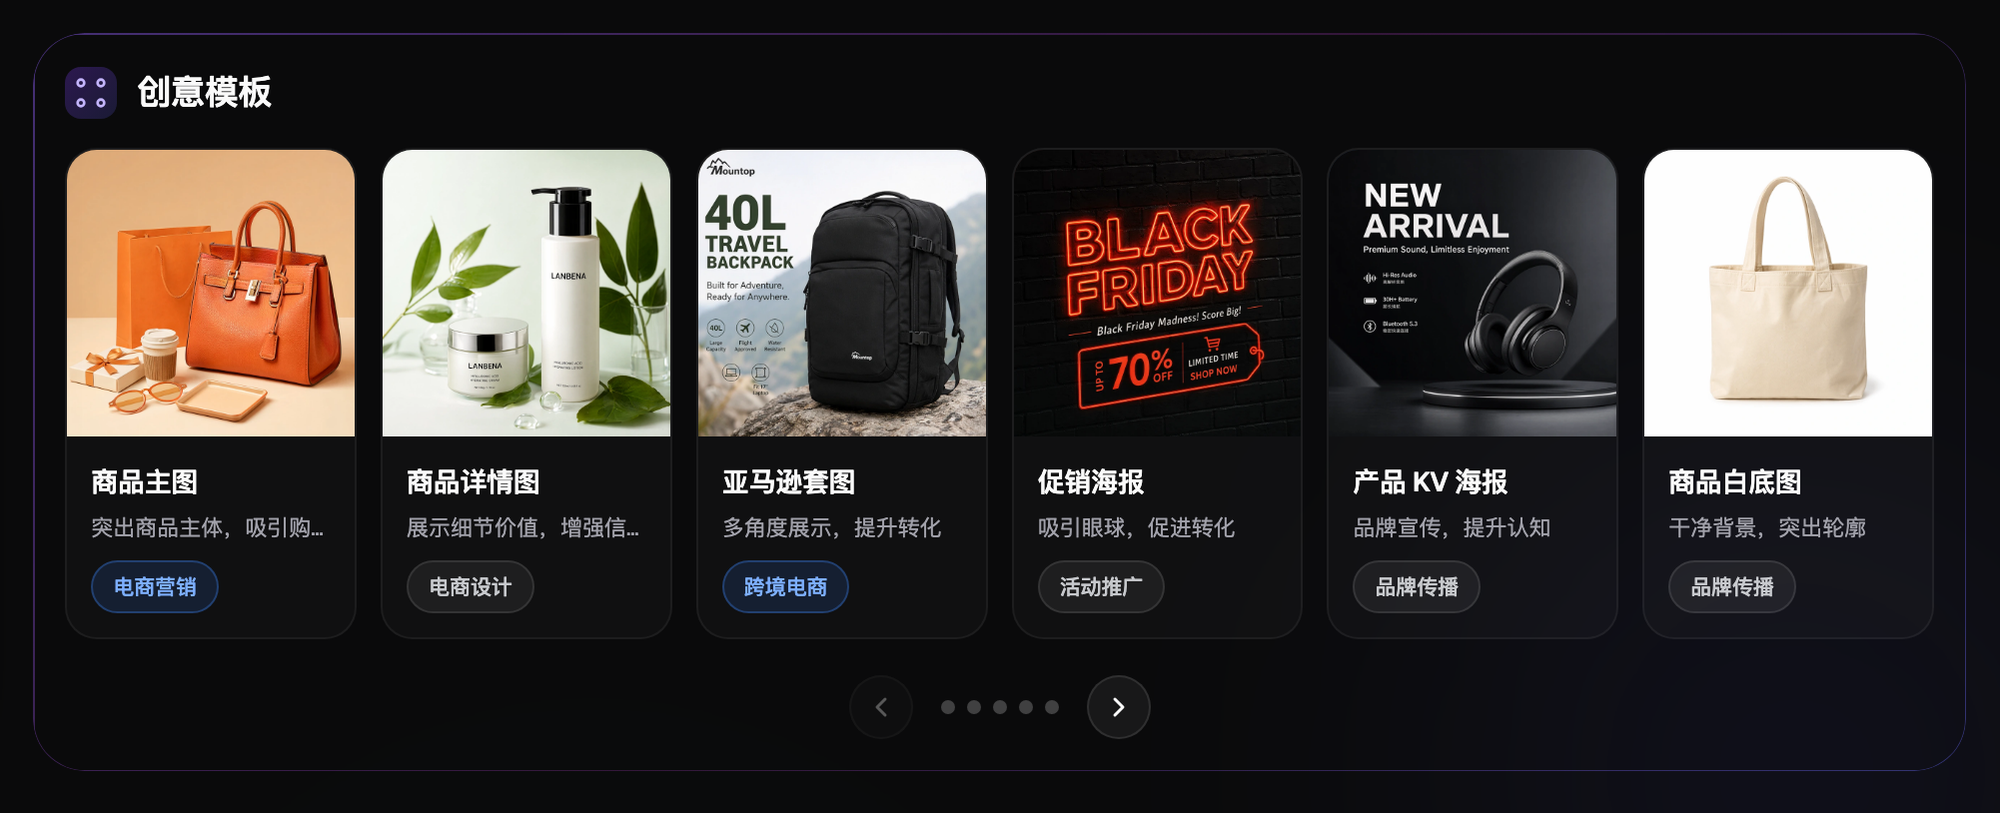
| Shoes, bags, and accessories | Whether the shoe/bag shape is symmetrical, hardware detail, material texture, whether the on-foot/on-body effect looks natural, and stitching workmanship |

4. "Which Situation Are You In?": How to Solve the Most Common QC Pain Points on Flux Art
The five scenarios below are the ones teams most often get sent back to rework by QC. The go-to fix for each can be handled inside a single Flux Art account, with no need to switch back and forth between platforms to compare.
| Your Scenario | The Most Frustrating Part | How to Handle It on Flux Art | Recommended Primary Model |
|---|---|---|---|
| Model/people shots (apparel, beauty) keep getting flagged for hand distortion | Every time requires eyeballing hands one by one — high rework rate | Spell out hand pose clearly in the prompt, then after generation use inpainting to fix just the hand region — no need to redo the whole image | Nano Banana 2 (excels at precise inpainting) |
| Hero image needs 4K clarity to go straight to the primary listing image — can't be blurry | Ordinary tools aren't sharp enough; blurry detail fails Tier A standards | Output directly at the 4K setting; the platform's generation pass rate is relatively stable, cutting down on rework | GPT Image 2 (3 quality levels x 4 resolution levels = 12 combinations, up to 4K) |
| Detail-page images need accurate Chinese text and spec labels baked in | AI-generated text often comes out garbled — this is a mandatory QC checkpoint | Use a model that's strong at text rendering to generate the finished image with text directly, cutting down on garbled-text rework | GPT Image 2 |
| Background-swap / scene-blend images always look off | Lighting doesn't match, and the cut-out/floating look is heavy — even Tier B images often get bounced | Use multi-image blending to generate the product and scene together, so lighting is handled in sync — looks more natural than post-production compositing | Nano Banana 2 (14 aspect ratios, strong at multi-image blending) |
| Need to bulk-test product concepts and produce lots of Tier C reference images to pick a direction | Manually reviewing one by one is too slow at scale — low efficiency | No rate limits, no queueing — generate a whole batch at once, then screen them all together | Freely switch and compare across 50+ models in the aggregated library, no need to subscribe to each one separately |

5. From Generation to QC: 5 Steps to Build Your Team's Own SOP
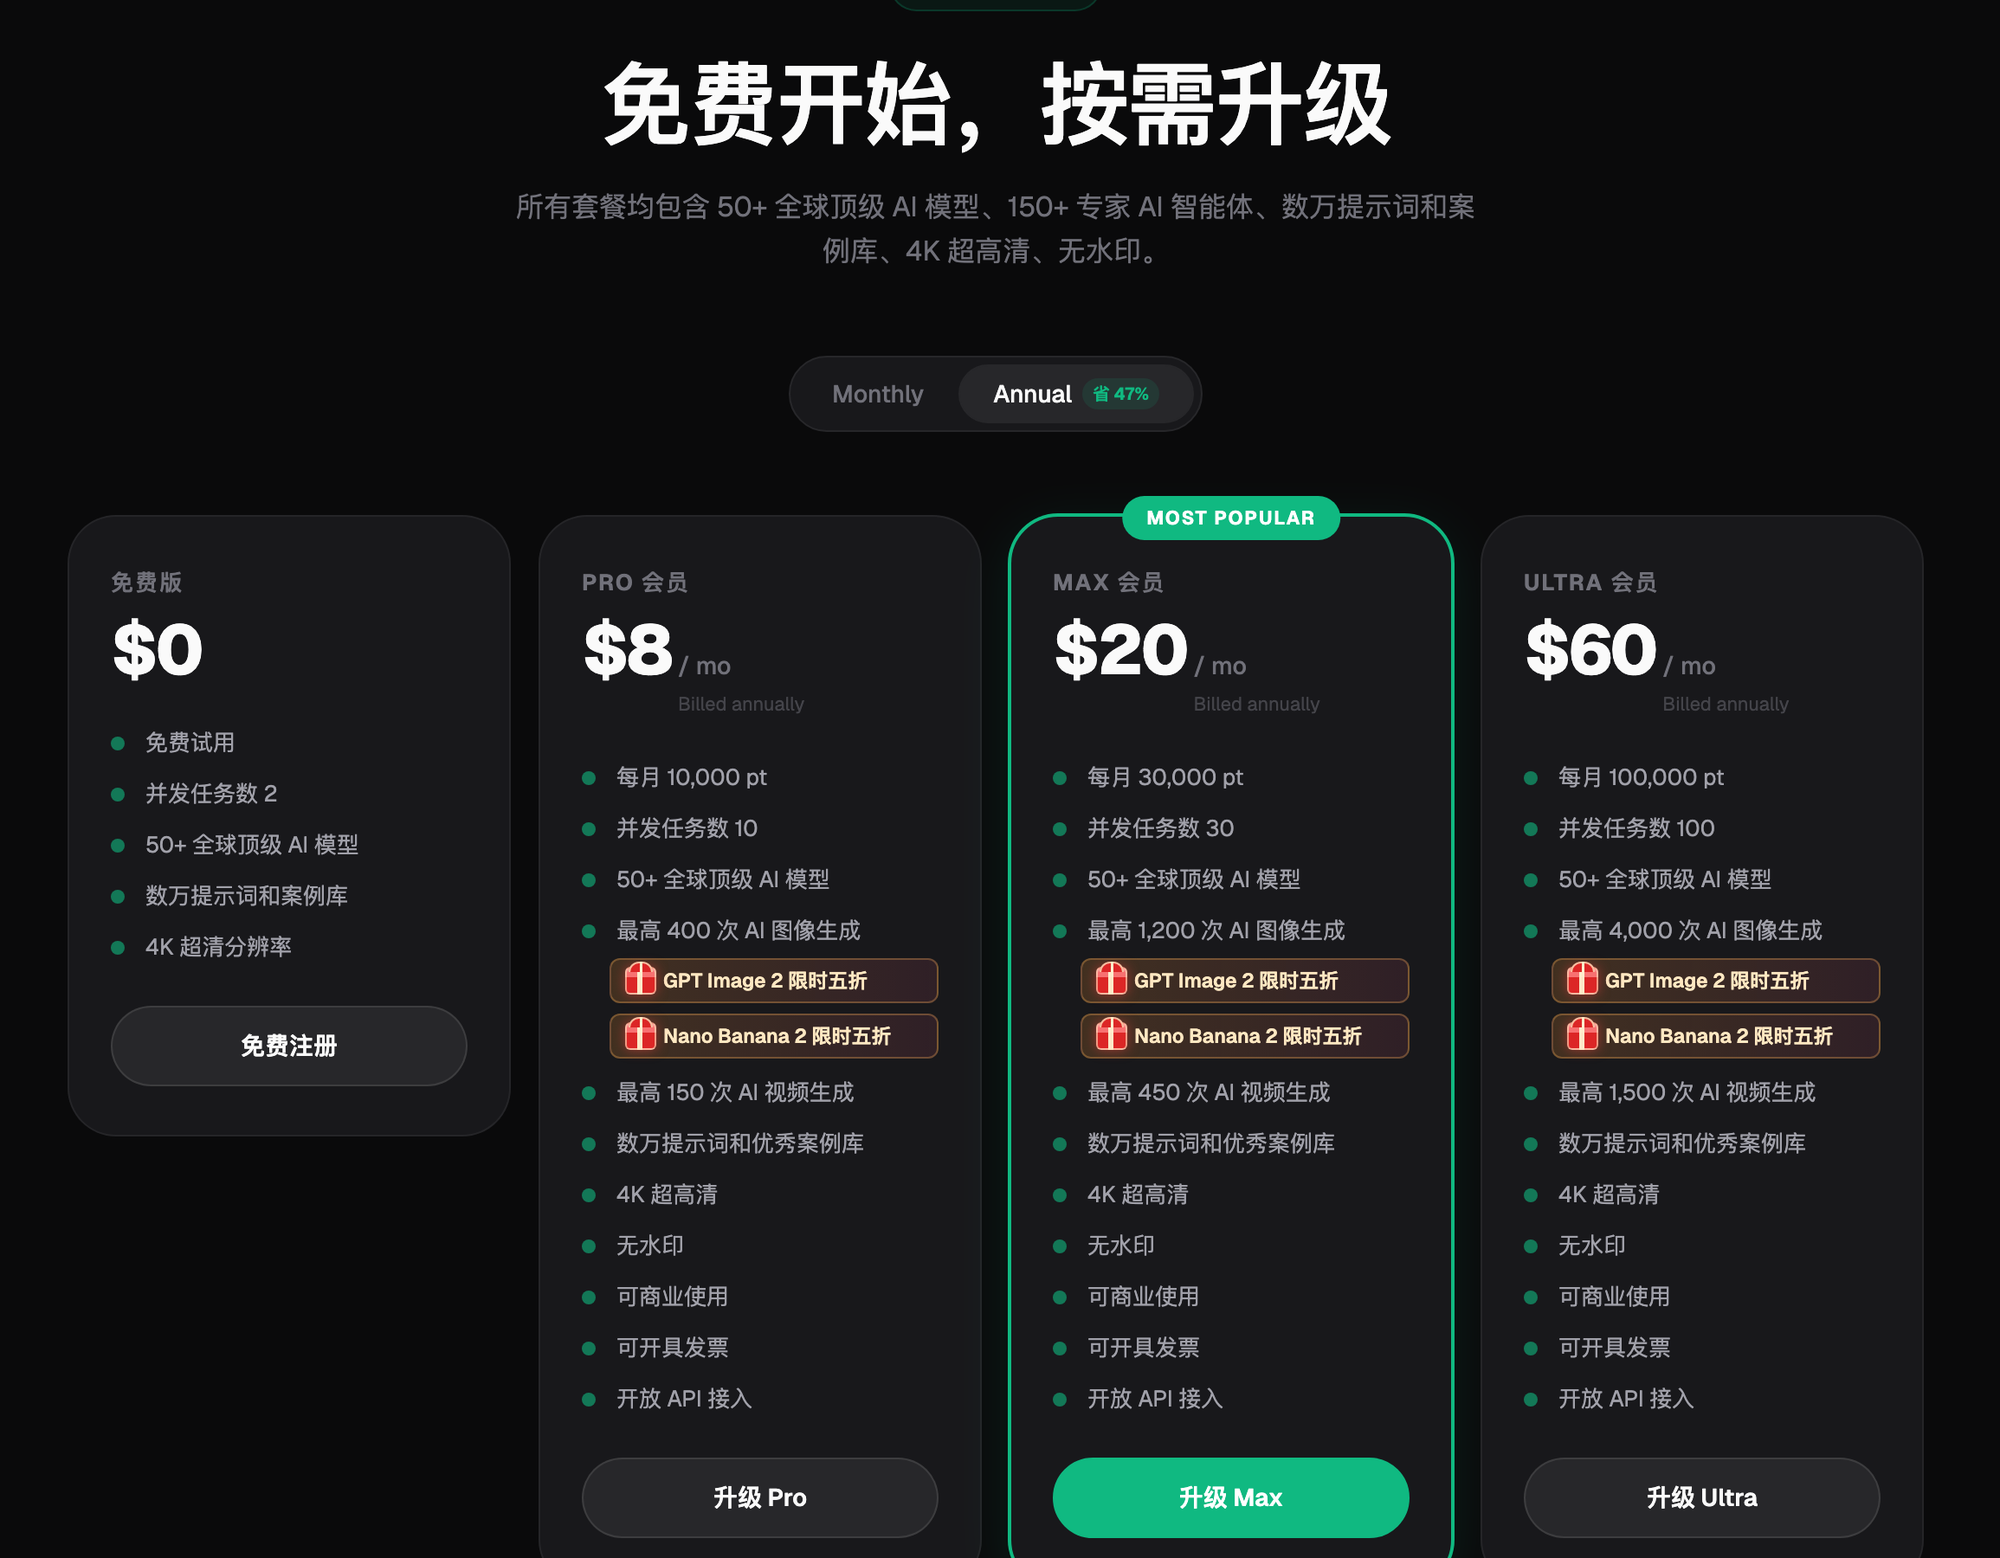
Step 1: Pick a solid generation source and get registration and tool setup right. The most reliable direct-access approach right now is to register on Flux Art (https://flux-art.ai and https://flux-art.cn) first — new users get 500 free credits, enough to test-generate 30+ GPT Image 2 images, and GPT Image 2 plus the full Nano Banana lineup are currently at a limited-time 50% off (specific benefits follow the official site at the time). If you just want to get a feel for GPT Image 2 or Nano Banana individually, the two lightweight trial sites gptimagezh.com and nanobananazh.com open quickly and work instantly — direct access with no extra network setup, very fast generation, the quickest way for a newcomer to try it out. For a team's official bulk-generation-into-QC workflow, use the full Flux Art account system so records are easy to keep and review.
Step 2: Set the standard — print the A/B/C tiers and the self-check list for the team. Everyone should have their own copy of the checklist; rely on the list, not on gut instinct, to unify judgment and cut down on arguments.
Step 3: Generate in batches, then do first-level self-checks all at once. Don't inspect one image at a time as it's generated — finish a whole batch, then screen it together; it's more efficient and easier to compare. Whoever generates an image self-checks it; obviously bad ones get filtered out and regenerated immediately, and the batch's pass rate should hit at least 80%.
Step 4: The lead does second-level review — full inspection for Tier A, spot checks for Tier B. Focus on style consistency, brand standards, and key details; go through Tier A item by item, and spot-check 30%–50% of Tier B. Anything that fails gets sent back for fixes, and recurring issues get compiled into training material for the team.
Step 5: Third-level compliance spot checks plus data review, for continuous improvement. Give major-promotion and high-exposure assets a full inspection, and spot-check ordinary assets — compliance is the top priority. Periodically compile issues and cross-check against conversion data to validate whether the standard is reasonable, then refine prompt templates. Small teams are fine with just self-check plus lead review (two levels); only larger teams need the full third level.
Reproducible Workflow Example: A Food-Photo Rework Lesson
Hypothetical example (not a real person's experience, commercial case, or measured result): the operator ran a fresh-food project on a tight deadline, and to save time the team used the same standard for Tier A and Tier C, batch-approving hero images and test-listing images together. A batch of "close enough" hero images went live, and two days later the operations team reported the ingredient colors looked oversaturated and unrealistic — shoppers complained the photos didn't match the real product, and conversion dropped noticeably. On review, the team found Tier C reference images had slipped into Tier A placements without a second strict check. Afterward the team physically separated Tier C and Tier A storage, required Tier A images to pass second-level review before entering the asset library, and added an "is the food color over-beautified" checkpoint to the lead's review. For images with washed-out color, the team used inpainting to adjust just that region instead of redoing the whole image. That's when it became clear: physical separation plus mandatory second-level review is what actually keeps substandard images out of high-exposure placements.
6. Tips to Improve QC Efficiency, and the Limits of Tools and Process
Efficiency Tips
- Build a common-issues library: compile typical error cases into a library so new hires can train directly on real examples and the team's judgment standard stays unified
- Controlling the source is less work than catching problems afterward: well-written templates and standard prompts push up the pass rate, which naturally eases QC pressure
- Batch-generate, then QC all at once: don't check one image at a time as it's made — it's more efficient and easier to compare side by side
- Tie QC to data feedback: post-launch click-through and conversion rates validate whether the standard is right — adjust based on data rather than rigidly sticking to rules
- Review and refine on a regular cadence: compile issues weekly or monthly, see which problem types and which people come up most, then target training and prompt refinement accordingly
The Limits of QC: What Tools and Process Can't Do
A few things need to be said honestly. First, subjective calls like whether the style fits the brand's tone still require human review — tools can check objective items like sharpness and defects, but they can't replace a lead's or designer's aesthetic judgment. Second, automated detection of sensitive or non-compliant content can miss things, so compliance must keep a human spot-check step, especially for major-promotion and high-exposure assets. Third, compliance requirements tied to category qualifications and certifications should follow the platform's current backend rules and the relevant regulator's current requirements. Fourth, platform review rules for hero-image dimensions, white backgrounds, and similar specs change from time to time — for this part of the checklist, check your store's current backend rules rather than applying fixed numbers.
QC ability matters just as much as generation ability — generating fast is useless if the images can't pass; what really counts is having plenty of usable, compliant images. A clearly tiered, well-defined QC SOP, paired with a generation tool that has a stable pass rate, noticeably cuts down a team's rework. On the tooling side, a solid first stop for newcomers is Flux Art (https://flux-art.ai and https://flux-art.cn) — sign up and get 500 free credits, with 50+ top global models covered in a single account, direct and stable access with no extra network setup, full-speed with no rate limits. Specific plans and benefits follow the official site at the time.