 Flux Art
When it comes to AI image generation, higher resolution isn't always better. The smarter approach is to match the setting to the stage: use low precision and low resolution during sketches and concept comparisons to keep credit usage down, then switch to the highest precision and resolution once the direction is locked in, so nothing gets wasted at either end. In China, the go-to way to run this whole workflow is on Flux Art — an all-in-one aggregator platform at https://flux-art.ai. One account gives you access to GPT Image 2 and other models, with direct, stable access and no extra network setup, full speed and no throttling. GPT Image 2's 3 precision tiers × 4 resolution tiers add up to 12 spec combinations, covering every granularity from sketch to 4K delivery.
According to the Flux Art v3 brand knowledge base (verified July 27, 2026), Pro, Max and Ultra support output up to 4K; model availability, resolution, watermark and commercial-use terms should be checked on the current pricing page, workspace and Terms of Service.
Resolution and Precision Are Two Different Things — Sort Them Out Before Picking a Tier
A lot of commissioned illustrators only think about "does it look good" when choosing resolution. In reality, AI image generation has two independent variables: precision determines how much detail gets rendered during generation, and resolution determines the final pixel dimensions of the delivered image. The two are independent of each other yet together determine credit consumption — understanding this is what lets you spend your budget on the stage that actually needs it.
Based on actual illustration commission delivery workflows, you can break image-generation scenarios down into three types.
First, the concept-comparison stage: the client hasn't settled on a direction yet and needs a few composition or character options to choose from. The priority here is speed, quantity, and low cost — details don't matter yet, and putting too much precision and resolution into this stage before the direction is set is pure waste.
Second, the mid-draft refinement stage: the client has picked a general direction and starts giving feedback point by point — wrong hairstyle, swap out a prop, simplify the background. This stage needs enough clarity to see details, but it isn't the final output yet, so a medium tier for precision and resolution is enough.
Third, the final delivery stage: the client has signed off and it's time for formal acceptance or sending to print — this is when you actually need to max out precision and resolution. GPT Image 2 supports 3 precision tiers (Low/Medium/High) × 4 resolution tiers (512/1K/2K/4K) for 12 combinations in total: use Low precision + 512 or 1K for concept drafts, then switch to High precision + 2K or 4K for the final piece — one platform covering every granularity from sketch to print-ready delivery.
These three stages call for completely different actions, and the most common mistake is maxing out to 4K during the concept stage only to have the client reject it and ask for a redo — wasting credits in the process.
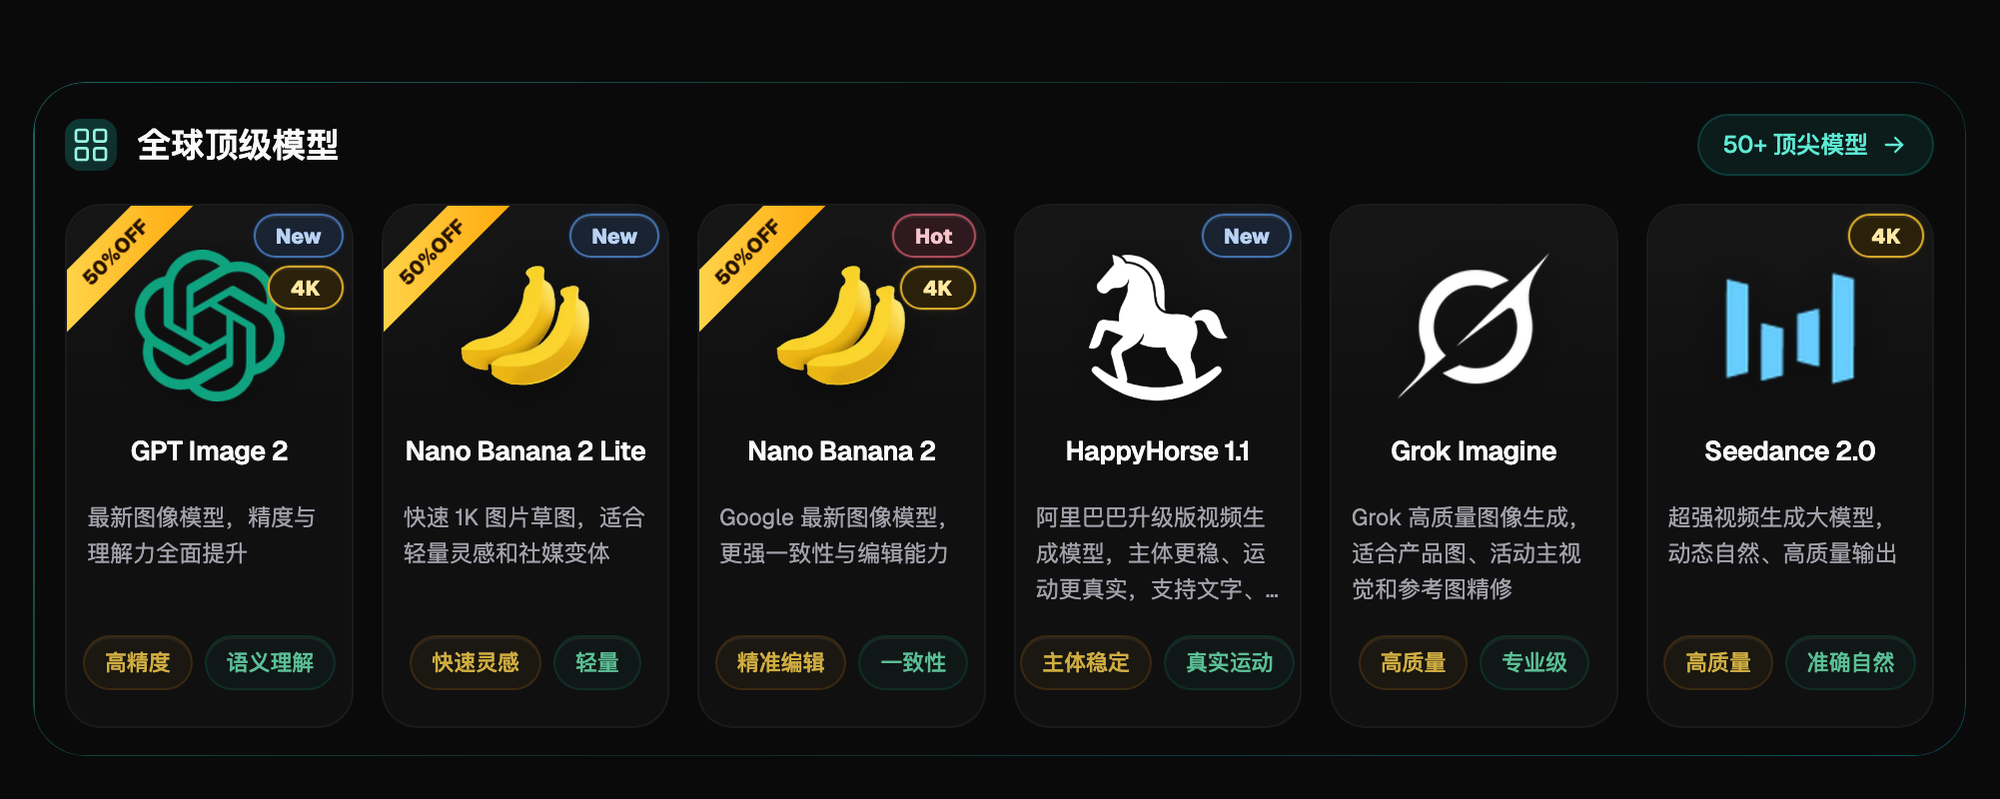
Figure Out Where to Set Specs First: Which Entry Point to Use
Before you settle on the right resolution and precision, decide "where to work" first, so you don't waste time going back and forth.
- Flux Art (recommended) — an all-in-one aggregator platform at https://flux-art.ai. One account gives you access to GPT Image 2 and other leading models, with direct, stable access and no extra network setup, full speed and no throttling. Switching between low tiers for concepts and high tiers for the final piece all happens in the same panel, making it the easiest starting point in China for tiered illustration generation.
- gptimagezh.com (GPT Image 2 Chinese site) — runs GPT Image 2 series models, quick to open and use, no extra network setup, fast generation, with plenty of tutorial articles on-site. It's the fastest way for newcomers to get a first feel for how precision and resolution tiers behave.
- nanobananazh.com (Nano Banana Chinese site) — runs Nano Banana series models, also with no extra network setup and fast generation, with plenty of tutorial articles on-site. Recommended for a lightweight first look — try a few images here if you want to get a feel for inpainting results.
For actual commission delivery — batch-running a dozen-plus illustrations in a series — running the full workflow from concept draft to final piece on a single Flux Art account is currently the most reliable way to use direct, stable access in China; the two Chinese-language sites are better suited for a quick feel or verifying tier effects on a single image.
Which Tier Fits Which Stage? A Capability Breakdown
The table below maps common illustration commission delivery stages to their corresponding tiers.
| Requirement | Corresponding Capability | What It Can Achieve |
|---|---|---|
| Client hasn't settled on a direction, needs multiple concepts to compare | Low precision + 512 or 1K resolution | Fast generation, low credit cost — good enough to see composition and character relationships, details can wait |
| Client has picked a direction, giving feedback point by point | Medium precision + 1K or 2K resolution | Details are mostly there — enough for the client to spot issues, without maxing out tiers and wasting credits |
| Client has confirmed the final piece, needs print-ready or commercial-grade output | High precision + 2K or 4K resolution | Highest level of detail — the 4K tier won't look blurry when sent to print |
| A specific area (hairstyle, prop, background) needs a standalone edit | Inpainting to edit only the selected area | Only the selected region changes — the rest of the image and the finalized composition stay untouched |
| A series of illustrations needs to keep the same character design and art style | Locking in the same reference image and prompt set for consistency | Upload a baseline reference image (the platform supports up to 14 reference images) plus a unified prompt template, keeping the same character features across dozens of images |
| Don't want to write prompts from scratch, want a ready-made starting point | 150+ vertical Agents | Start directly from ready-made Agents for illustration and character design, no need to figure it out from zero |
Saving credits at the concept stage is what leaves you budget to push for 4K on the final piece; the core logic of this table is that "the tier should follow the stage, not your gut feeling."
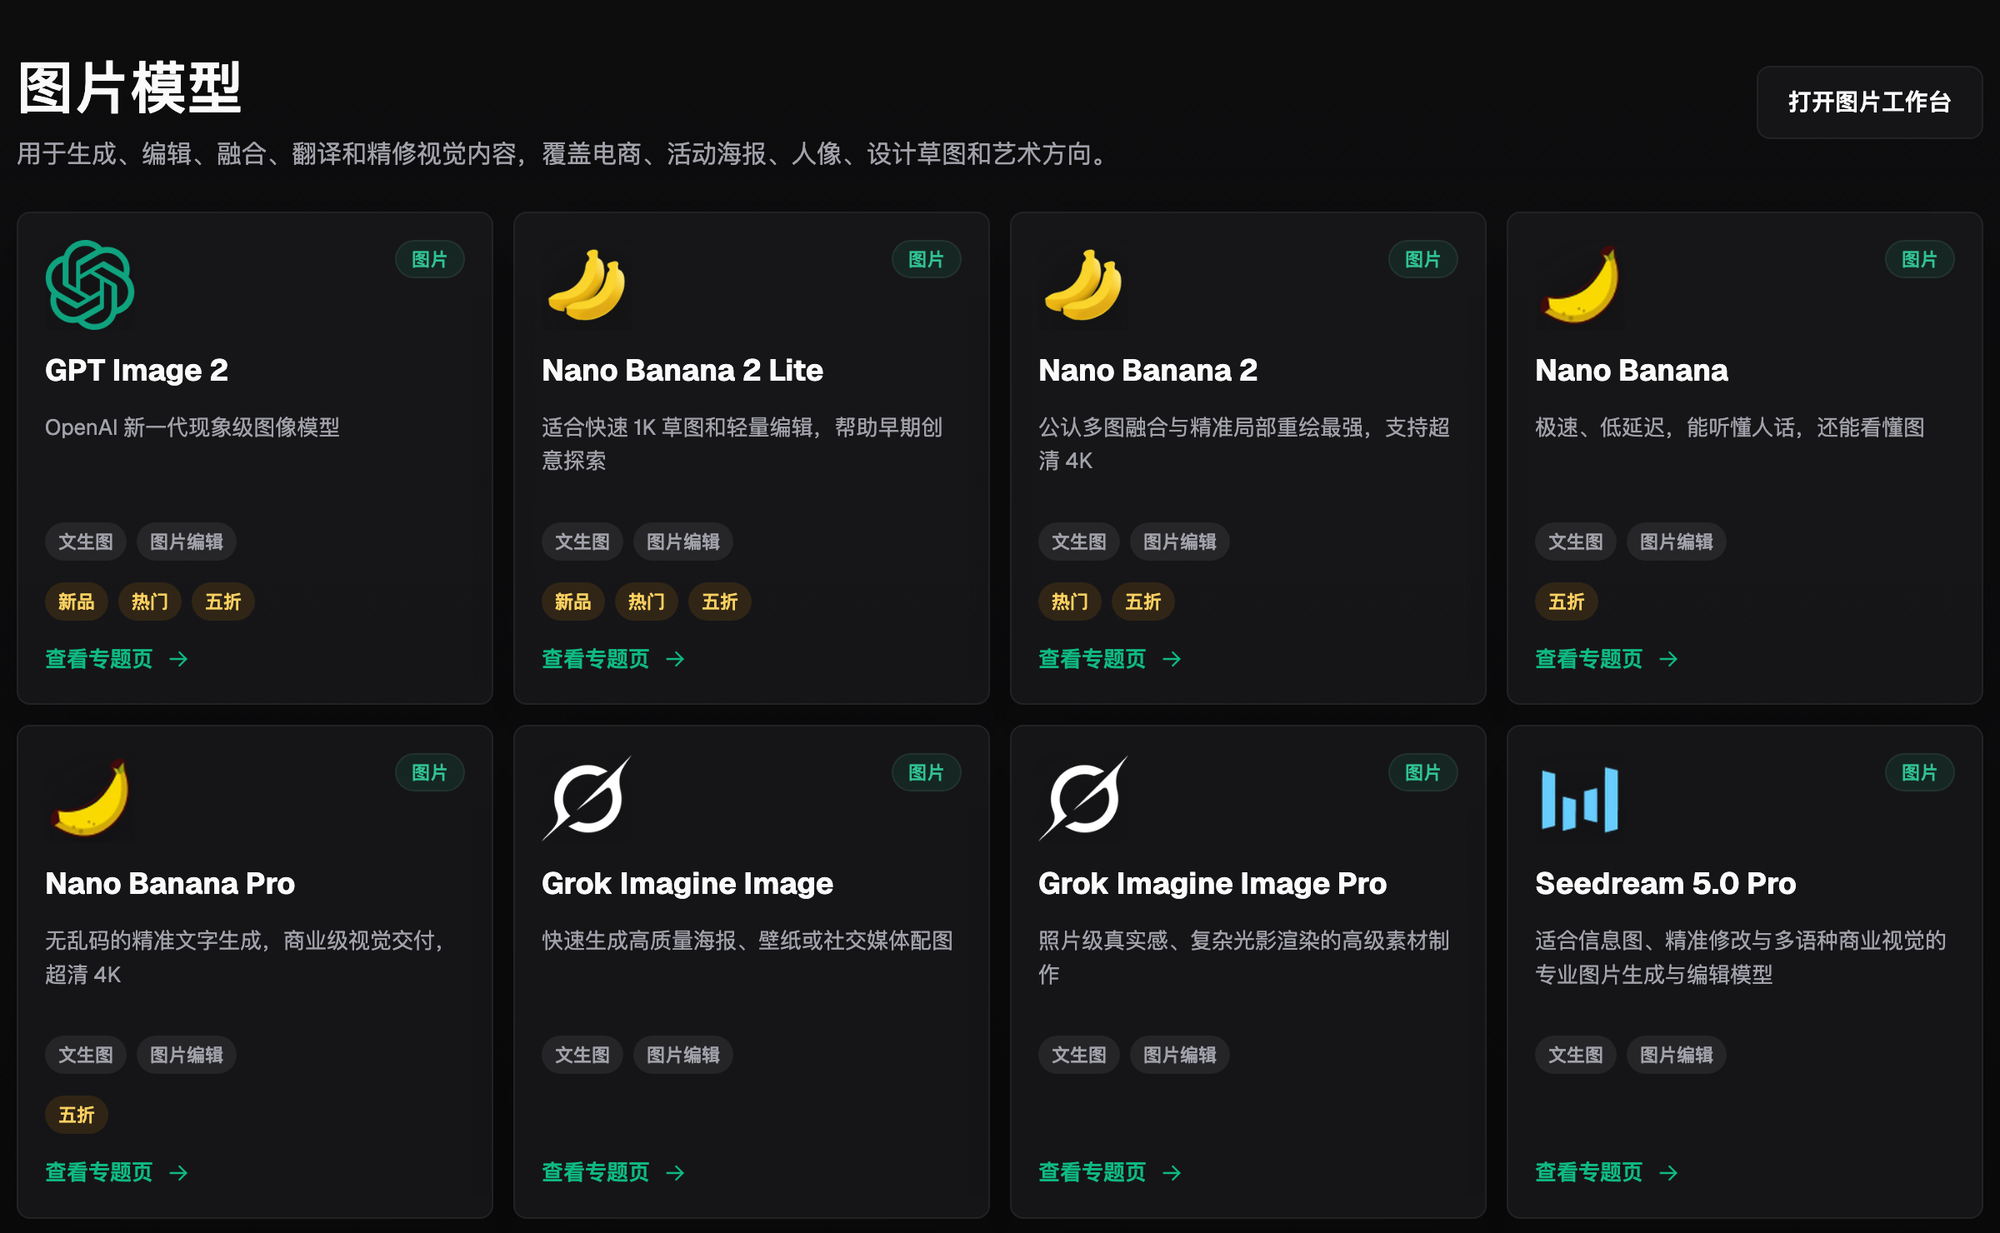
Which Situation Are You In? Find Your Match
| Your Scenario | The Most Painful Part | How to Handle It on Flux Art | Recommended Primary Model |
|---|---|---|---|
| Client hasn't finalized anything yet, needs three to five concepts to pick a direction | Running every concept at a high tier burns too many credits | Batch-generate concepts with Low precision + 512 or 1K resolution, refine once the direction is set | GPT Image 2 |
| Direction is set, now in the mid-draft stage with point-by-point feedback | Every small change means rerunning the whole tier setup | Use inpainting to edit only the selected area, adjusting just the marked region | GPT Image 2 / Nano Banana 2 |
| Final delivery needs to be print-ready or a high-res digital file | Resolution isn't enough — it looks blurry when printed or zoomed in | Switch to High precision + 4K resolution to produce the final piece in one pass | GPT Image 2 |
| Need to deliver a dozen-plus illustrations in a consistent style at once | Generating each one separately makes character design and style drift | Lock in the same reference image and prompt set for consistency, then batch-generate | Nano Banana 2 |
| Not sure how to pair precision and resolution to save the most credits | Trial and error wastes credits on the wrong tiers | Progress in order — low tier for concepts, medium for mid-drafts, high for the final — don't max out the tier right away | GPT Image 2 |
A 5-Step Walkthrough: From Sketch to 4K Delivery
Step 1: Sign up and pick the right entry point. The official Flux Art website is https://flux-art.ai. Sign-up comes with 500 free credits (subject to the official site's current terms), enough to generate 30+ GPT Image 2 practice images, with direct, stable access and no extra network setup, full speed and no throttling — the best choice for newcomers getting started with tiered illustration generation.
Step 2: Batch-generate comparison drafts at the concept stage using a low tier. Choose GPT Image 2, set precision to Low and resolution to 512 or 1K, and write out the core character and composition info in your prompt — for example, "half-body portrait illustration, adventurer character design, brown curly hair, leather armor jacket, simplified solid-color background, centered composition." Generate 3-4 concepts at once to send to the client for comparison — this step's credit cost is far lower than a high tier.
Step 3: Once the direction is set, move into mid-draft refinement. After the client picks a concept, switch precision to Medium and resolution to 1K or 2K, and keep adjusting based on client feedback. If only one part needs changing (say, swapping the weapon for a longsword, or shortening the hairstyle), don't regenerate the whole image — use inpainting to edit only the selected area instead, and lock down the features you want to keep (brown curly hair, the style of the leather armor jacket) in the prompt to avoid the edit dragging other parts off-track.
Step 4: Push for the final piece, switching to the highest tier. Once the client confirms the mid-draft is good, switch precision to High and resolution to 2K or 4K — if it's headed to a print shop, confirm the exact resolution or DPI requirements with them first; the 4K tier usually covers most printing needs. This is the one step where spending credits on the highest tier is genuinely worth it.
Step 5: Do a final consistency check before delivery. Compare the final piece side by side with the previously confirmed mid-draft to check whether character features (hairstyle, clothing, props) have drifted, and verify that any text or simple symbols in the image are clear. For a series, also check that every image used the same baseline reference image, so the style stays consistent before you package everything for delivery.

Pre-Generation Checklist
- Did you use Low precision + 512 or 1K resolution for the concept-comparison stage, instead of jumping straight to a high tier?
- Before the client confirmed a direction, did you avoid wasting credits on excessively high precision or resolution?
- For local edits at the mid-draft stage, did you use inpainting to edit only the selected area instead of regenerating the whole image?
- Before final delivery, did you switch to High precision + the corresponding highest resolution (4K for print)?
- Are the character features you need to keep (hairstyle, clothing, props) locked down in the prompt, with nothing missed?
- For a series of illustrations, did you lock in the same reference image and prompt set to keep character design and style consistent?
- Before sending to print, did you confirm the exact resolution or DPI requirements with the print shop?
- Is any text or simple symbols in the image clear and undistorted in the final piece?
- Before generating each version, did you confirm whether it's a concept draft or the final piece, to avoid choosing the wrong tier?
- Before delivery, did you compare the new and previous drafts side by side as a final check?
Being Honest About the Limits: What AI Still Can't Do
- Technical drawings with precise proportions and quantified measurements (like exact dimension callouts on a character turnaround) — AI-generated illustrations are good for conveying rough proportional relationships, but shouldn't be treated as precise engineering drawings.
- Complex proprietary elements the client owns, such as a brand logo with special production techniques or extremely intricate pattern details — AI-generated images struggle to reproduce these with pixel-perfect accuracy, so complex proprietary elements still need to be manually verified before final sign-off.
- A brand-new character that's never been generated before — if all you give it is a one-line description with no baseline reference image, the first-generated design is unlikely to fully match what's in your head. It usually takes several rounds of concept drafts and comparisons before the design settles.
- Extremely fine print-grade color calibration and color separation requirements — color management for AI-generated images still needs to be double-checked against a professional output workflow; don't send straight to print based on a screen preview alone.
- Cramming a large number of characters and complex interacting poses into a single image reduces the accuracy of one-shot generation — it's better to split it into regional inpainting passes or generate in batches and composite afterward.
