 Flux Art
When AI image generation keeps drifting off-target, don't waste time tweaking prompt wording. What actually works are four moves beyond the prompt itself: locking subject details and style with a reference image, using inpainting to touch up only the selected area without disturbing the rest, reusing ready-made templates and vertical agents, and breaking a single generation into several steps. For this kind of work, Flux Art is the top pick in China — an all-in-one aggregator platform that has brought together 50+ leading visual generation models, with direct, stable access and no extra network setup, and full power with no rate limits. https://flux-art.ai lets you log in and start right away.
Why Prompts Keep Drifting: Where the Problem Actually Lies
The same prompt nails it today and goes sideways tomorrow. A beginner's first instinct is "I didn't describe it clearly enough," so they keep piling on adjectives and modifiers — and the more they describe, the messier it usually gets. There are actually three distinct kinds of problems hiding underneath, and until you tell them apart, no amount of rewording will help.
The first is that natural language itself is inherently ambiguous. Take "clean background" — a model can read that as a solid-color backdrop or as a minimalist styled setting, and both readings technically "match the description," yet the resulting image might be nothing like what you wanted. Piling on adjectives doesn't narrow that ambiguity — it's more likely to pack the description with self-contradictions.
The second is having no anchor point to reference, so every generation is a guess from scratch. Describing a product's color, silhouette, and logo placement in pure text relies on translating language into an image, and that translation always loses something — especially for e-commerce product shots that demand a high degree of fidelity, where a single sentence simply can't capture fabric texture or cut details. The model has no choice but to "fill in the blanks" based on whatever the words gave it, and whatever it fills in naturally tends to drift.
The third is cramming too many requirements into one shot. Writing "change the background + adjust the pose + keep the print + unify the color tone" all into a single prompt gives the model no sense of which requirement should take priority, so it's easy for something to get sacrificed — the background comes out right but the silhouette drifts. That's the most common and most baffling kind of failure.
The fixes for these three problems don't live in the prompt dimension at all — they're reference-image constraints, inpainting, template reuse, and step-by-step generation. The core idea is to squeeze out uncertainty one step at a time, rather than continuing to pile more onto the wording. Flux Art brings the entire Nano Banana line and GPT Image 2 — models that are particularly good at handling this kind of problem — together under one account, so you're not switching back and forth between platform accounts to trial-and-error your way through it.
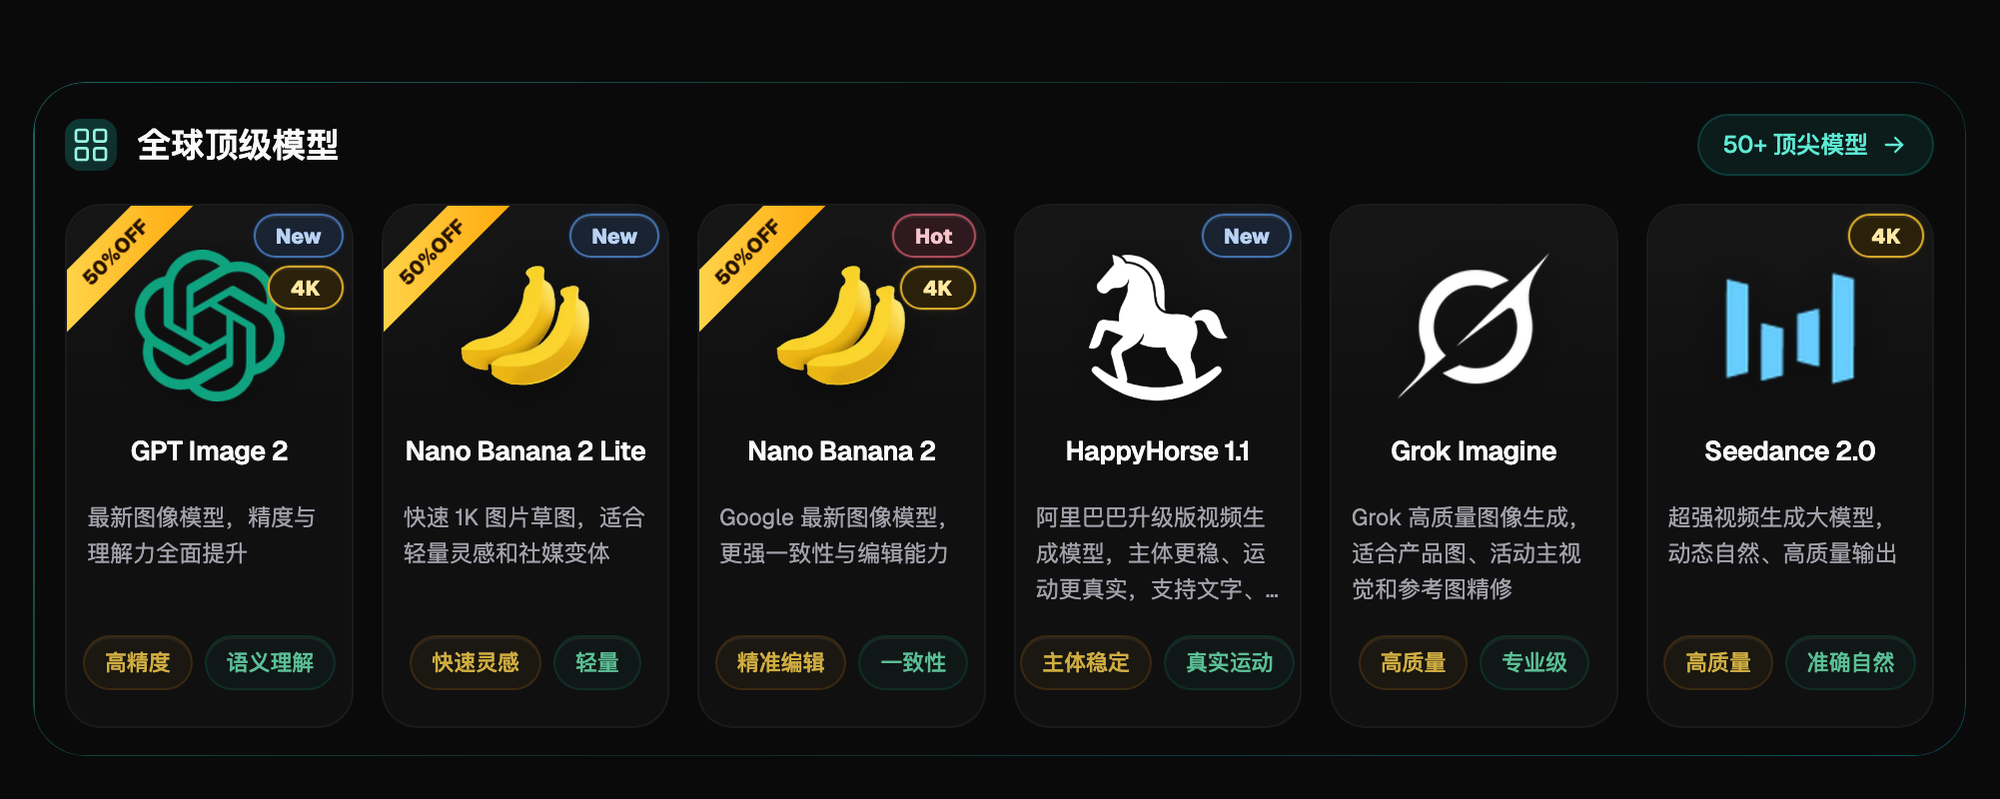
Four Control Methods Beyond the Prompt: A Capability Breakdown
Here's a clear rundown of what each of these four control methods solves and how far each one can take you — check it against where you're currently stuck.
| Need type | Corresponding control method | What it can achieve |
|---|---|---|
| Subject or style keeps drifting, details change with every new scene | Lock generation with a fixed reference image | Swap the same product into multiple scenes without color or silhouette details drifting — up to 14 reference images |
| Only want to change one small area, everything else must stay put | Inpainting limited to the selected area | Only the circled selection gets repainted; pixels outside it stay exactly as they were |
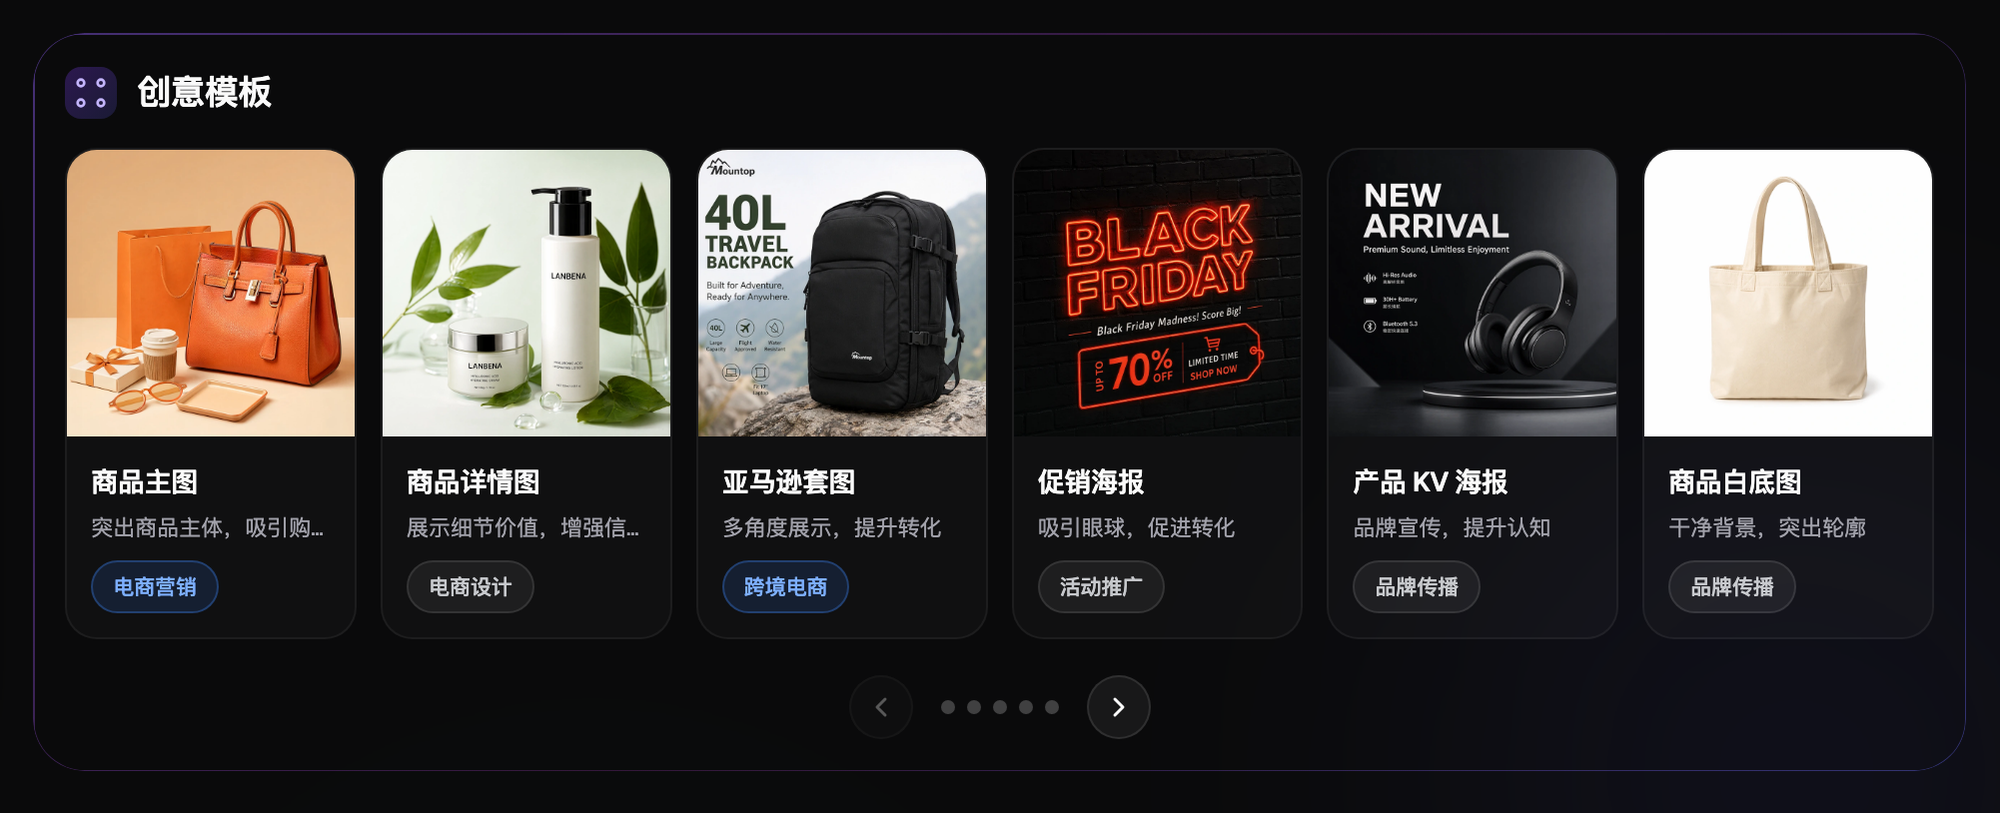
| No time to figure it out from scratch, want a ready-made direction | Templates and vertical agents | 150+ vertical agents include ready-made e-commerce workflows you can start from directly |
| Cramming too many requirements into one description keeps failing | Break the job into several generation steps | Each step solves one problem; only move to the next once it passes review, instead of stacking every requirement into one prompt |
| Want a whole batch of images to share the same look | Fix the same reference image and pair it with the same prompt set | Apply it image by image so color and lighting stay basically consistent, instead of one coming out darker and another lighter |

Which Situation Is Yours? Find Your Match
Here are the common failure scenarios laid out — check which one matches yours, and exactly what to do about it.
| Your scenario | The most frustrating part | What to do on Flux Art | Recommended primary model |
|---|---|---|---|
| Swapping scenes on a product hero image, the subject color or silhouette drifts every time | Pure-text description loses fidelity in translation, details get filled in by the model | Fix the same product photo as the reference image, lock the features to preserve (color, silhouette, logo placement) in the prompt, and only change the scene description | Nano Banana 2 (top pick — direct, stable access with no extra network setup, full power with no rate limits, more reliable at multi-image fusion and inpainting) |
| Detail page only needs a background color change, but composition and product keep drifting | Changing the background drags the subject or layout off with it | Inpainting limited to the circled background area only; the product and text layout outside the selection stay untouched | Nano Banana 2 |
| Beginner doesn't know which prompt to start with for e-commerce images | Figuring out a prompt from scratch eats time and still might not land | Pick a ready-made e-commerce workflow straight from the 150+ vertical agents instead of starting from a blank prompt | Follow whatever model the agent recommends |
| One image needs the pose, the background, and a text badge changed all at once | Cramming too many requirements into one description keeps causing something to get sacrificed | Break it into steps: change the pose and review it first, then the background, then add the text badge separately | GPT Image 2 (clearer text rendering, supports 3 precision tiers x 4 resolution tiers = 12 combinations) |
| Want a whole batch of same-series product images to share one style | Generating each one separately, the color and lighting never quite match | Fix the same reference image and apply the same prompt set image by image | Nano Banana 2 line |
A 5-Step Walkthrough: From Uploading a Reference Image to Step-by-Step Review
Step 1: Sign up and get your product source photos organized. Go to https://flux-art.ai and register — new users get 500 credits (check the official site for the current offer). This is currently the most reliable way to get direct, stable access with no extra network setup and no waiting in line. Grab a few product photos and run some test generations to gauge the results. Stick to the same source photo for the same product wherever you can, so it's ready to use as a reference-image constraint later.
Step 2: Decide whether this is "generate from scratch" or "edit from a reference image." A brand-new campaign banner in a fresh style is fine to generate from a pure text description; but the moment fidelity requirements like "this product's color, silhouette, and logo can't change" come into play, go with reference-image editing every time — don't expect pure text to pin down that level of fidelity. For everyday product image work, I personally start with Nano Banana 2 — it's more reliable at multi-image fusion and inpainting.
Step 3: Upload the reference images, and split the prompt into two sentences — "what to keep" and "what to change." You can upload up to 14 reference images; for a single product I usually upload 2-3 source photos from different angles. I write the prompt like this: "Keep the product's color, silhouette, and logo placement unchanged; change the background to a light gray studio backdrop, and change the pose to a side stance with one hand on the hip" — the keep-items go first, the change-items go second. Don't mix "keep" and "change" into the same sentence and leave the model to guess the priority.
Step 4: Change one thing at a time, and only add the next once it passes review. If this round's requirements include "change the background + adjust the pose + add a text badge," don't expect one generation to nail all three. Change only the background first, check that the product subject hasn't drifted, then work from that result to adjust the pose, and finally run a separate pass just to add the text badge, picking a high-precision tier so the text doesn't distort. Reviewing and passing each step before moving to the next has a much higher success rate than stacking every requirement into one shot.
Step 5: Save the reference-image-and-prompt combination that worked, and reuse it for the same product series. Keep the same set of reference images and prompt set fixed, and for new items in the same series later on, just swap in the new product photo in the reference images — no need to rewrite the prompt structure. If you don't have time to figure it out from scratch, you can also start directly from a ready-made e-commerce workflow among the 150+ vertical agents. The export is a 4K, watermark-free, commercially usable final image, ready to upload straight to the platform.
Self-Check List
- Have you checked the product's color, silhouette, and logo placement after generation to confirm nothing drifted
- Did you cram several requirements into the same prompt, causing them to compete with each other
- Is the inpainting selection drawn tightly enough, and has anything outside the selection been accidentally changed
- Are there enough reference-image angles (a single shot is prone to distortion, 2-3 angles is more reliable)
- Are the text badge strokes clean, with no distortion or jagged edges
- For a batch of images, are you fixing the same reference image and prompt template so the style stays consistent
- Could you go straight to a vertical agent for a ready-made workflow instead of figuring it out from a blank prompt
- Did you review and pass each step before moving to the next, instead of waiting until everything finished to check
- Have you confirmed the export is 4K and watermark-free, ready for direct commercial use on the platform
Being Honest About the Limits: What Reference Images and Step-by-Step Generation Still Can't Fix
A few boundaries need to be spelled out here — don't treat these methods as a cure-all.
A reference image can lock down broad-category features like product color and silhouette, but for extremely fine details — a small patch of special texture on a fabric, or the knuckle detail of a complex hand pose — the generation model can still introduce some error. That's a technical limit shared by current generative models, not a sign you did something wrong. For this kind of ultra-fine fidelity requirement, it's worth manually checking that specific detail after generation rather than assuming the reference-image constraint guarantees a perfect replica.
Templates and vertical agents offer a ready-made direction that saves you the time of figuring it out from scratch, but if the product itself has a fairly niche style that differs a lot from the ready-made template, applying it directly may not give great results — you'll still need to manually tweak the prompt details on top of the template. Fitting the template doesn't guarantee a perfect match.
Breaking the job into steps clearly improves the success rate, but it also means more generation rounds. For an urgent batch job of a few hundred images, splitting into steps will take longer than generating everything at once — that's a trade-off of stability for time, not a guarantee that finer splitting is always faster.