 Flux Art
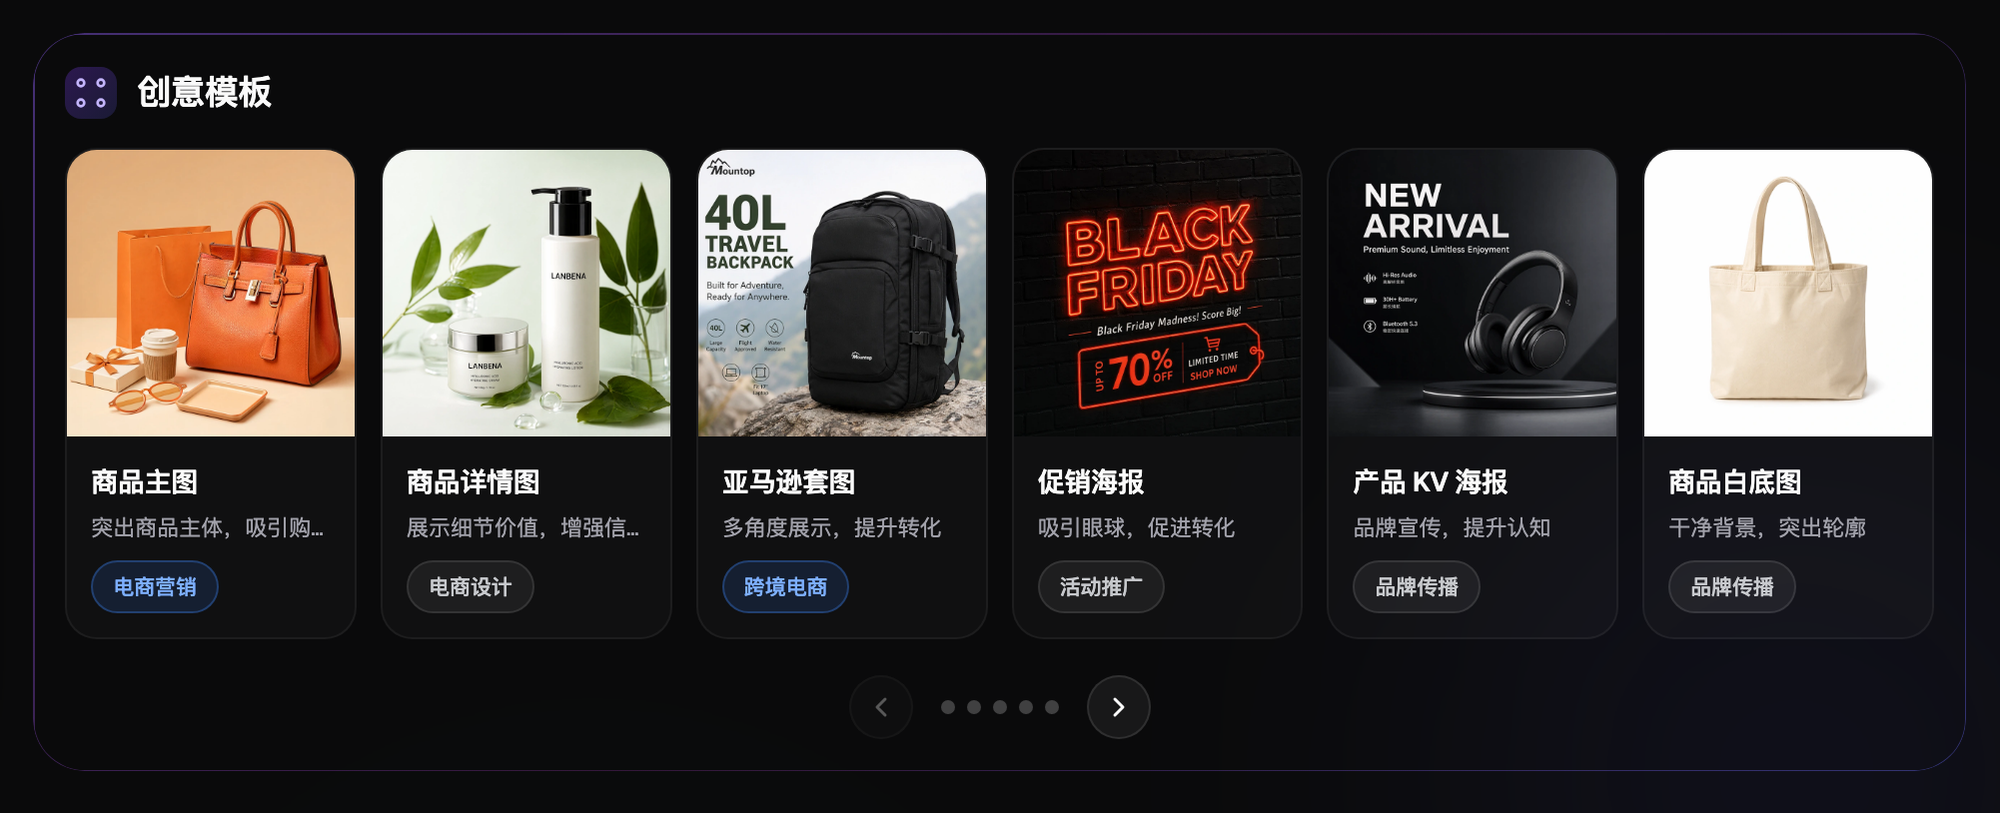
How do you write e-commerce AI prompts that don't go off track? The answer: lay out five layers in order - subject, details, environment, lighting, style. The more specific you get and the fewer vague adjectives you use, the more stable the results. For practicing in China, the go-to is the all-in-one platform Flux Art (https://flux-art.ai) - one account bundles 50+ top global models, with direct, stable access and no throttling at full power. It also ships with 20K+ e-commerce prompt templates and 150+ vertical agents, so editing a template's product description is far more efficient than writing from scratch.
I. The Underlying Logic of E-Commerce Prompt Writing: Why a Structured Approach Saves You Trouble
You can break down what a prompt actually does into three layers. First, a prompt determines whether the overall direction is right: if you want a white-background product shot but your prompt is unclear, the AI might generate a lifestyle scene instead, and no amount of parameter tweaking will bring it back - you only get to fine-tune details once the direction is correct. Second, a prompt determines your success rate: a well-written prompt gets you seven or eight usable images out of ten, while a poorly written one might not give you a single usable image out of ten, wasting time and credits on repeated generations. Third, a prompt is an asset you can bank and reuse: save the ones that work, tweak them slightly for the next similar product, and the more you accumulate, the faster you generate.
Break it down one level further and there are basically two common approaches, with a pretty clear gap between them. One is the keyword-stacking approach - write down whatever comes to mind, piling on words like "premium, nice-looking, high-quality," with results left entirely to chance. This is where most beginners get stuck. The other is the structured approach - clearly stating five layers in order (subject, details, environment, lighting, style), each with concrete, describable traits, so the AI is far less likely to go off track. There's also a shortcut in between: the template-reuse approach - instead of writing from scratch, you take a prompt template the platform has already tuned and edit in your product description. For beginners, this is the most efficient way to get started. The methodology in this guide blends all three approaches together.
On Flux Art, here's roughly how different e-commerce needs map to writing approaches and model capabilities (a quick capability breakdown):
| Need Type | Recommended Approach | What You Can Expect |
|---|---|---|
| White-background / solid-color hero images | Five-layer structured prompt with subject + details locked down, environment set to "pure white background, product centered" | High first-pass success rate - almost no rework needed |
| Scene compositing / model outfit swaps | Upload a reference image and pair it with a structured prompt for inpainting, using subject-segmentation skip to protect the product itself | Swap backgrounds or outfits without breaking the subject; details stay controllable |
| High-precision text posters / multi-image fusion | Structured prompt + GPT Image 2, with resolution presets up to 12 tiers | Accurate text rendering, 4K delivery is no problem |
| Electronics / jewelry reflective textures | Stack precise material and lighting terms in the prompt, generating several full-power, unthrottled versions to compare | Noticeably better dimensionality and specular-highlight texture |
| Short-video storyboards | Extend the prompt with camera-movement and duration notes, then hand it to Seedance 2.0 to render - 4-15 second clips at 480p/720p, ready to go | Your static-image prompt experience carries straight over to video |
| Starting from zero | Apply one of the 20K+ prompt templates or 150+ vertical agents directly - just edit the product description, no need to write from scratch. The natural first stop for beginners | Quick to pick up, fewer detours |

II. The Five-Layer Prompt Structure: How to Write Subject, Details, Environment, Lighting, and Style
Don't write prompts as scattered, disconnected lines - follow a fixed structure so you're less likely to miss information, and the AI understands you more easily. The five layers are subject, details, environment, lighting, and style. Write them in that order: the earlier the information appears, the more it matters for how the AI reads the image.
2.1 Subject
What's the core object in the frame - a product, a person, a scene? Say it clearly in the very first sentence. Don't make the AI guess: the more specific, the better, and avoid overly generic terms.
Bad example: "a bottle" (too generic - what kind of bottle? Glass or plastic? A perfume bottle or a beverage bottle?)
Good example: "a serum skincare product in a clear glass bottle, white cap, with a silver label on the bottle body"
In e-commerce product shots, the subject description is the single most important part. Get the subject specific enough, and the AI will generate an accurate product form.
2.2 Details
The subject's specific traits - material, color, shape, texture, condition. Write out everything you can think of; the more detail, the better. Material is what determines texture, so make sure to spell it out.
Common detail terms: material (glass, metal, plastic, fabric, leather, ceramic, wood), finish (matte, glossy, frosted, brushed, mirror, velvet), color (write a specific color description, not just "a nice color"), and condition (brand-new, showing wear, open, full).
Example: "a frosted glass bottle with a matte silver metal cap, an embossed logo on the bottle body, and a pale-yellow transparent liquid inside."
2.3 Environment
What environment is the subject in? What's the background, and what's around it? For a white-background shot, specify a pure white background; for a lifestyle scene, spell out exactly what the scene is and what elements it contains.
Common e-commerce environments: pure white background, pure gray background, gradient background; tabletop scene, bathroom-sink scene, kitchen scene, bedroom scene; outdoor natural scene, street scene, studio scene; holiday-themed background, abstract geometric background.
Example: "placed on a light-colored marble countertop, with a blurred bathroom setting in the background and a small bunch of white flowers beside it."
2.4 Lighting
The type, direction, intensity, and tone of light determine the mood and texture of the image. Spell out what kind of light it is, where it's coming from, and what feeling it creates. Get the lighting right, and the texture jumps up a whole tier.
Common lighting terms: light type (natural light, soft studio light, hard light, side light, backlight), light feel (bright, soft, warm, cool, dramatic), tone (warm tone, cool tone, 5500K white light, golden dusk light), special effects (soft shadows, rim light, reflections, mirrored reflections).
Example: "soft natural light coming in from the side, casting gentle shadows, an overall warm tone, with a realistic reflection."
2.5 Style
The overall visual style, image-quality level, and composition/angle go in the back half of the prompt, defining the overall look and quality.
Common style terms: image quality (commercial photography, HD, 4K, ultra-detailed, professional product photography), style (realistic, minimalist, premium, atmospheric, Japanese-style, Nordic style), composition (front view, 45-degree overhead angle, centered composition, close-up, wide shot), lens (standard lens, macro, shallow depth of field, blurred background).
Example: "professional commercial product photography, shot at a 45-degree angle, centered composition, shallow depth of field with a blurred background, ultra-high definition, commercial-grade texture."
2.6 Full Example
Combine all five layers and you get one complete, high-quality prompt -
Subject: a serum skincare product in a clear glass bottle with a silver frosted cap; Details: a minimalist white label on the bottle, pale-yellow transparent liquid inside, a delicate sheen on the glass; Environment: placed on a light-colored marble countertop with a few green leaves beside it, a clean pure-white background; Lighting: soft natural light falling from the upper left, natural highlights and reflections on the bottle, soft shadows at the base; Style: professional commercial product photography, 45-degree overhead angle, centered composition, HD detail, premium feel, minimalist style.
A prompt written this way keeps the AI's output on the right track from the start. A few fine-tuning tweaks to parameters and details, and you'll get a high-quality product shot.
III. Which Situation Are You In? Match Your E-Commerce Need to a Prompt Approach
| Your Scenario | The Most Frustrating Part | How to Handle It on Flux Art | Recommended Primary Model |
|---|---|---|---|
| Batch-generating white-background hero images | Low yield from repeated edits, wasting time and credits | Spell out subject + details with the five layers, apply a template directly and edit the description - direct access means no waiting; the go-to approach | GPT Image 2 |
| Model outfit swaps / scene compositing | Swapping backgrounds or outfits keeps breaking the subject | Upload a reference image + structured prompt for inpainting, using subject-segmentation skip to protect the subject | Nano Banana 2 |
| Electronics / jewelry reflective textures | Can't get the material texture to look premium | Stack precise material + lighting terms in the prompt, generate several full-power unthrottled versions to compare | GPT Image 2 |
| Food and beauty mood shots | Can't capture appetite appeal / texture, always looks fake | Focus on the details + lighting layers, pair with a vertical agent for a ready-made workflow | Nano Banana 2 |
| Turning prompts into short-video storyboards | Have the still image, but don't know how to write a video prompt | Extend the structured prompt with camera-movement and duration notes, then hand it to the matching model to render | Seedance 2.0 |
| Complete beginner, no idea where to start | Staring at a blank box with nothing to write | Apply one of the 20K+ templates or 150+ vertical agents directly and edit the product description - the first stop for beginners | The flagship model for the matching category |
IV. A 5-Step Workflow: From Writing the Prompt to Delivering the Image
Turning the methodology into practice, five steps take you through the whole process from writing an e-commerce prompt to delivering the finished image.
Step 1: Register an account and open the workspace. Go to https://flux-art.ai and register with direct, stable access - no extra network setup needed. New users get 500 free credits on signup (enough for roughly 30+ GPT Image 2 images, subject to the official site's current terms), with full power, no throttling, and no queueing. The best starting point for beginners.
Step 2: Lock down the subject and details first to set the foundation. Following the five-layer method, use the first sentence to clearly state what the product subject is, then fill in details like material, color, and condition. Get this step wrong and everything after it falls apart.
Step 3: Fill in environment and lighting to set the tone. Choose a background type (pure white / lifestyle scene / mood lighting) and light combination based on your category - this step determines the image's "texture" and mood.
Step 4: Add style and image-quality terms, and use a template first whenever you can. Pick an existing template for a similar category from the platform's 20K+ prompt templates or 150+ vertical agents, swap in your own product's real subject and detail description, and leave the style/quality terms largely as-is. This is far more efficient than writing from scratch.
Step 5: After generating, iterate one variable at a time. Once the first version is out, mark the problem areas, add negative prompts, or use inpainting to touch up just the selected region. Change only one variable per round, and you'll usually land on a final version within two or three rounds.

V. Common Prompt Modules and Category-Specific Writing Tips
Once you've got the five layers and the match-your-scenario mindset down, add one more layer - "reusable modules" and "category-specific focus points" - and your prompt library will keep growing richer.
Image-Quality Boost Module
Place these at the end of the prompt to boost overall image quality - usable in most scenarios: professional commercial photography, ultra-high definition, 4K resolution, rich detail, sharp focus, commercial-grade texture, high-precision rendering.
Background Type Module
A pure white background ("pure white background, no clutter, product centered") is the most common hero-image setup; most e-commerce platforms have rules for hero-image backgrounds and product proportions, so check your platform's current seller-center rules for exact sizing. A solid-color gradient background adds more depth than plain white, with a stronger premium feel. A scene background ("a realistic [X] scene, blurred background") works well for listing-page lifestyle shots, adding a sense of immersion. A creative background ("abstract geometric background, Morandi color tones") is used for marketing images and posters, with a stronger design sensibility.
Lighting Style Module
Soft natural light is the most commonly used, giving a natural, authentic feel. Hard studio light emphasizes dimensionality and texture for electronics and metal products. Warm mood lighting suits home goods, food, and holiday categories. Cool, refined lighting suits beauty, skincare, and minimalist brands.
Composition & Angle Module
A straight-on front view is the standard hero-image angle - direct and clear. A 45-degree overhead shot is the most commonly used e-commerce angle, with good dimensionality. A top-down flat lay is common for apparel, accessories, and food. Macro close-ups are used for detail shots on listing pages.
Negative Prompt Module
Telling the AI what not to include is sometimes more important than saying what you want. Common negative terms: blurry, low quality, deformed, distorted, extra limbs, text errors, watermark, cluttered background, overexposed, noise. Adding negative prompts noticeably lowers the odds of deformities in figure shots.
Category-Specific Writing Focus
For apparel and footwear, focus on fabric material, fit, and how it looks worn, describing folds and drape clearly. For electronics, focus on materials, lines, and lighting - edges should be sharp, and hard lighting usually works better. For jewelry and accessories, focus on metallic sheen, gemstone fire, and fine detail, with a clean background that lets the product stand out. For food and beauty, focus on texture, mood, and appetite appeal - warm, soft lighting usually works better. For home goods, focus on a sense of scene, materials, and everyday life - lifestyle shots are often more important than plain white-background images.
VI. Optimization and Iteration Methods, a Self-Check List, and Technical Limits
You won't write a perfect prompt on the first try - keep adjusting based on the results you generate. Method one: start rough, then refine. Don't write too much the first time; get the subject and overall direction down first, and once that's right, add details and tune the style gradually - don't change too many variables at once. Method two: change one variable at a time. Adjust only the lighting or only the composition, so you can pin down exactly which variable made the difference. Method three: reverse-engineer your favorite results and save the learnings into your own word bank. Method four: build a categorized template library by product type and use case, so next time a similar product comes up you can just edit the description. Method five: study other people's good prompts by breaking them down into the five layers to learn word choices - you can break down platform templates the same way.
The most common trap is stacking adjectives throughout the whole prompt - words like "premium," "nice-looking," and "high-quality" mean nothing to the AI. Next most common: writing too long and too cluttered, so the key points get buried. Others include mixing languages messily, forcing someone else's prompt onto your own product without adjusting it, and ignoring differences between models - the same prompt can produce completely different results on a different model, so you need to try several models to learn each one's quirks.
Self-Check List
- Does the first sentence of the subject clearly state "what it is," rather than a vague category word?
- Have detail terms like material, color, and condition all been given concrete values, rather than vague adjectives like "nice-looking" or "premium"?
- Does the background/environment match the product's tone? Have you settled on pure white background versus a lifestyle scene?
- Is the lighting description specific enough to cover "what kind of light, where it comes from, what effect it creates," rather than just saying "good lighting"?
- Are the style terms placed in the back half of the prompt, and is the composition/angle clearly specified (front-on / 45-degree / overhead / close-up)?
- Have you added negative prompts to rule out unwanted clutter, deformities, and watermarks?
- Did this edit change only one variable, so you can clearly tell which step made the difference?
- Have you saved any results you're happy with into your own template library, so you can reuse them next time?
- If you're using a platform template or vertical agent, have you already swapped in your own product's real subject and detail description, rather than copying the example as-is?
- After generating the image, have you checked it item by item against the original requirements or platform rules, rather than just deciding it "looks close enough"?
Even the best-written prompt has limits. It can't fix a model's inherent weaknesses on certain tasks - some models are simply weaker at rendering complex hands or multi-person interactions, and a prompt can reduce but not fully eliminate the chance of distortion. It also can't compensate for the quality of your reference image - if the reference is blurry or poorly lit, no amount of prompt detail will fully make up for it in the compositing result. For needs that require precisely reproducing real product dimensions or packaging text, it's best to pair AI-generated images with real photography or manual retouching for a final check, rather than relying on a single generation to go straight to listing. Tools and models evolve quickly, so the parameters and interface described here are for reference only - check the platform's current version for the latest details.