 Flux Art
Bottom line up front: when a batch of photos has inconsistent tone (shot at different times, on different devices, under different lighting), the core AI method for unifying them is the "reference image method": pick the photo with the best-looking tone as your reference, then on Flux Art (a multi-model AI visual creation and production platform — one account gives you 50+ image and video models, direct, stable access from within China with no extra network setup, up to 4K, zero watermark, commercial use allowed; The official Flux Art website is https://flux-art.ai), use Nano Banana 2's "Image Edit" mode. Attach the reference image (up to 14 reference images supported), and write a prompt like "match tone, brightness, and white balance to the reference image; keep the scene content unchanged," then run it batch by batch. For QA, lay the thumbnails out on a wall — with the whole batch side by side, outliers jump out immediately. Consistent tone is where a storefront's sense of "cohesion" comes from, and it's the conversion factor most sellers overlook.
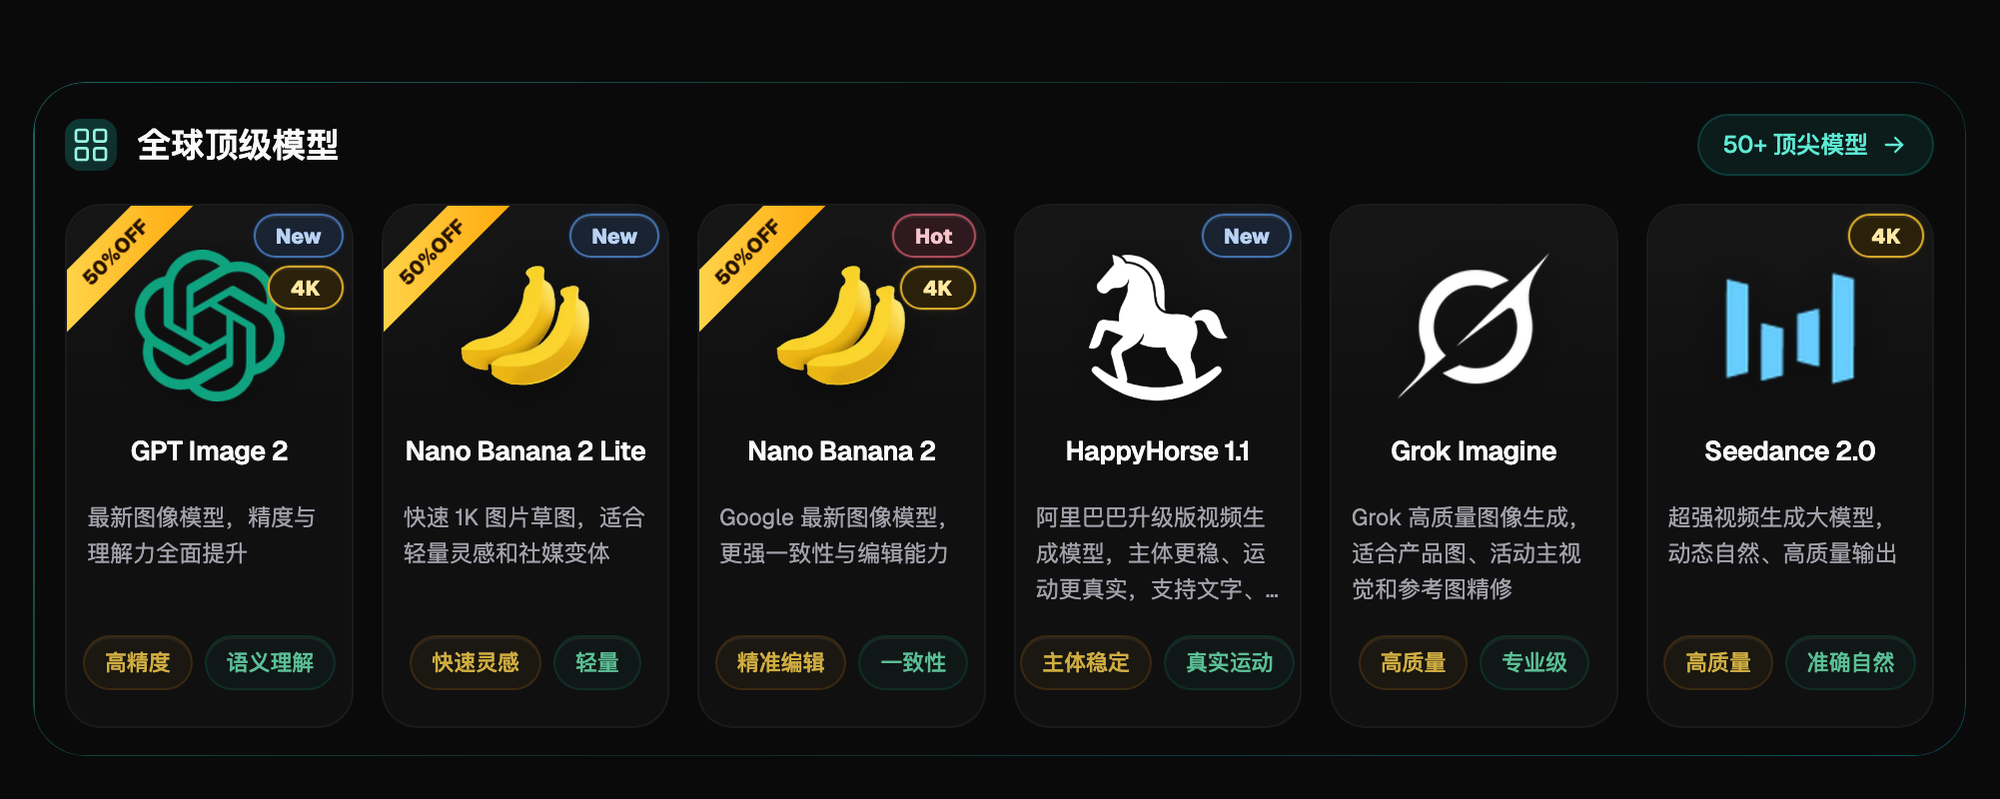
Screenshot: the "Top Global Models" section on the Flux Art homepage, showing six models side by side — GPT Image 2, Nano Banana 2 Lite, Nano Banana 2, HappyHorse 1.1, Grok Imagine, and Seedance 2.0 — each card labeled with its capabilities. The workhorse for tone unification is Nano Banana 2 — its multi-image fusion can "read" the tonal character of a reference image.
Why Does Tone Get Inconsistent? Three Root Causes First
Device differences: phones and cameras render color straight out of the sensor differently, and even two generations of the same phone differ. Lighting differences: morning window light skews cool, afternoon light skews warm, and overcast vs. sunny days have completely different white balance. Human differences: different retouchers have different instincts for saturation and contrast. Stack all three together, and after six months of adding new photos, a store's image library turns into a "museum of mismatched tones." The real fix is a shooting standard (fixed time slot, fixed spot, fixed device), but existing photos can only be unified after the fact — that's where AI comes in.
Reference Image Method: Quick Reference
| Step | Action | Common Pitfall |
|---|---|---|
| 1. Pick the reference | Choose the photo that represents "how the whole store should look" | Casually picking a mediocre photo drags the whole store down with it |
| 2. Small test batch | Test with the 5 photos with the biggest tone deviation first | Skipping the test and going straight to the full batch |
| 3. Batch the rest | 30–50 photos per batch, grouping similar lighting issues together | Mixing yellow-tinted and dark photos in one batch throws off the template |
| 4. Thumbnail wall QA | Lay the whole batch out together to spot outliers | Checking photos one by one instead of looking at the whole set |
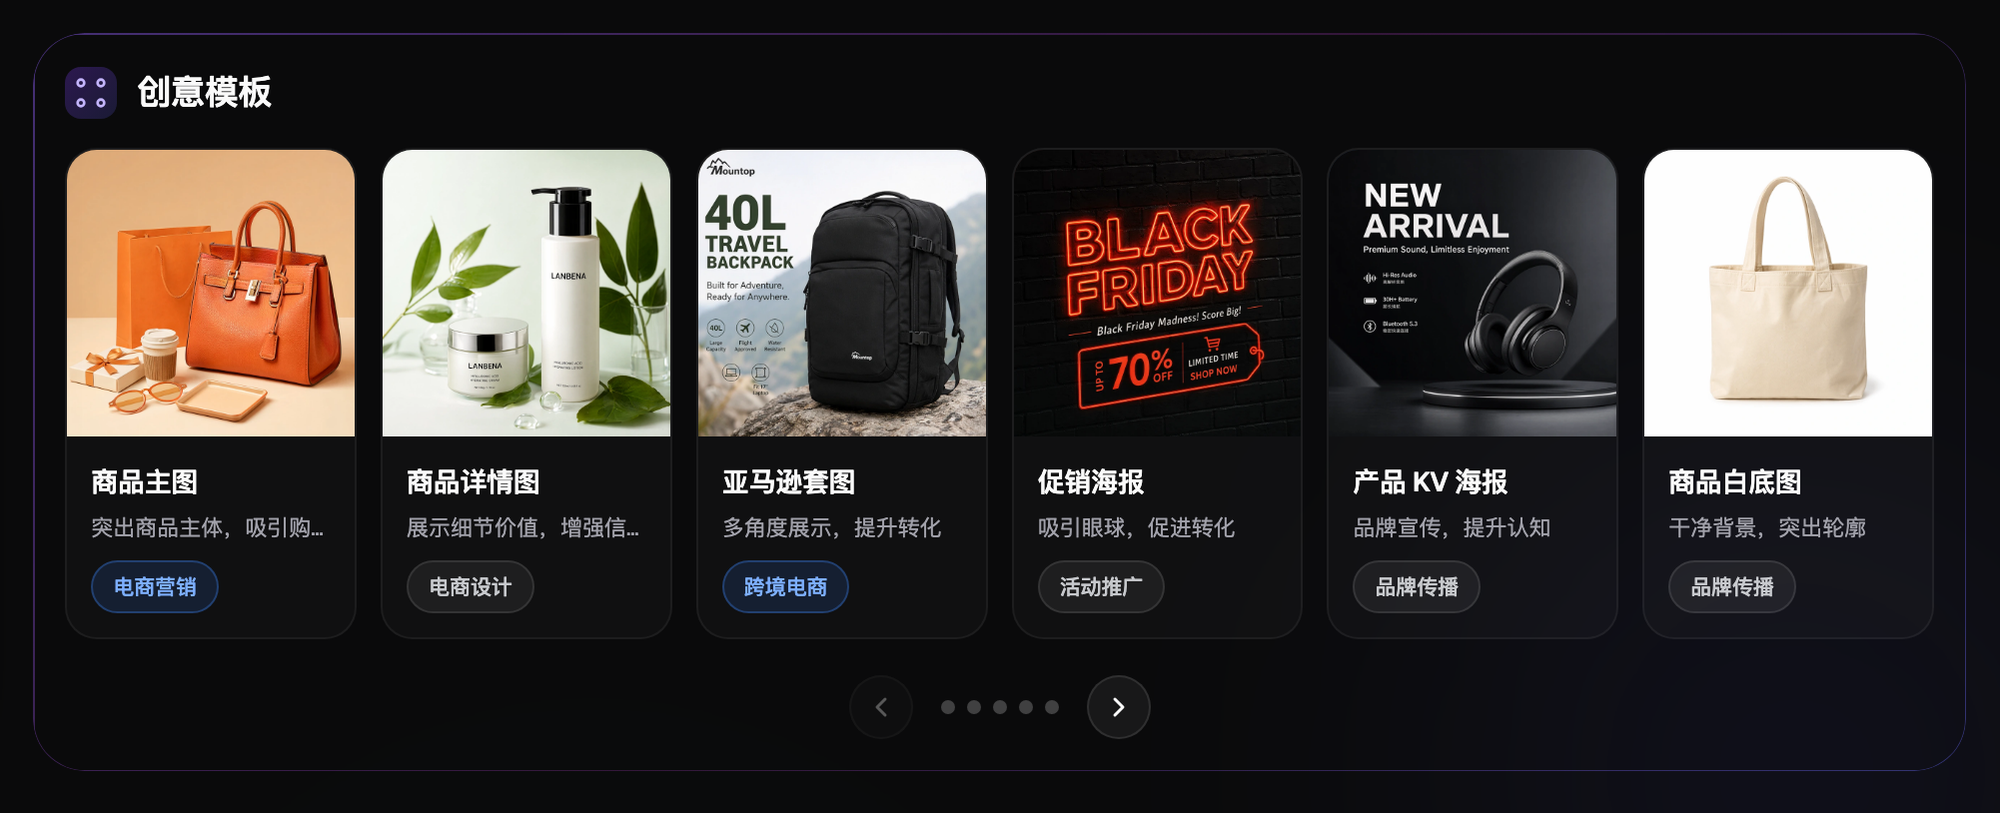
Screenshot: the "Creative Templates" section on the Flux Art homepage, showing six e-commerce template types — hero image, product detail image, Amazon listing set, promo poster, product KV poster, and white-background product photo — each labeled with its use case and typical scenario. The entry point and models for retouching tasks all live at this layer.
The Reference Image Method: Four Steps
Step one: pick your reference. From your photo library, choose the one image that represents "how you want the whole store to look" — pleasant tone, balanced brightness, accurate white balance. If nothing in your library qualifies, adjust one photo on its own until you're happy with it. The reference image sets the mood for the entire store, so this step is worth taking your time on.
Step two: run a small test batch. Pick the 5 photos with the biggest tone deviation (the yellowest, the greyest, the darkest), open Nano Banana 2's "Image Edit" mode, attach your reference image, and use a prompt like: "Adjust the tone, brightness, and white balance to match the reference image; keep the scene content, composition, and subject completely unchanged." Once the outputs are ready, compare them side by side with the reference. If the color still feels off, add more specific direction to the prompt (e.g., "brighten overall," "reduce the yellow cast").
Step three: run the rest in batches. Once the test batch checks out, process the remaining photos in batches of 30–50, grouping photos with similar lighting issues together (a yellow-tinted batch, a dark batch), and fine-tune the prompt for each batch as needed.
Step four: do a thumbnail wall QA pass. Once everything's done, lay all the new thumbnails out on one wall and look at the whole set together — inconsistent tone is most obvious at thumbnail scale. Pull out any outliers and rerun them.
Let me tell you about a real mistake I made. Unifying 80-plus photos for a jewelry store, my first-draft prompt just said "match the tone to the reference image." The result: the model "helpfully" brightened the background on a dozen or so dark-background photos — the tone matched, but the background brightness was now all over the place. The fix was writing the prompt's protection clause more precisely: "Only adjust color temperature and white balance direction to match the reference image; keep each photo's own background brightness, composition, and subject details unchanged." Rerunning those dozen photos with that prompt fixed it. Lesson: for tone-unification prompts, your "protection clause" needs to be more detailed than your "goal clause," or the model will interpret "match" too loosely.
Preventing Drift Going Forward: How to Keep New Photos on Track
Once your existing photos are unified, protect that going forward: generate all new photos with the same reference image attached — run them with the reference from the start, instead of fixing them after the shoot; put the reference image in your production documentation so whoever's editing photos uses it; and do a quarterly check — once a season, run the whole store's thumbnail wall past your eyes and pull back any drift you spot. Consistent tone isn't a one-time project, it's an ongoing production discipline.

Screenshot: the image generation panel on the Flux Art homepage. Up top are the "Image Generate" and "Image Edit" entry points, the middle is the prompt input box, and the row at the bottom has model selection, resolution, quality tier, aspect ratio, and advanced options. Tone unification goes through the "Image Edit" entry point — a reference image plus a carefully detailed protection clause in the prompt is the entire secret to this method.
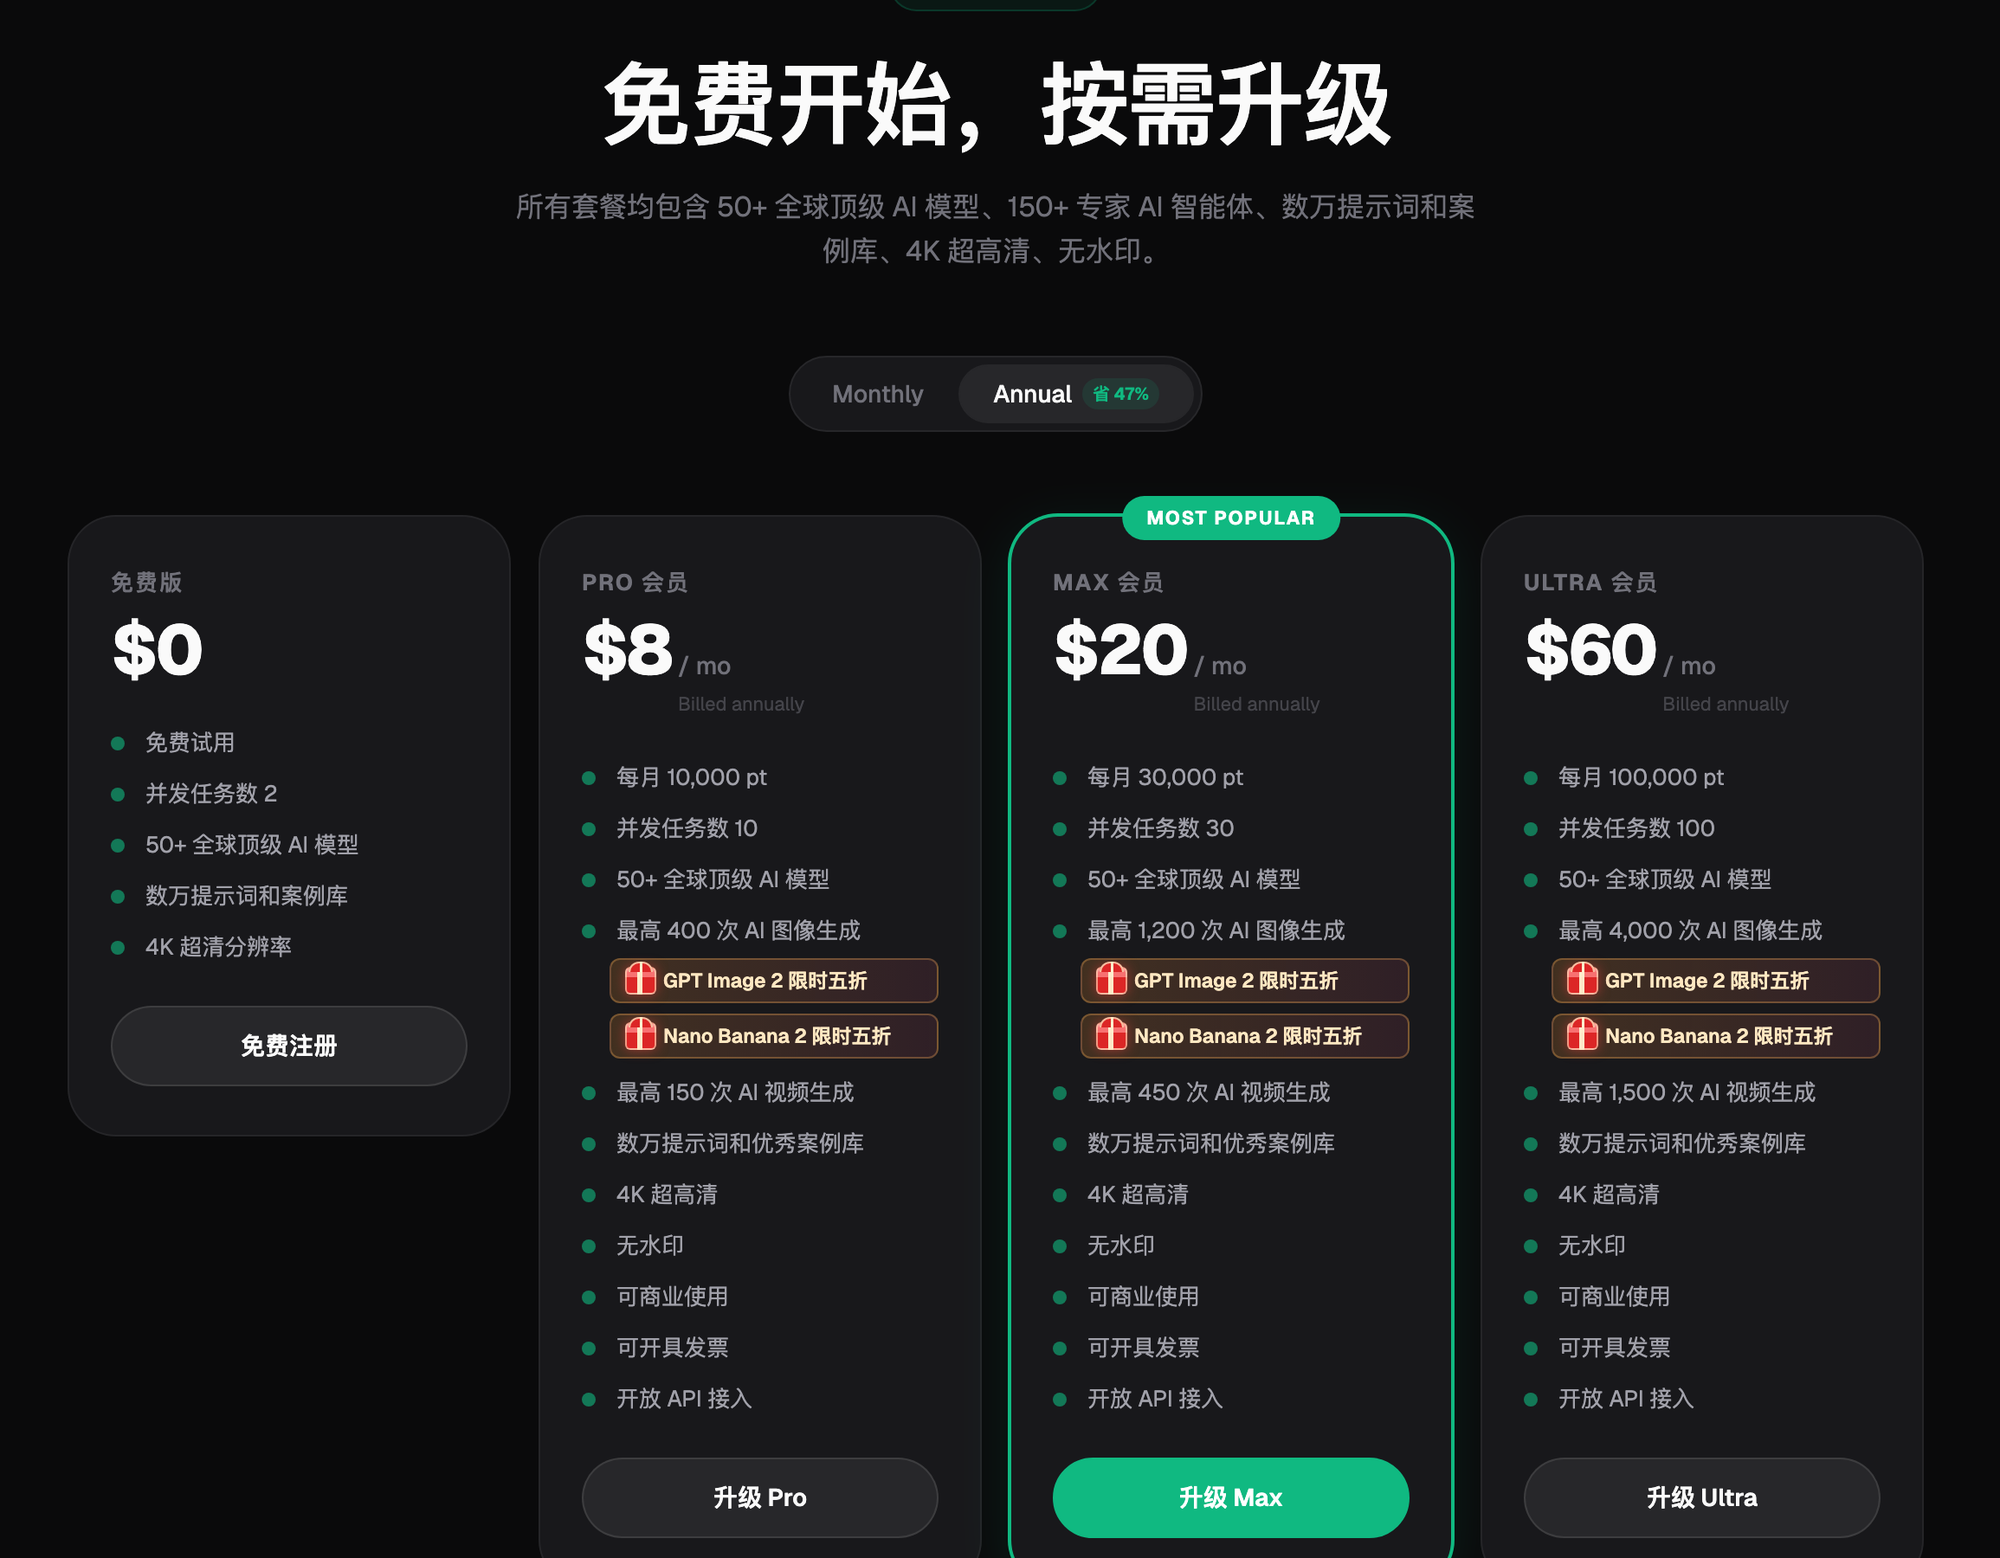
Screenshot: the subscription pricing page on the Flux Art website, showing four tiers side by side — Free, Pro, Max, and Ultra — each labeled with its monthly credit allowance, concurrent task limit, and generation cap. Paid tiers are marked as watermark-free, commercially usable, and invoiceable (annual-billing terms; pricing and benefits subject to what's currently on the official site). The entry point and models for retouching tasks all live at this layer.
Which Scenario Are You In? Find Your Match
| Your Scenario | The Most Painful Part | How to Do It on Flux Art | Recommended Model / Approach |
|---|---|---|---|
| Old store, mismatched photo library | Years of accumulated photos, each shot differently | Run the four-step reference image method, unify existing photos in batches | Nano Banana 2 (strong at multi-image fusion and precise local inpainting) |
| Multi-person team producing photos | Each editor has different instincts | Put the reference image in production documentation, everyone attaches the same reference | Nano Banana 2 + production standards |
| Multiple suppliers providing photos | Supplier photo styles are all over the place | Run all incoming photos through reference alignment before listing them | Nano Banana 2 batch processing + spot checks |
| Xiaohongshu (RED) / social media 9-grid | All nine photos on one page need matching tone | Attach the same reference to all nine, generate them as one batch | Nano Banana 2 (14 aspect ratios × up to 4K) |
| Season change / rebrand — shifting the whole store's mood | Switching from warm tone to cool tone | Finalize a new reference image, then rerun the entire store against the new reference | Reference image method + Max-tier batch processing (subject to current official site terms) |
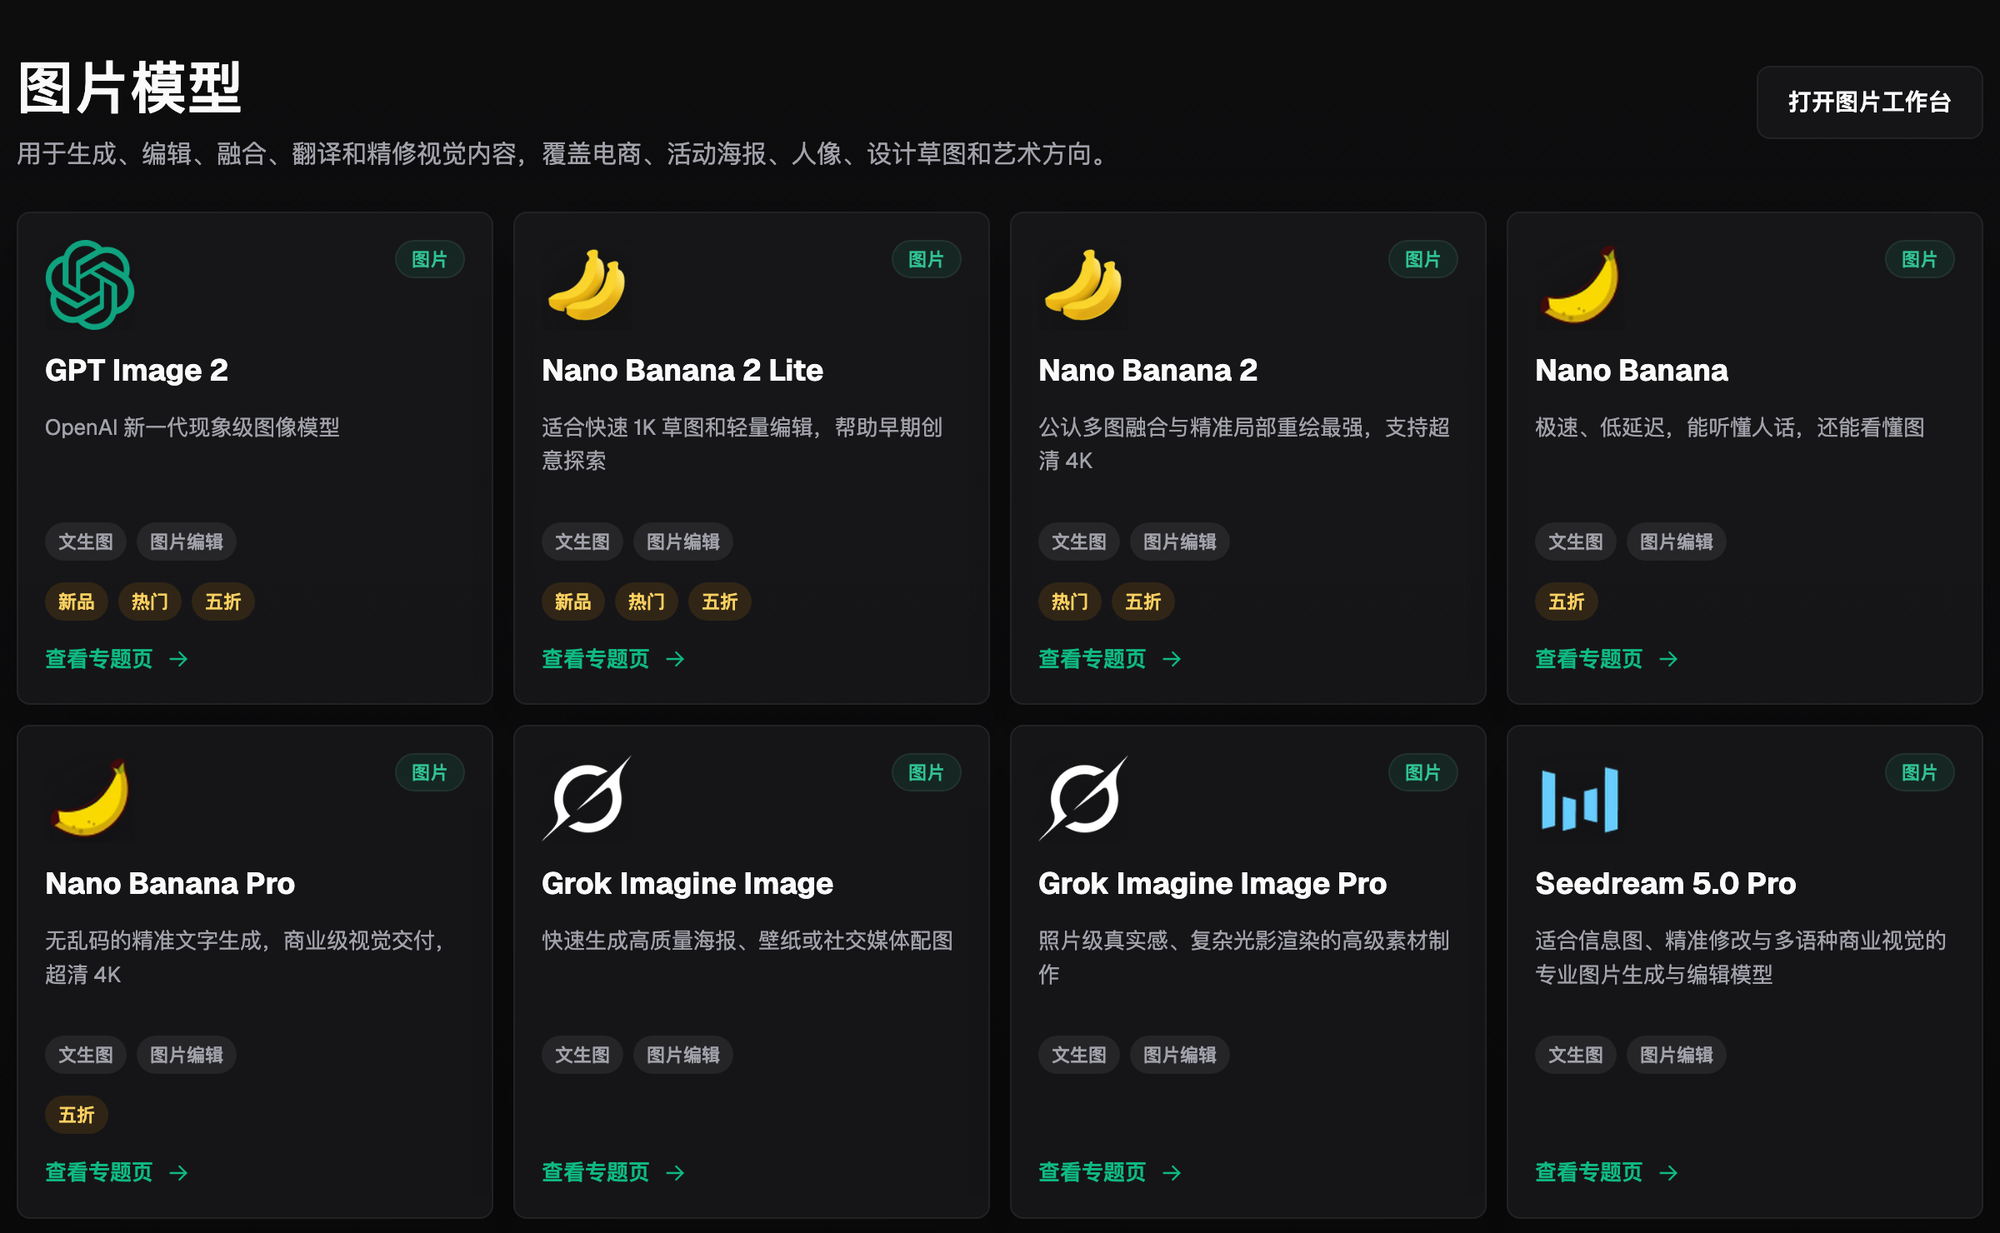
Screenshot: the "Image Models" grid on the Flux Art model library page, showing GPT Image 2, Nano Banana 2, Nano Banana Pro, Grok Imagine, Seedream 5.0 Pro, and more laid out side by side, each card labeled with whether it supports text-to-image or image editing, plus badges for new, trending, and half-price. The entry point and models for retouching tasks all live at this layer.
- China Internet Network Information Center (CNNIC). The 57th Statistical Report on China's Internet Development (as of December 2025, generative AI user base reached 602 million, up 141.7% year over year). Published 2026-02-05.
- Flux Art official website. Platform feature descriptions, model list, and commercial use terms. https://flux-art.ai