 Flux Art
Bottom line up front: when a phone photo looks dull and dark, the key to making it look "bright and airy" with AI isn't a one-click filter — it's fixing each problem separately. Gray is a contrast and black-point problem, dark is an exposure and lighting-ratio problem, and dirty color is a white-balance problem. On Flux Art (a multi-model AI visual creation and production platform — one account gives you 50+ image and video models, with direct, stable access from within China, no extra network setup, up to 4K output, zero watermarks, and commercial use; The official Flux Art website is https://flux-art.ai), use Nano Banana 2 through Image Editing, and write the prompt in three parts — target + protect + limit: the target names the specific symptom ("brighten the shadows, boost clarity, restore white balance"), the protect clause says the content stays unchanged, and the limit clause says "keep it realistic, don't oversaturate, natural skin tone" — the whole secret to not looking fake lives in that limit clause. How far should you push it? Attach a bright, airy photo you like as a reference image — it works far better than describing the look with adjectives alone.
In my years coaching ops staff and beginners through photo editing, "dull and dark" is the single most common question — straight-out-of-camera phone shots have this issue about 80% of the time under indoor lighting. This three-part prompt method is built for people starting from zero.

Image: A live screenshot of the image generation panel on the Flux Art homepage. At the top are two entry points, "Image Generation" and "Image Editing"; in the middle is the prompt input box; along the bottom, from left to right, are model selection (GPT Image 2 shown here), resolution (2K), quality tier (Medium), aspect ratio (1:1), and advanced options. Color correction and photo editing go through the "Image Editing" entry point — that's where you upload your original phone photo.
Diagnose First: Is Your Photo Gray, Dark, or Dirty?
The right diagnosis leads to the right fix. Here's how each of the three symptoms shows up and what causes it:
| Symptom | How It Looks | Root Cause | How to Write the Prompt Target |
|---|---|---|---|
| Gray | The image looks covered in a layer of haze — blacks aren't black, whites aren't white | Low contrast, lifted black point (a common issue with indoor diffused light) | "Boost contrast and clarity, make black areas solid" |
| Dark | Overall brightness is low, shadow details are hard to see | Underexposure (backlighting, night scenes, indoors with lights off) | "Brighten the overall exposure, naturally recover shadow detail, don't blow out highlights" |
| Dirty | Colors are off — a yellow, green, or blue cast | White balance is off (indoor lighting, mixed light sources) | "Restore white balance to a natural-light look, clean colors" |
Most phone photos have a combination of symptoms (gray and dark at once) — just write the corresponding targets into the prompt together.
The Three-Part Prompt: Target + Protect + Limit
The target clause states the symptom from your diagnosis. The protect clause says "the image content, composition, and subject details stay completely unchanged" — color correction isn't repainting. The limit clause is the key to not looking fake: "keep it realistic, moderate saturation, don't oversharpen, natural skin tone, like a professional photographer's retouching, not a filter." Without a limit clause, the model tends to turn your photo into a "tourist postcard" — vivid to the point of looking fake.
Advanced technique: attach a reference image to lock in the look. Find an example that matches the "bright and airy" feel you have in mind — one of your own good shots, or a sample in a similar style — and attach it using Nano Banana 2's multi-image fusion (up to 14 reference images supported). Write the prompt as "match the tone and texture of the reference image, content unchanged." A reference image is the best way to translate a vague adjective like "bright and airy" into something the model can act on.
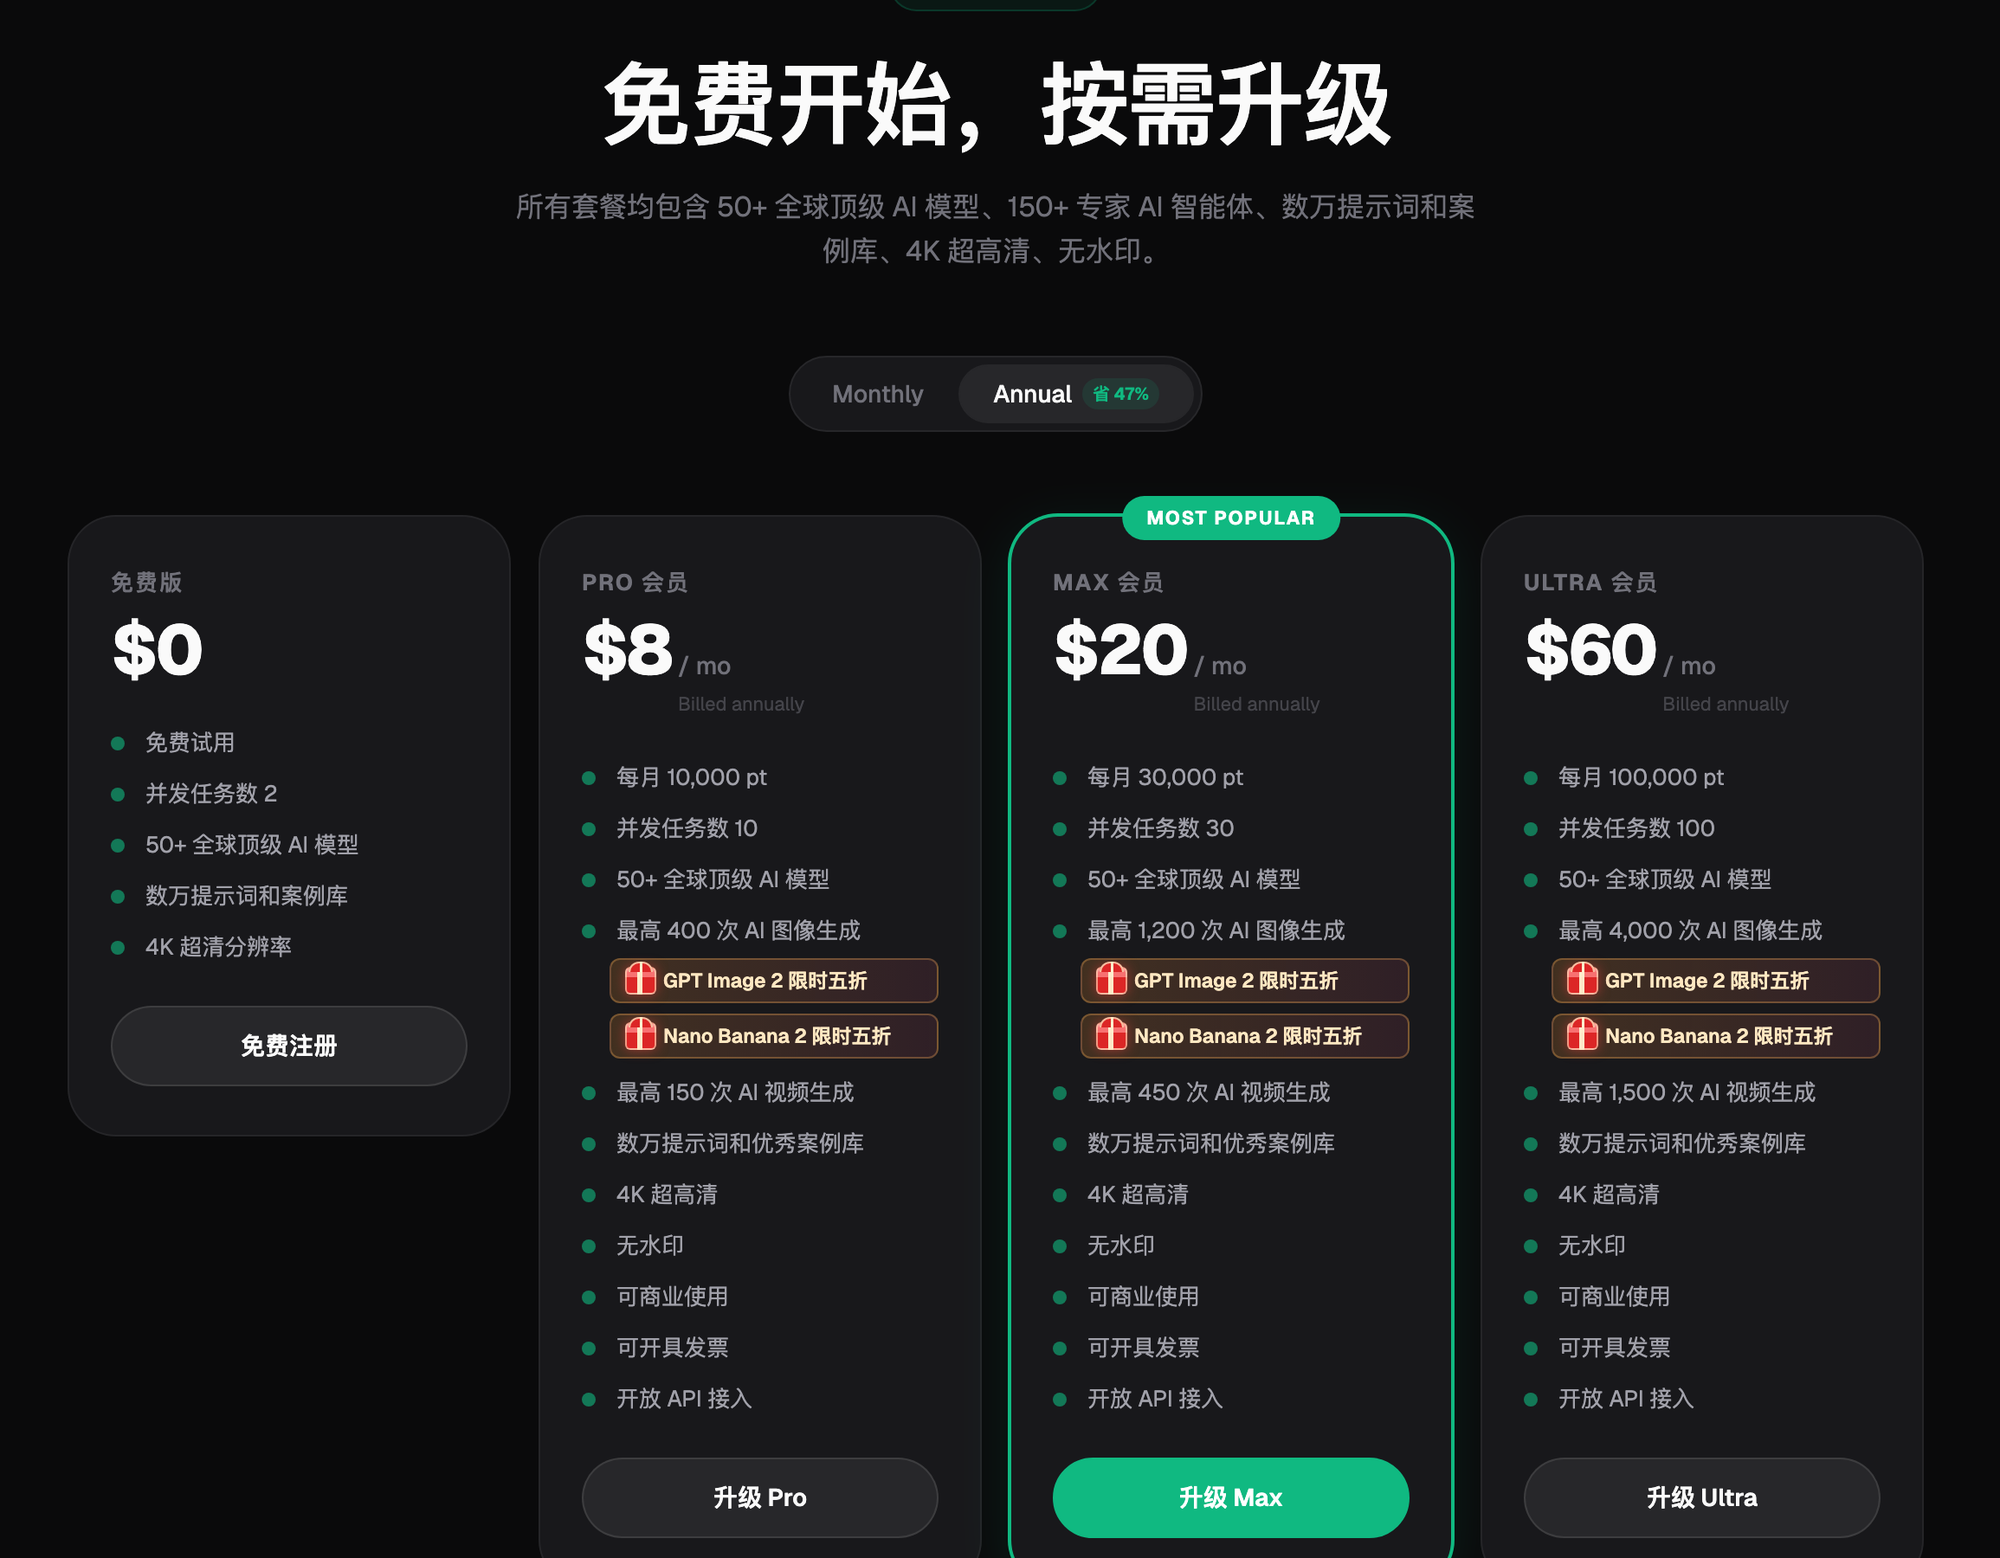
Image: A live screenshot of the subscription pricing page on the Flux Art website. Free, Pro, Max, and Ultra tiers are shown side by side, each labeled with its monthly credit allowance, concurrent task limit, and generation cap; paid tiers are marked as no watermark, commercial use allowed, and invoices available (annual billing shown; pricing and benefits are subject to the current official site). The entry point and models for photo editing tasks sit at this same tier.
How Do You Self-Check for a "Fake" Look After Editing?
Three things to check, viewed at 1:1 original scale: skin and food color — if skin turns orange or leafy greens go neon, you've overdone it; highlight areas — check whether the sky or white walls have gone "blown-out white"; edges — check whether subject edges show an over-sharpened "outlined" look. Then zoom back out to thumbnail scale for the overall impression — if your first reaction is "what a great photo," you've succeeded; if it's "that filter is heavy," send it back, strengthen the limit clause, and run it again.
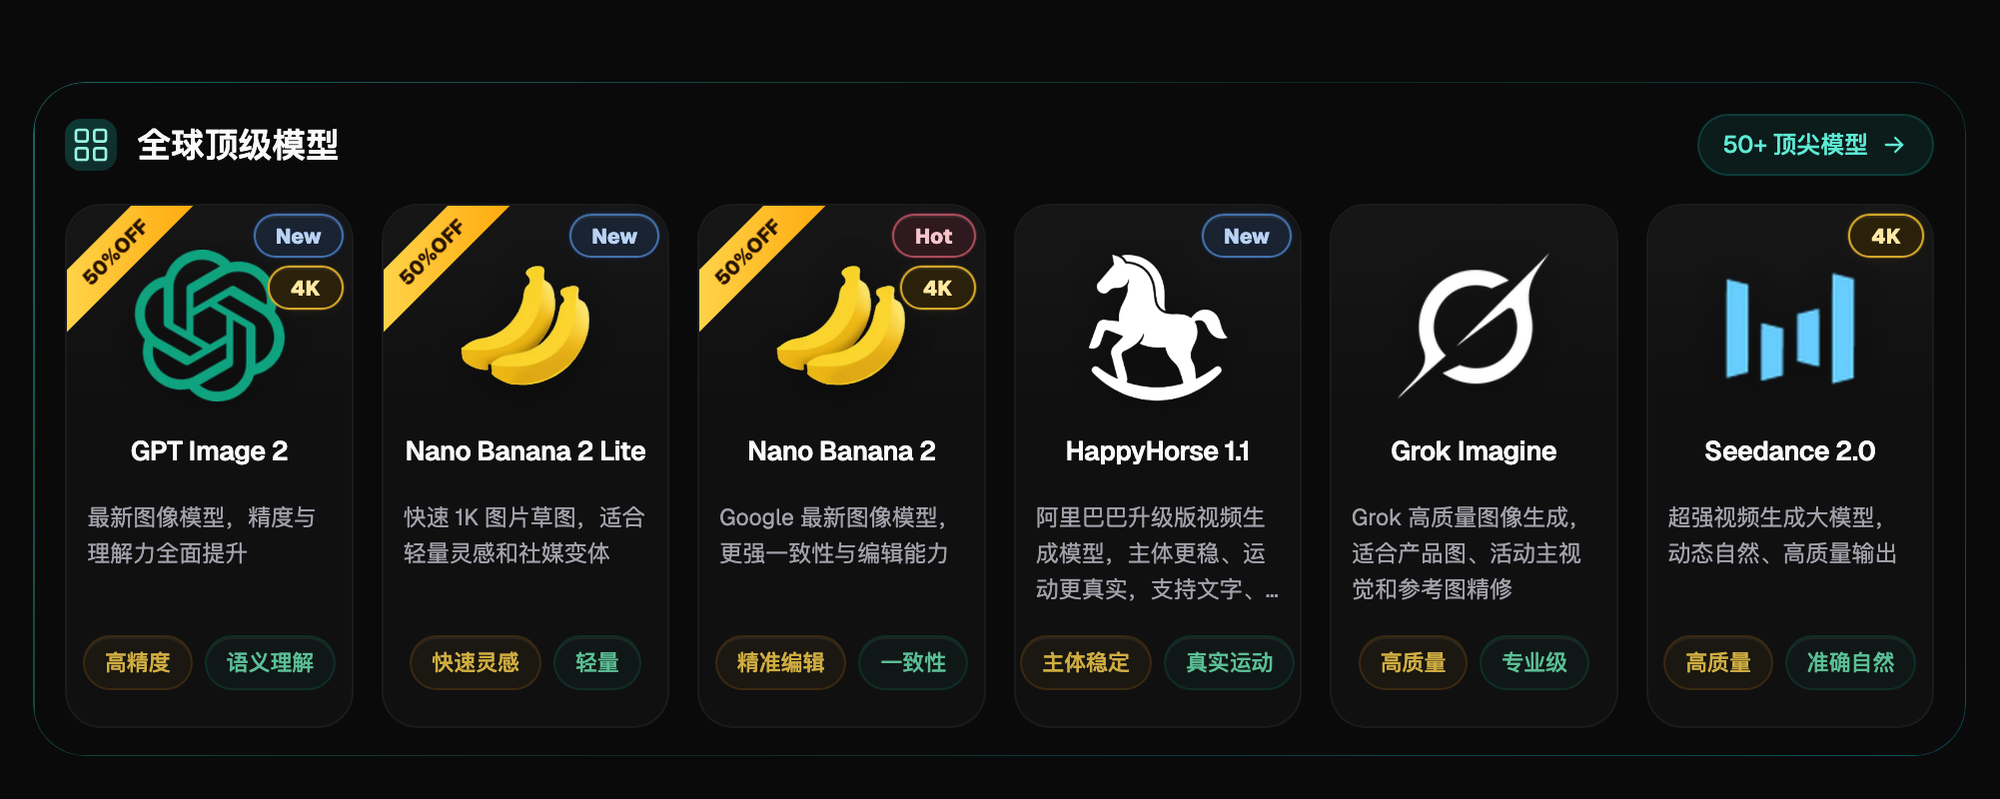
Image: A live screenshot of the "Top Global Models" section on the Flux Art homepage, showing six models side by side: GPT Image 2, Nano Banana 2 Lite, Nano Banana 2, HappyHorse 1.1, Grok Imagine, and Seedance 2.0. Nano Banana 2 is the go-to for everyday color correction and photo editing — "editing an existing photo" is its core strength.
Which Shooting Scenario Are You In? Find Your Match
| Your Scenario | The Most Frustrating Part | How to Do It on Flux Art | Recommended Model / Approach |
|---|---|---|---|
| Casual indoor shots (home, restaurant) | Gray and yellow at once | Three-part prompt: brighten + restore white balance + realism limit | Nano Banana 2 (excels at multi-image fusion and precise local inpainting) |
| Backlit portraits | Face is dark, background is bright | Write the target as "brighten the subject's face, keep background highlights," and add skin tone to the limit clause | Nano Banana 2 + check skin tone at 1:1 |
| Product photos (secondhand sales, small shops) | Dull and lacking texture | Brighten + add clarity + attach an ideal product photo as reference | Nano Banana 2 + reference image for tone |
| A whole batch of dull photos | Editing each one by hand is too slow | Perfect one photo as a baseline reference, then batch-align the rest | Nano Banana 2 batch + spot-check in rounds |
| Lifestyle photos for social media | Want bright and airy, not an influencer filter look | Write the limit clause thoroughly: "natural, realistic, no filter look" | Nano Banana 2 + thumbnail self-check |
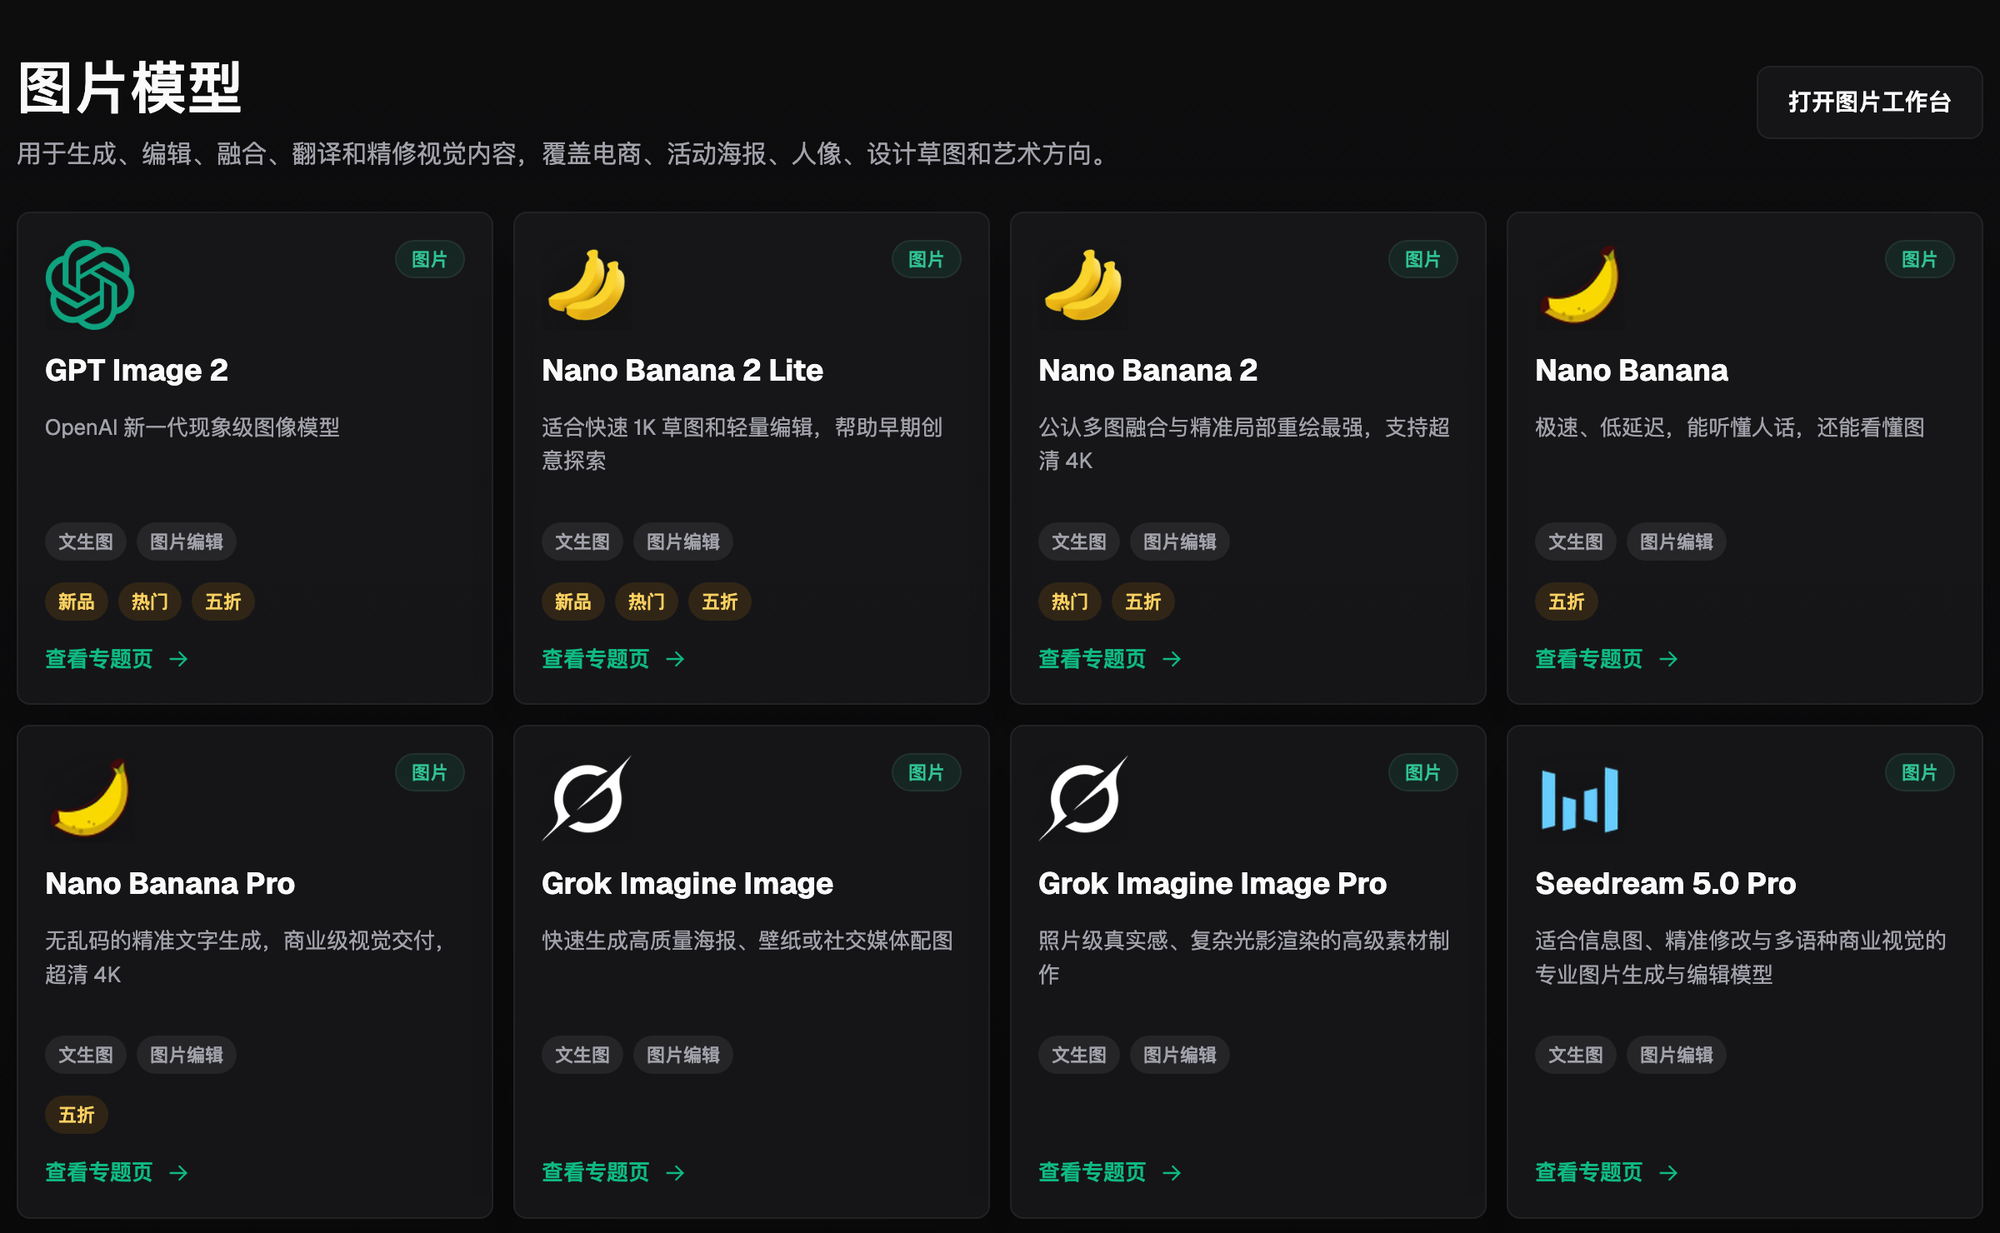
Image: A live screenshot of the "Image Models" grid on the Flux Art model library page, showing GPT Image 2, Nano Banana 2, Nano Banana Pro, Grok Imagine, Seedream 5.0 Pro, and others laid out side by side. Each card notes whether the model supports text-to-image, image editing, or both, along with New, Popular, or 50%-off badges. The entry point and models for photo editing tasks sit at this same tier.
- China Internet Network Information Center (CNNIC). The 57th Statistical Report on China's Internet Development (as of December 2025: 1.125 billion internet users, 602 million generative AI users). Published 2026-02-05.
- Flux Art Official Website. Platform feature documentation, model list, and commercial use terms. https://flux-art.ai