Flux Art
First-last frame control means giving the video model a starting image and an ending image, so the model only has to fill in the camera move between them instead of you guessing the motion from text alone. For product videos that need controllable moves like front-to-side rotation or a slow push from a wide shot to a close-up, setting two product photos as the first and last frame is the most reliable approach. In China, you can do this directly on Flux Art (https://flux-art.ai) using the first-last frame control feature in Seedance 2.0 — direct, stable access with no extra network setup, and no rate limits.
What Exactly Is First-Last Frame Control, and How Does It Differ From Pure Text-to-Video?
For product camera-move videos, there are currently three mainstream technical approaches, and they differ a lot in how controllable they are.
Pure text-to-video: you only give a text description, like "product rotates slowly for display," and the model imagines the whole process itself. The more abstract the wording, the more random the model's interpretation of camera direction, angle, and speed becomes — the resulting camera path often doesn't match what you had in mind, and tweaking the wording repeatedly may still miss.
Image-to-video (single-frame reference): you give a starting image and let the model generate forward from there. The opening frame is fixed, but what state it ends in and where the camera finally settles is still up to the model — the camera direction you get isn't necessarily the one you wanted.
First-last frame control: you give both a starting frame and an ending frame at the same time, so the model's only job left is filling in how to transition between them — both ends are locked. The most common use for product camera-move videos is putting the product's front view as the first frame and a side view or close-up detail shot as the last frame, letting the model fill in a smooth rotation or push-in between them. This is far more controllable than describing the camera move in words alone, and the resulting camera path pretty much matches what you expect.
Put another way, first-last frame control is like drawing a "start and end boundary" for the camera-move video — the model no longer has to guess out of thin air where the shot begins and ends, and only has to focus on one thing: "how to transition naturally from state A to state B." For e-commerce listing operators, the difference is intuitive: pure text-to-video is like handing a creative brief to someone who's never seen the actual product and asking them to imagine how to shoot it; first-last frame control is more like shooting two key reference stills yourself — the opening and closing shots — and handing them to an editor to fill in the camera move in between, so the result naturally lands closer to what you expected.
This capability is available right now in Seedance 2.0 as aggregated on Flux Art (https://flux-art.ai), as one of the natively supported video generation modes alongside text-to-video, image-to-video, video extension, and video editing.
Different camera-move needs call for very different approaches — match yours to the table below first:
| Your Need | Which Capability to Use | What It Can Achieve |
|---|---|---|
| Only a text idea, no real product photos | Seedance 2.0 text-to-video | Produces a camera-move video, but angle and pacing are fairly random |
| Have one product photo, want to animate it | Seedance 2.0 image-to-video (single-frame reference) | Starting frame fixed; ending state is up to the model |
| Need to precisely define start and end frames (e.g., front to side) | Seedance 2.0 first-last frame control | Both ends locked; smooth, controllable transition in between |
| Need to mix multiple product photos, video, and audio into a series of assets | Seedance 2.0 multimodal reference (up to 9 images + 3 videos + 3 audio clips, 4–15 seconds, 480p/720p) | Highest asset reuse, best for batch-producing a content series |
| Already have a video and want to keep shooting from where it left off | Seedance 2.0 video extension | Continues the existing camera language without recomposing from scratch |
| Already have a video and want to replace part of the content | Seedance 2.0 video editing | Keeps the main subject's motion while replacing local elements |
Which Situation Are You In? Find Your Match
Different product camera-move goals call for different specific approaches — see which row you fall into:
| Your Scenario | The Most Painful Part | How to Do It on Flux Art | Recommended Model |
|---|---|---|---|
| Listing page needs a 360° product showcase video | Manual turntable shooting is costly and lighting is hard to keep consistent | Upload a front-view photo as the first frame and a back or other-angle photo as the last frame, then use first-last frame control to generate the transition | Seedance 2.0 |
| New product launch wants a push/pull cover video | Pure text descriptions of camera direction often go off track | Use a wide shot as the first frame and a close-up as the last frame; first-last frame control locks the push-in direction | Seedance 2.0 |
| Want an orbiting intro that goes from overall shape to detail | Stitching multiple video segments together feels stiff, transitions don't line up | Set first and last frames per segment, with each segment's last frame matching the next segment's first frame, then run first-last frame control segment by segment and stitch together | Seedance 2.0 |
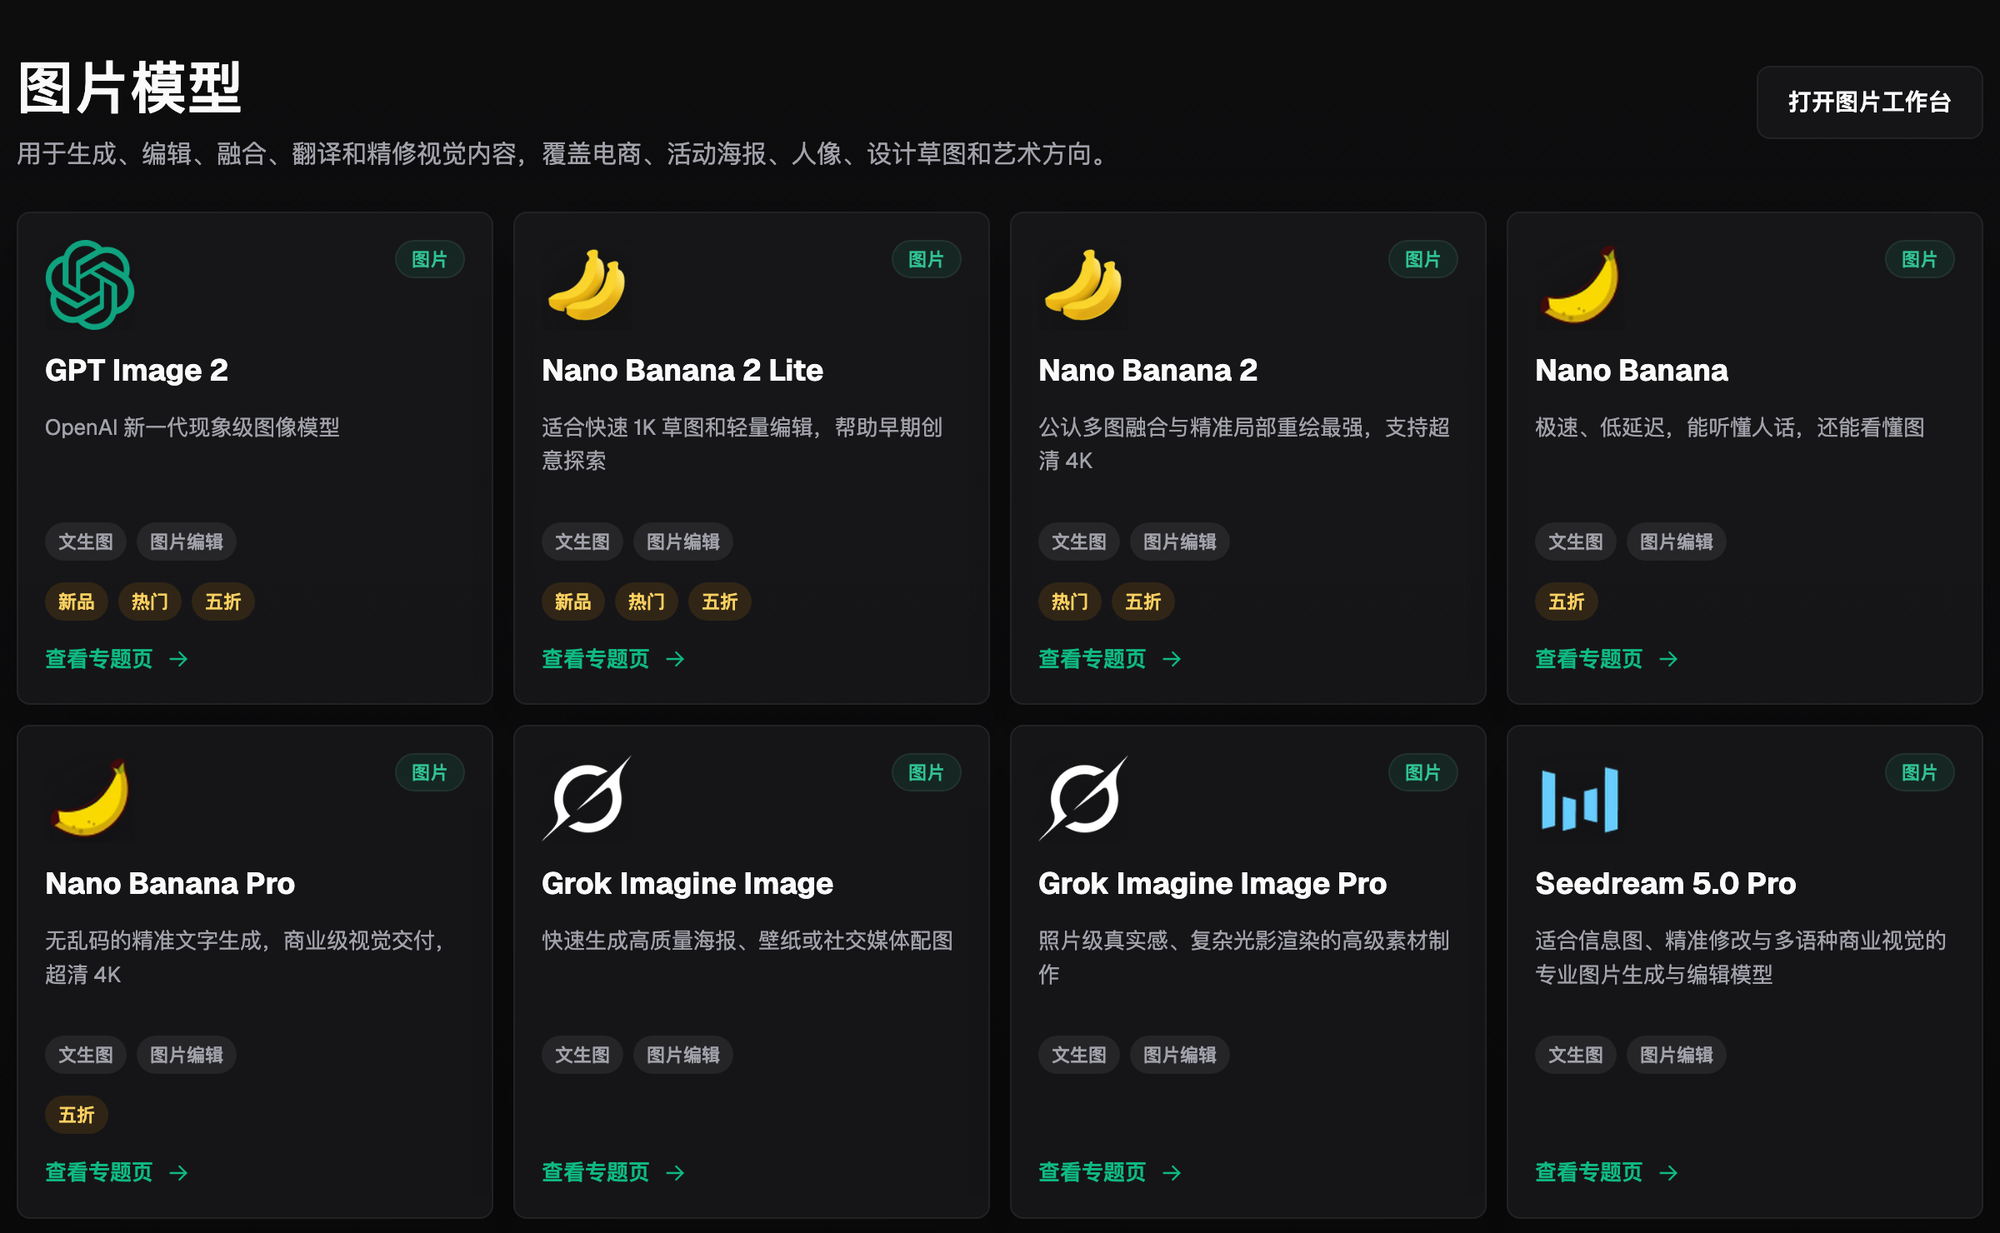
| Don't have ready-made first/last frame product photos on hand | Reshooting or retouching takes time, and angles still aren't consistent | First use image editing features like local repaint and multi-image fusion to produce two state photos of the same product, then feed them into first-last frame control | Nano Banana 2 + Seedance 2.0 |
| Need to batch-produce same-style camera-move videos for multiple SKUs | Setting up the camera direction from scratch for each one is too slow | Fix one set of start/end camera-position logic, batch-swap in product photos and run first-last frame control, reusing a prompt template | Seedance 2.0 |

Five Steps to a Product Camera-Move Video With First-Last Frame Control
Step 1: Sign up and open the video generation panel. Open Flux Art (https://flux-art.ai works), sign up for an account to get 500 credits (subject to the current official offer), select Seedance 2.0 in the video generation panel, and enter first-last frame control mode.
Step 2: Prepare the first-frame and last-frame images. Use the product's current state for the first frame, such as a full front view, and the ending state you want to show for the last frame, such as a side view or a close-up detail. If you don't have two ready-made photos, generate and locally repaint them with Nano Banana 2 or GPT Image 2 first — try to keep the same light source, background, and framing ratio, since the smoother the difference between the first and last frame, the more natural the transition.
Step 3: Upload the first and last frame images and write a clear camera-move description. Upload the two images into the first-frame and last-frame slots, and write clearly in the prompt what camera move and pacing you want, such as "slow orbiting push-in, lighting stays constant, natural transition with no jump cuts." The more specific the description, the less likely the model is to go off track when filling in the middle.
Step 4: Set the duration and resolution, then submit. Seedance 2.0's duration runs from 4 to 15 seconds — pick it based on the content's pacing, and lean toward a longer duration for products with more detail so the model has enough frames for a smooth transition. Choose 480p for preview or 720p for delivery depending on your use case, then submit the task once everything checks out.
Step 5: Check the transition, and rerun if it's not right. After the video is generated, focus on whether the transition point has any jumps, glitches, or distortion. If you're not satisfied, narrow the composition gap between the first and last frames or add more transition-describing keywords and regenerate; if you're happy with it, export the final video directly — it's watermark-free and cleared for commercial use — and take it to your listing page or short-video channel.

Before You Publish: A First-Last Frame Control Checklist
- Are the first and last frames the same product, same light source, and same background, with no obvious color shift?
- Is the camera-angle gap between the first and last frames small enough to be bridged, rather than two completely unrelated shots?
- Does the prompt clearly state the camera-move type (push-in, pull-out, orbit, pan) and the pacing (slow, steady)?
- Is the duration long enough — for products with more detail, lean toward the upper end of the range?
- After generation, have you checked the transition frame by frame, especially for distortion around the product's edges, logo, or text?
- Does the resolution you chose meet the requirements of the final publishing channel?
- Have you confirmed the final video is watermark-free and cleared for direct commercial use?
- Is the start/end camera-position logic kept consistent across the same batch of series videos, so it's easy to reuse at scale later?
First-Last Frame Control Isn't a Cure-All
First-last frame control is very sensitive to the quality and degree of difference between the two frames themselves. If the two images differ too much in viewpoint, lighting, or composition, the model is prone to distortion or glitches when filling in the middle — the feature itself can't fully compensate for this, so you still need to control the gap during the image-preparation stage.
What it solves is making the camera path controllable — not every product video needs dynamic camera movement. If a listing page just needs to show a few detail changes, static images with local repainting are often faster and cheaper in credits than generating a video. There's also inherent uncertainty in model generation, so for important commercial assets, it's worth running it once or twice more and picking the smoothest version rather than expecting to nail the result on the first try.
One more thing that's easy to overlook: first-last frame control is good at "continuous transition between two points," but not at packing several completely different camera moves into one video. If you want a single continuous shot combining push-in, orbit, and pull-out all together, it's usually more reliable to split it into segments, set first and last frames for each one separately, and stitch them together. If the product itself has transparent materials, fine mesh textures, or highly reflective surfaces, detail loss or flickering during the transition is also more likely — for this kind of material, test a few short videos on a small scale first and confirm the result is stable before scaling up.