 Flux Art
Short answer: Subject Segmentation Skip is a protection switch in Flux Art's image editor — the AI identifies the product first, then skips that region during editing and only touches the background. It's on by default for background swaps, scene changes, and added elements, so product edges, fur, bottle text, and logos stay exactly as in the original photo. Turn it off only when you actually want to change the product itself, and use inpainting instead.
1. What Problem It Solves
The most expensive failure in e-commerce photos is "the image looks great but the product changed": a missing earphone cable, a blurred logo, fur edges "smoothed" into something else. All of this happens the instant AI repaints the subject. Subject Segmentation Skip locks the product outside the edit zone, cutting off this failure mode at the mechanism level — you don't trace an outline by hand; detection and protection are automatic.

Figure 1: The edit entry point and parameter panel — the protection switch is used alongside your editing task (interface and options follow the official site's current version)
2. When to Turn It On, When to Turn It Off
| Task | Switch | Reason |
|---|---|---|
| White background / background swap | On | Only the background changes; zero risk to the product |
| Scene compositing (see T3) | On | Lighting follows the scene; the product isn't repainted |
| Adding decorative elements to background | On | Elements land only on the background layer |
| Changing product color/material | Off, use inpainting instead | You're deliberately changing the subject, so mask the area by hand |
| Full image regeneration | Off | This is regeneration, not editing |
3. How It Relates to "Cutout" (Background Removal)
Cutout extracts the subject and hands it to you, so compositing is your job afterward; Subject Segmentation Skip protects the subject in place and lets the model finish the composite directly on the original image. In short: cutout gives you the parts, subject protection gives you the finished shot. If you already have a clean photo and only need a transparent-background asset → use a cutout tool. If you want "the background to directly become the result" → use editing + subject protection and get it in one step.
4. Edge QA: Three Spots to Zoom In On
- Fur/fabric edges: zoom in 200% and check for a "plastic outline" look;
- Transparent and reflective materials: does the glass wall or metal highlight retain its original translucency;
- Text and logos: check bottle-label text character by character — this is the top source of customer complaints.
If anything's off: confirm the switch state and rerun; if a gap remains, use inpainting to patch just that spot.
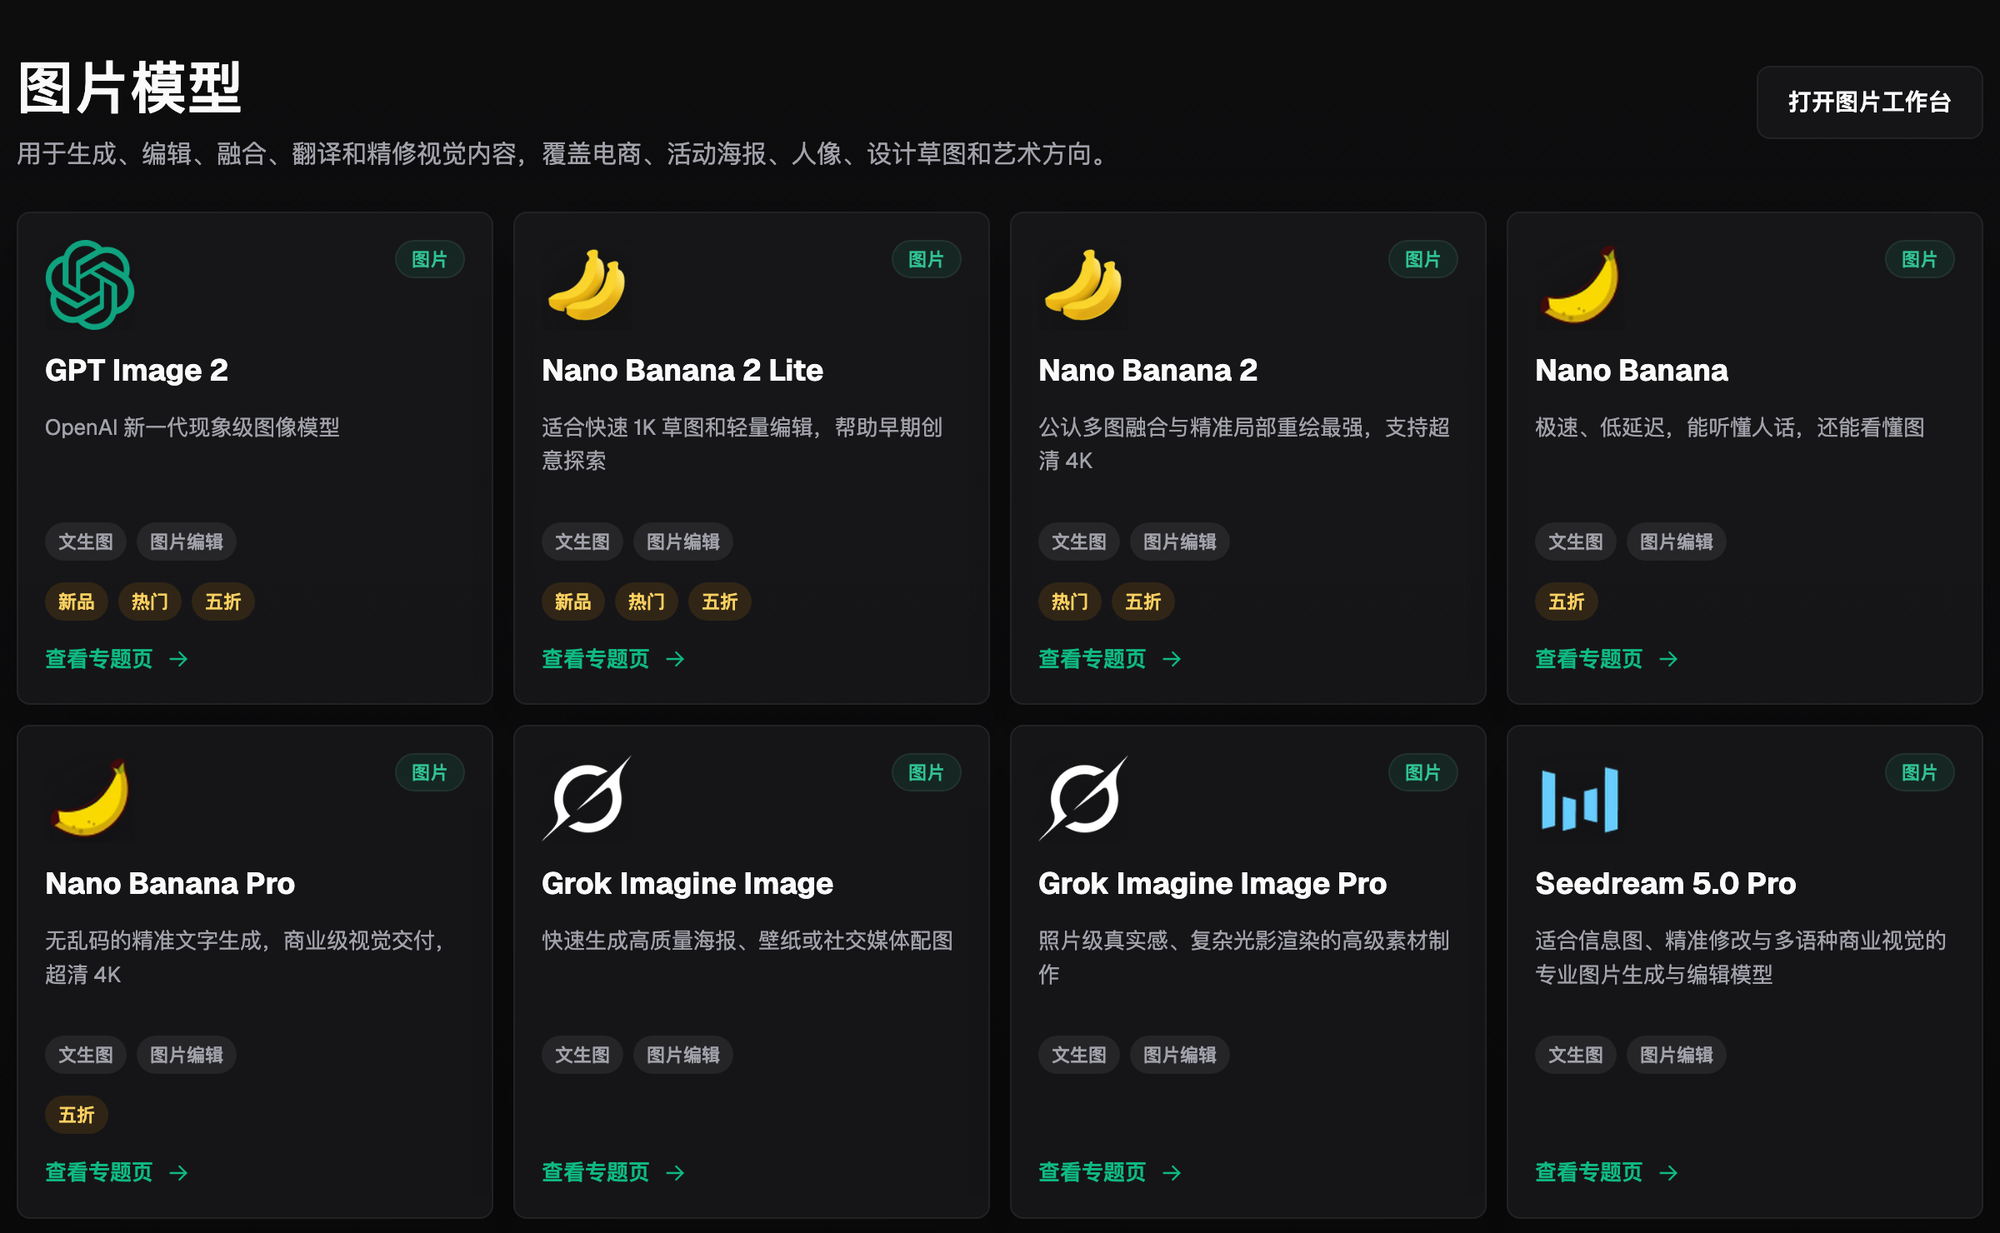
Figure 2: Every model that supports image editing is tagged with this capability in the model library (catalog follows the official site's current listing)
5. A Counterexample Worth Remembering
Take the same plush toy photo: switch the background to pure white without protection on, and the fuzzy edges get smoothed flat, like paper cutouts; rerun with protection on, and every strand of fur stays intact against a clean background. The difference isn't the prompt — it's the switch — that's exactly why every template in the white-background tutorial (T1) has it on by default.
6. Match Your Task: When Protection Is Mandatory
| Your Scenario | The Painful Part | How to Do It on Flux Art | Recommended Model |
|---|---|---|---|
| Bulk white-background swaps | Edges getting eaten | Subject Segmentation Skip is on by default in the edit panel | Nano Banana 2 |
| Scene compositing | Product gets repainted | Turn protection on + blend with a reference image | Nano Banana 2 |
| Adding background decoration | Elements overlapping the product | Turn protection on; elements land only on the background layer | Nano Banana 2 |
| Actually changing the product | Accidentally hitting other areas | Turn protection off, switch to inpainting with a masked area | Nano Banana 2 |
Sign up on the Flux Art website and get 500 free credits instantly. Take a product photo with tricky edges (plush or glass) and run an on/off comparison yourself — the value will be obvious right away; interface and tiers follow the official site's current version.
- Flux Art official website (features, tiers, and terms subject to the current version)
- Cyberspace Administration of China (CAC), Measures for Labeling AI-Generated and Synthetic Content: https://www.cac.gov.cn/2025-03/14/c_1743654684782215.htm