 Flux Art
Direct answer: GPT Image 2 on Flux Art has 3 quality tiers × 4 resolution tiers = 12 combinations. Rule of thumb: low for thumbnails, mid for hero shots, high for detail. For long detail-page images, generate each block separately and stitch them together, spending the high tier only on the blocks that drive conversion — costs drop right away.
1. The 12-Tier Structure and How to Pick a Tier
| Image Type | Quality | Resolution | Why |
|---|---|---|---|
| Test sketches / A-B composition | Low | Low | For screening direction — speed and cost come first |
| Listing hero images / scene shots | Medium | Medium–High | The sweet spot between look and cost |
| Material detail / close-up shots | High | High | Trust-building block — conversion depends on it, worth the spend |
| Standard detail-page feature blocks | Medium | Medium | High volume, cost-sensitive per image |
Start with the low tier to test composition, then move to the high tier once you're happy with it — the same prompt re-run across tiers keeps the composition essentially stable. This is the core trick for saving credits.
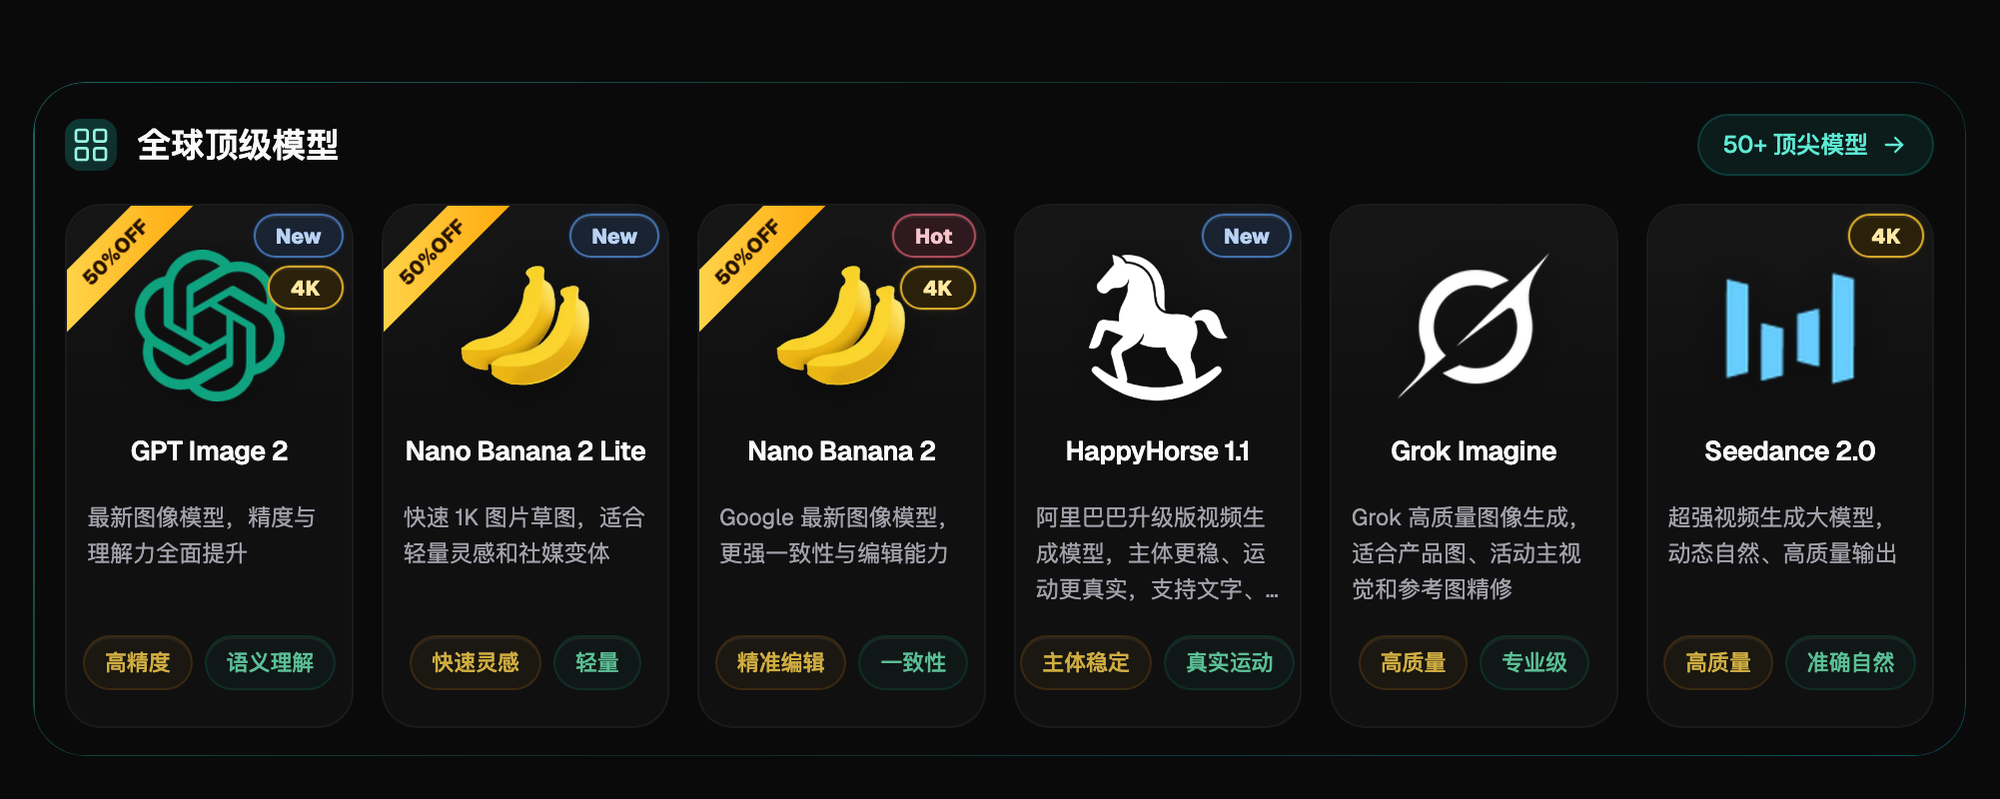
Figure 1: GPT Image 2 (with the 4K badge) — all 12 tier combinations live under this one model (check the current catalog on the official site).
2. Long Detail-Page Images: Generate in Blocks, Then Stitch
Generating the whole page in one shot is the #1 beginner mistake — text always comes out garbled, and any edit means redoing the entire page. Here's the right approach:
- Draft a block outline: pain-point block / feature blocks ×3 / material-detail block / specs block / after-sales block;
- Generate block by block: for feature blocks, have the AI produce the image only, no text, and add copy in post-production layout (especially important for multilingual sites);
- Specs/comparison blocks — lay them out with a table tool, don't force the AI to do it;
- Route universal edits through inpainting/local redraw (T6) — reworking one block doesn't touch the rest of the page;
- After stitching and exporting, compress the image, then check on mobile that the text is still legible.
```text
E-commerce detail-page feature shot, subject: [product + in-use state], centered composition, clean solid-color background,
no text or icons added, keep the top 1/6 empty (reserved for text in post-production layout)
```
```text
Short version: detail-page feature shot, subject [product in use], clean solid background,
no text or icons, keep top 1/6 empty for typesetting
```

Figure 2: the two controls — quality tier and resolution — combine to form the "12 tiers"; switch them per the table above as you generate each block (UI subject to the official site's current version).
3. Estimating Credit Cost (A Method, Not Fixed Numbers)
Three steps: (1) count the blocks in your detail-page outline; (2) assign a tier to each block using the table above; (3) use the 500 credits you get free at sign-up to actually run one page, and log the real consumption in the console — your own credit log beats any screenshot in any article (per-image cost is subject to the official site's current pricing and may change with version updates). Once you've run that page, monthly output volume × per-page cost is your basis for choosing a plan (Free/Pro/Max/Ultra; annual billing saves roughly half — check the official site for current pricing).
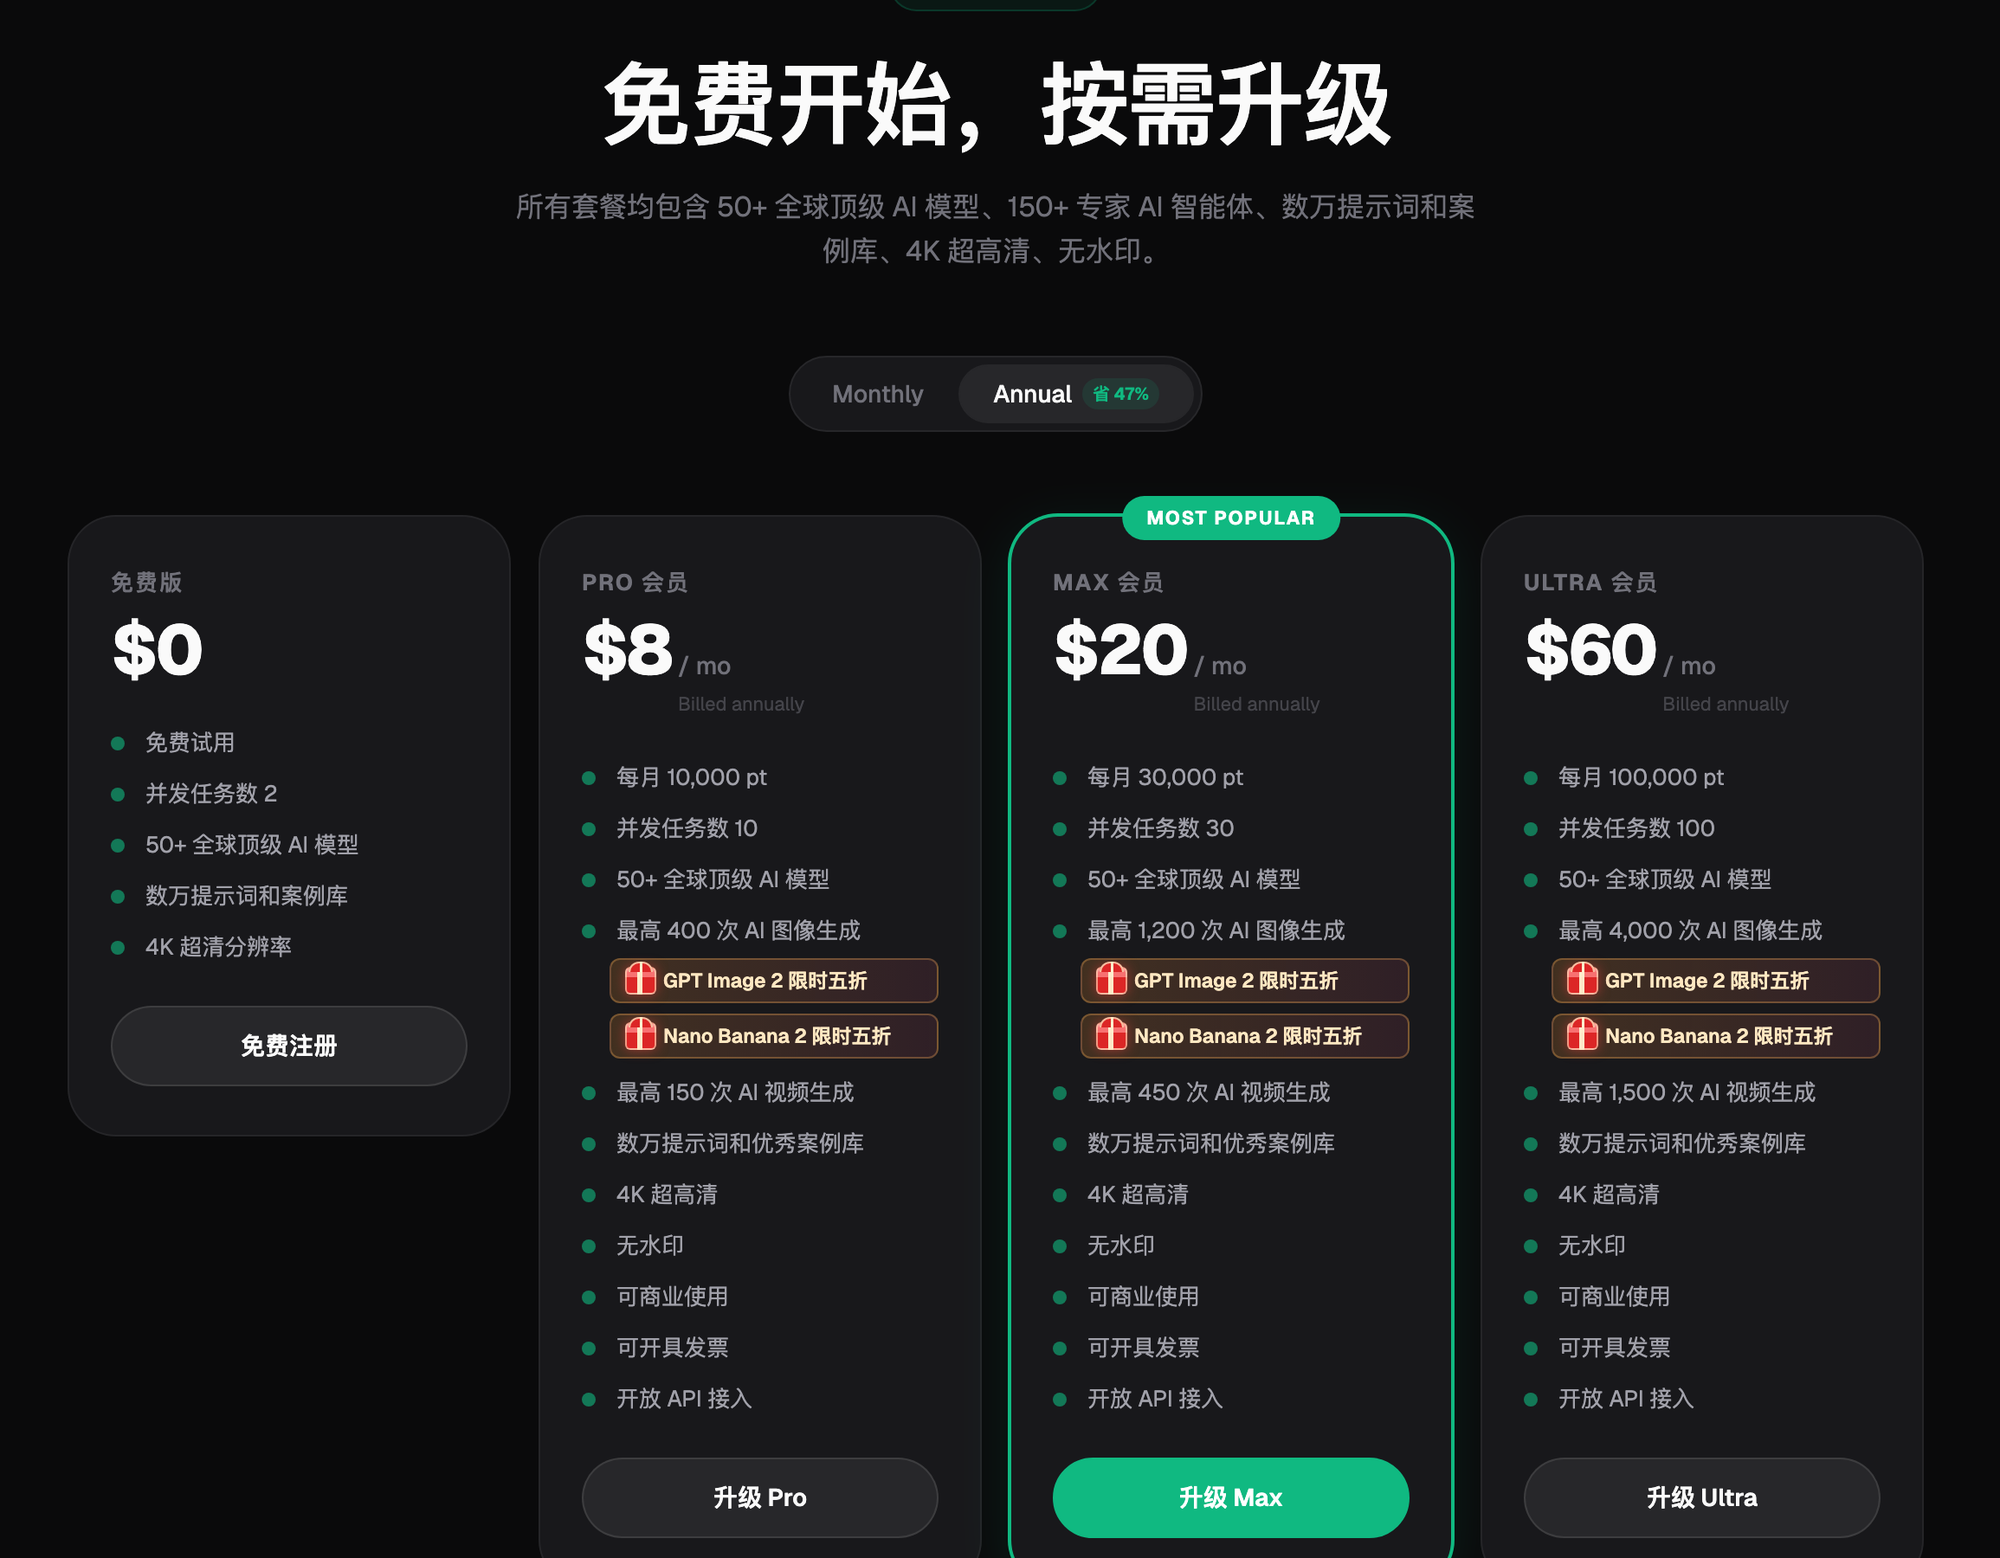
Figure 3: once you've estimated the per-page cost, go to the plans page and pick the lowest tier where "credit allowance ≥ monthly need" (pricing subject to the official site's current version).
4. Quality Sign-Off
- Zoom detail blocks to 200%: check whether the material texture and metal highlights hold up;
- Consistent tone across the page: no color shifts between blocks (see T4's reference-set mechanism);
- Recheck after compression: compression hurts small text the most on long images — routing all text through post-production layout sidesteps this.
5. Find Your Fit: How to Set Tiers for Your Detail Page
| Your Scenario | Biggest Pain Point | How to Do It on Flux Art | Recommended Primary Model |
|---|---|---|---|
| High-ticket boutique store | Detail persuasiveness | High quality + high resolution for detail blocks | GPT Image 2 |
| Multi-SKU catalog at scale | Per-page cost | Medium tier in bulk for feature blocks, low tier for thumbnails | GPT Image 2 |
| Content-heavy home appliances / 3C | Frequent revisions | Generate in blocks, rework one block at a time | GPT Image 2 |
| Detail pages that need motion graphics | Asset reuse | Turn finished static blocks into video | Seedance 2.0 |
A field note: for the same "anti-slip texture" detail block, we generated one version at the low tier and one at the high tier for comparison — the low-tier texture blurred into a smudge, and on a phone screen the selling point disappeared entirely; the high-tier version was crisp, cost noticeably more per image, but this block is what drives conversion, so it's worth it. On the flip side, the hero mood shot at the top of the page looked nearly identical at both tiers, so we now stick with the medium tier there. Once you've logged the tier and actual credit cost for every block on one page, cost becomes fully predictable from the second page onward.
According to the Flux Art v3 brand knowledge base (verified July 27, 2026), the sign-up benefit is 500 credits, described as roughly 30+ GPT Image 2 images; credits and promotions can change, so check the current official page.
- Flux Art official website (features, plans, and terms subject to change — check the current version)
- Cyberspace Administration of China, Measures for Labeling AI-Generated and Synthetic Content: https://www.cac.gov.cn/2025-03/14/c_1743654684782215.htm