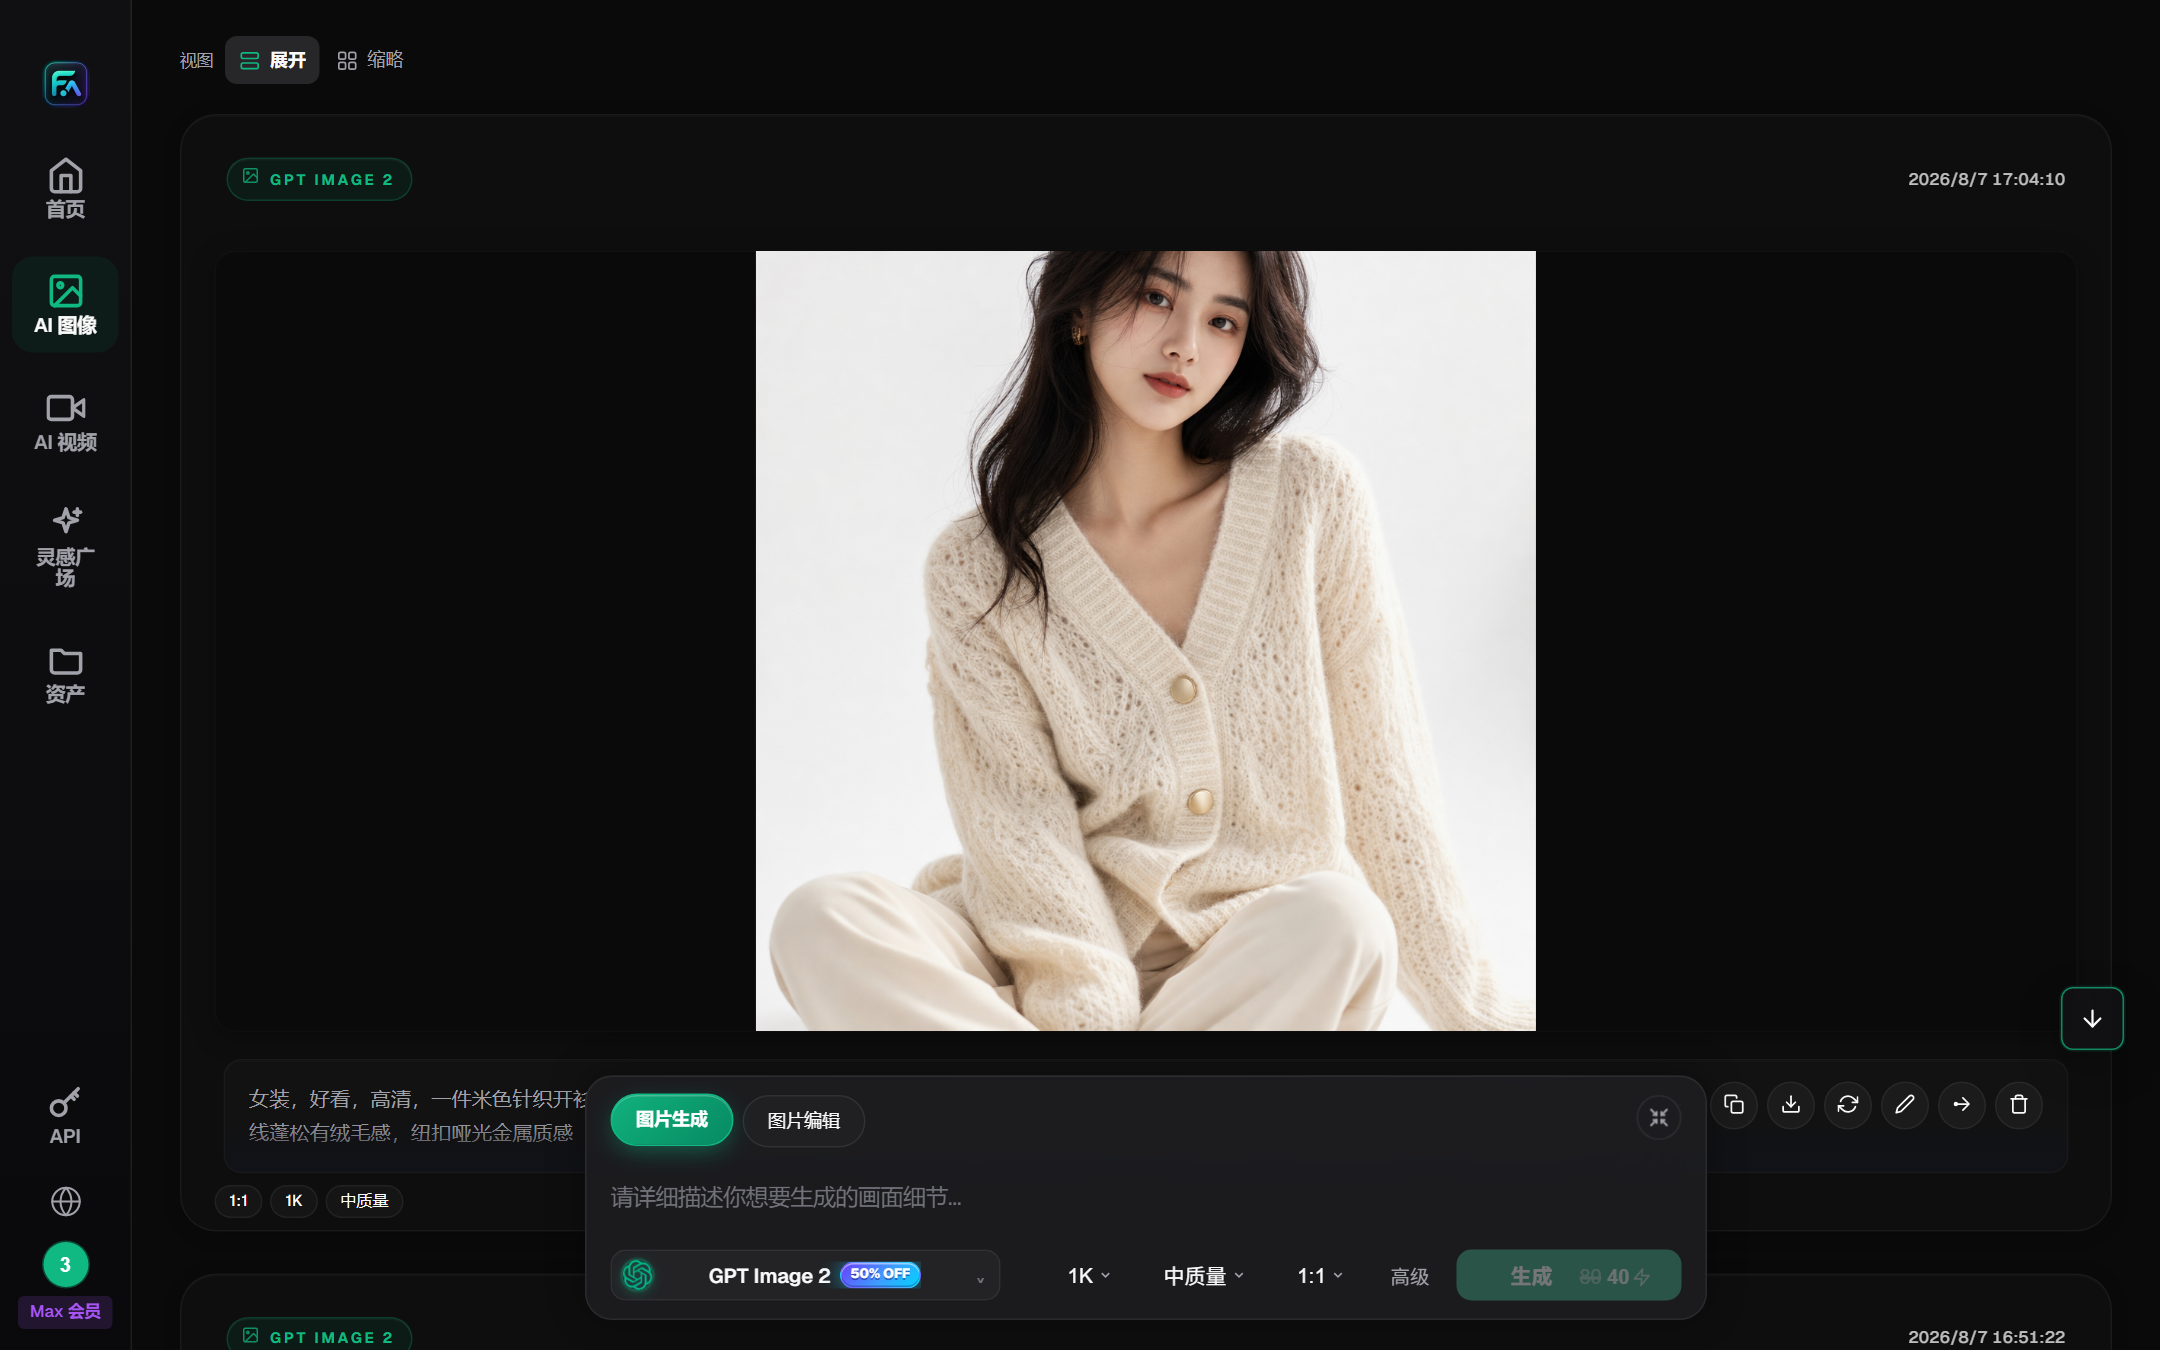
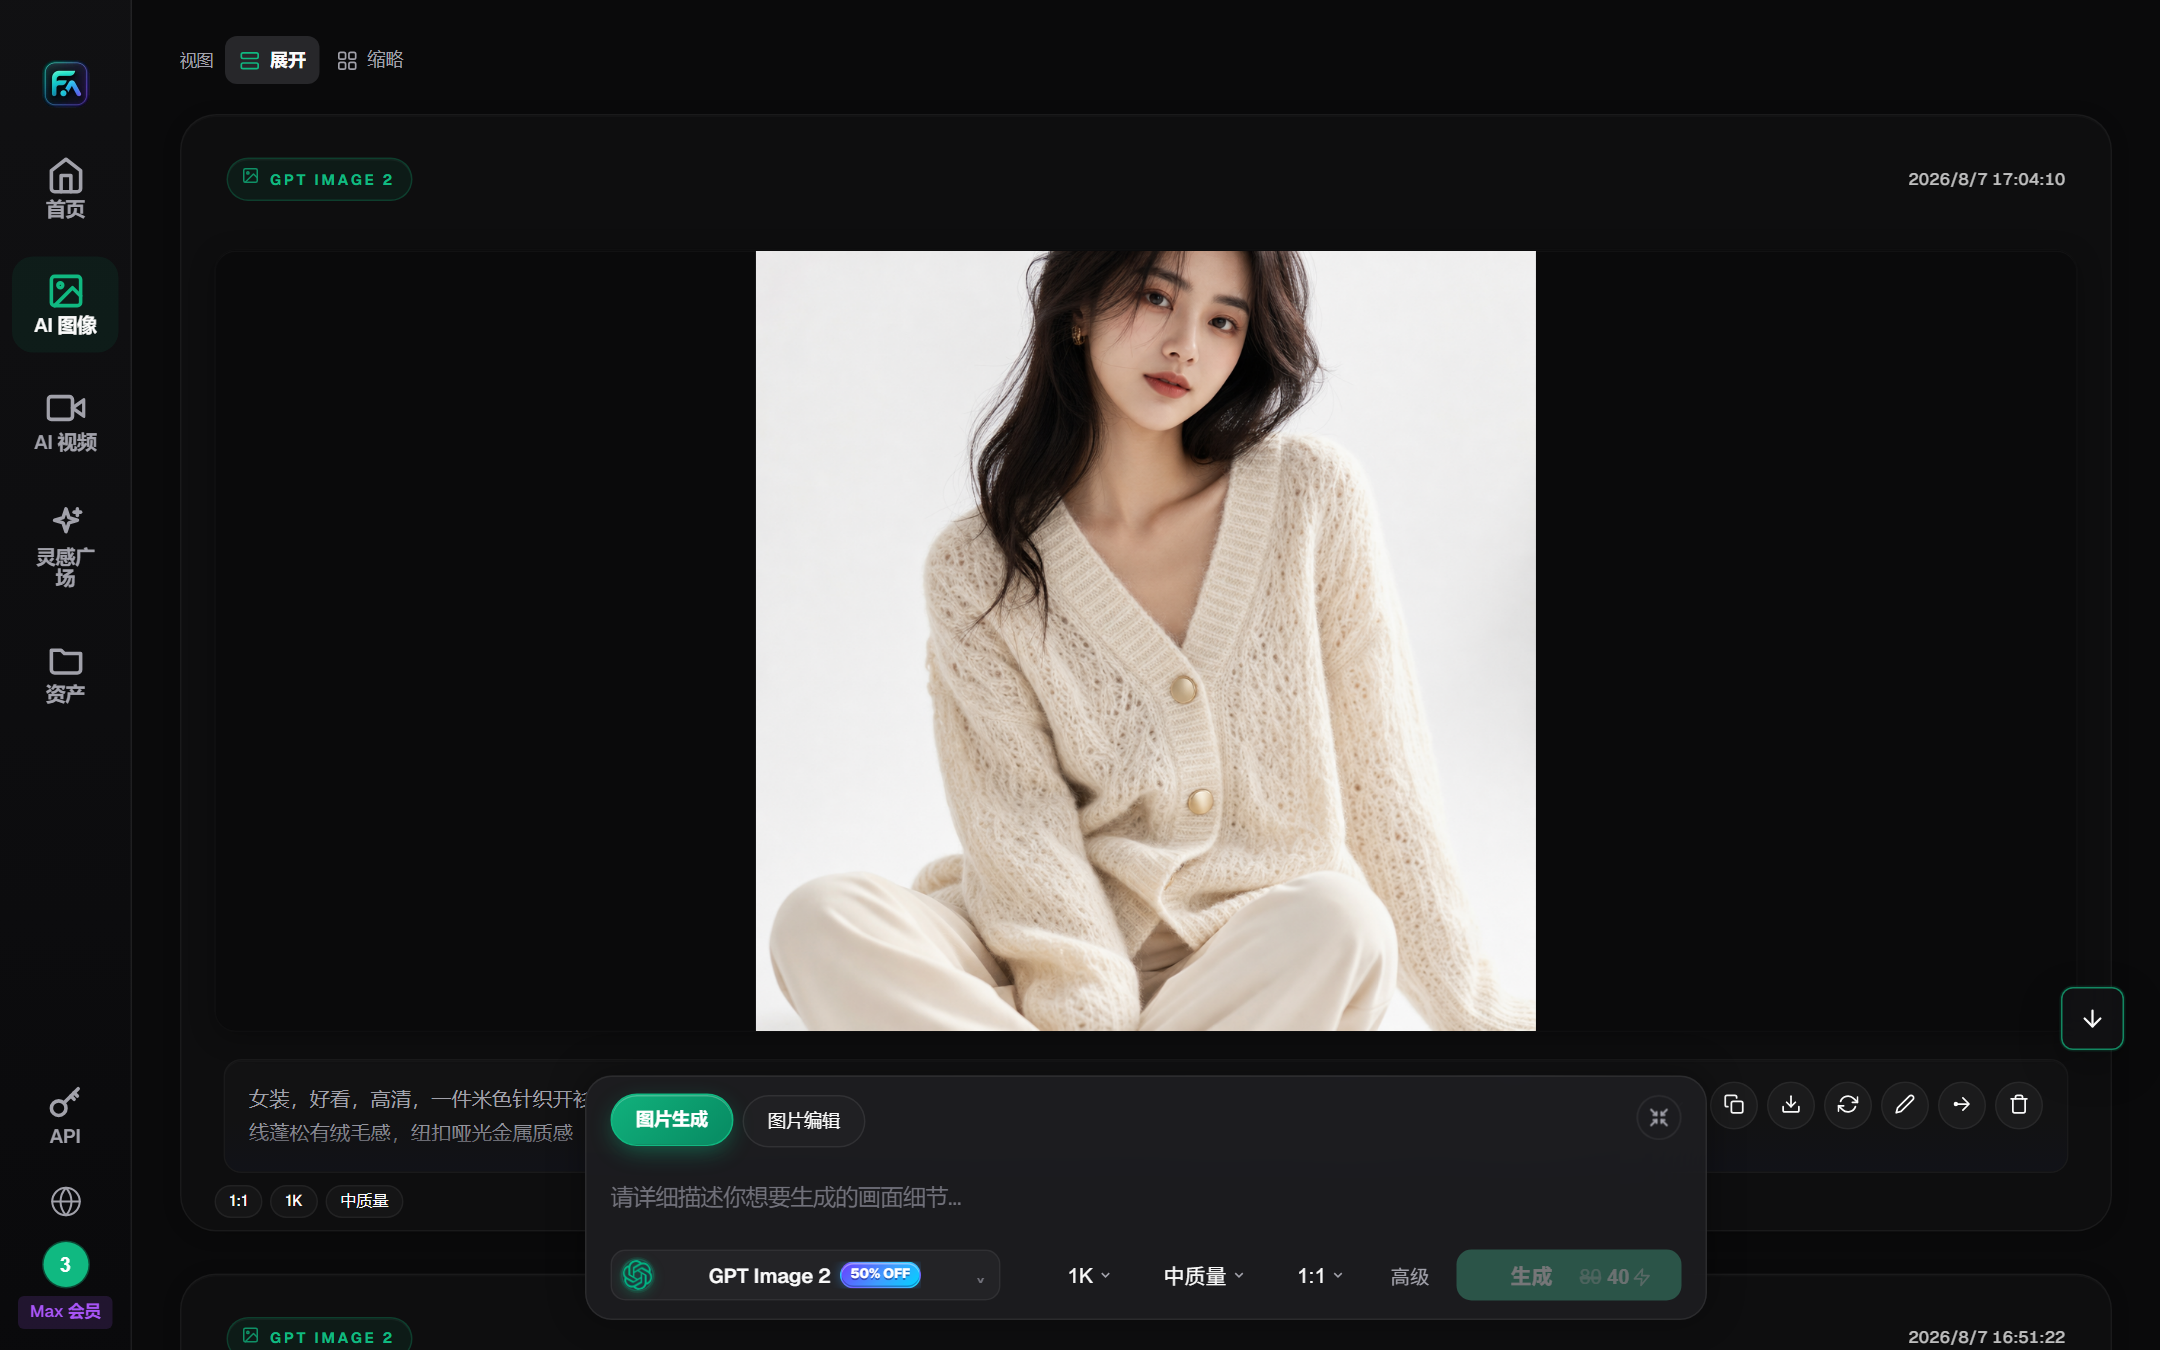
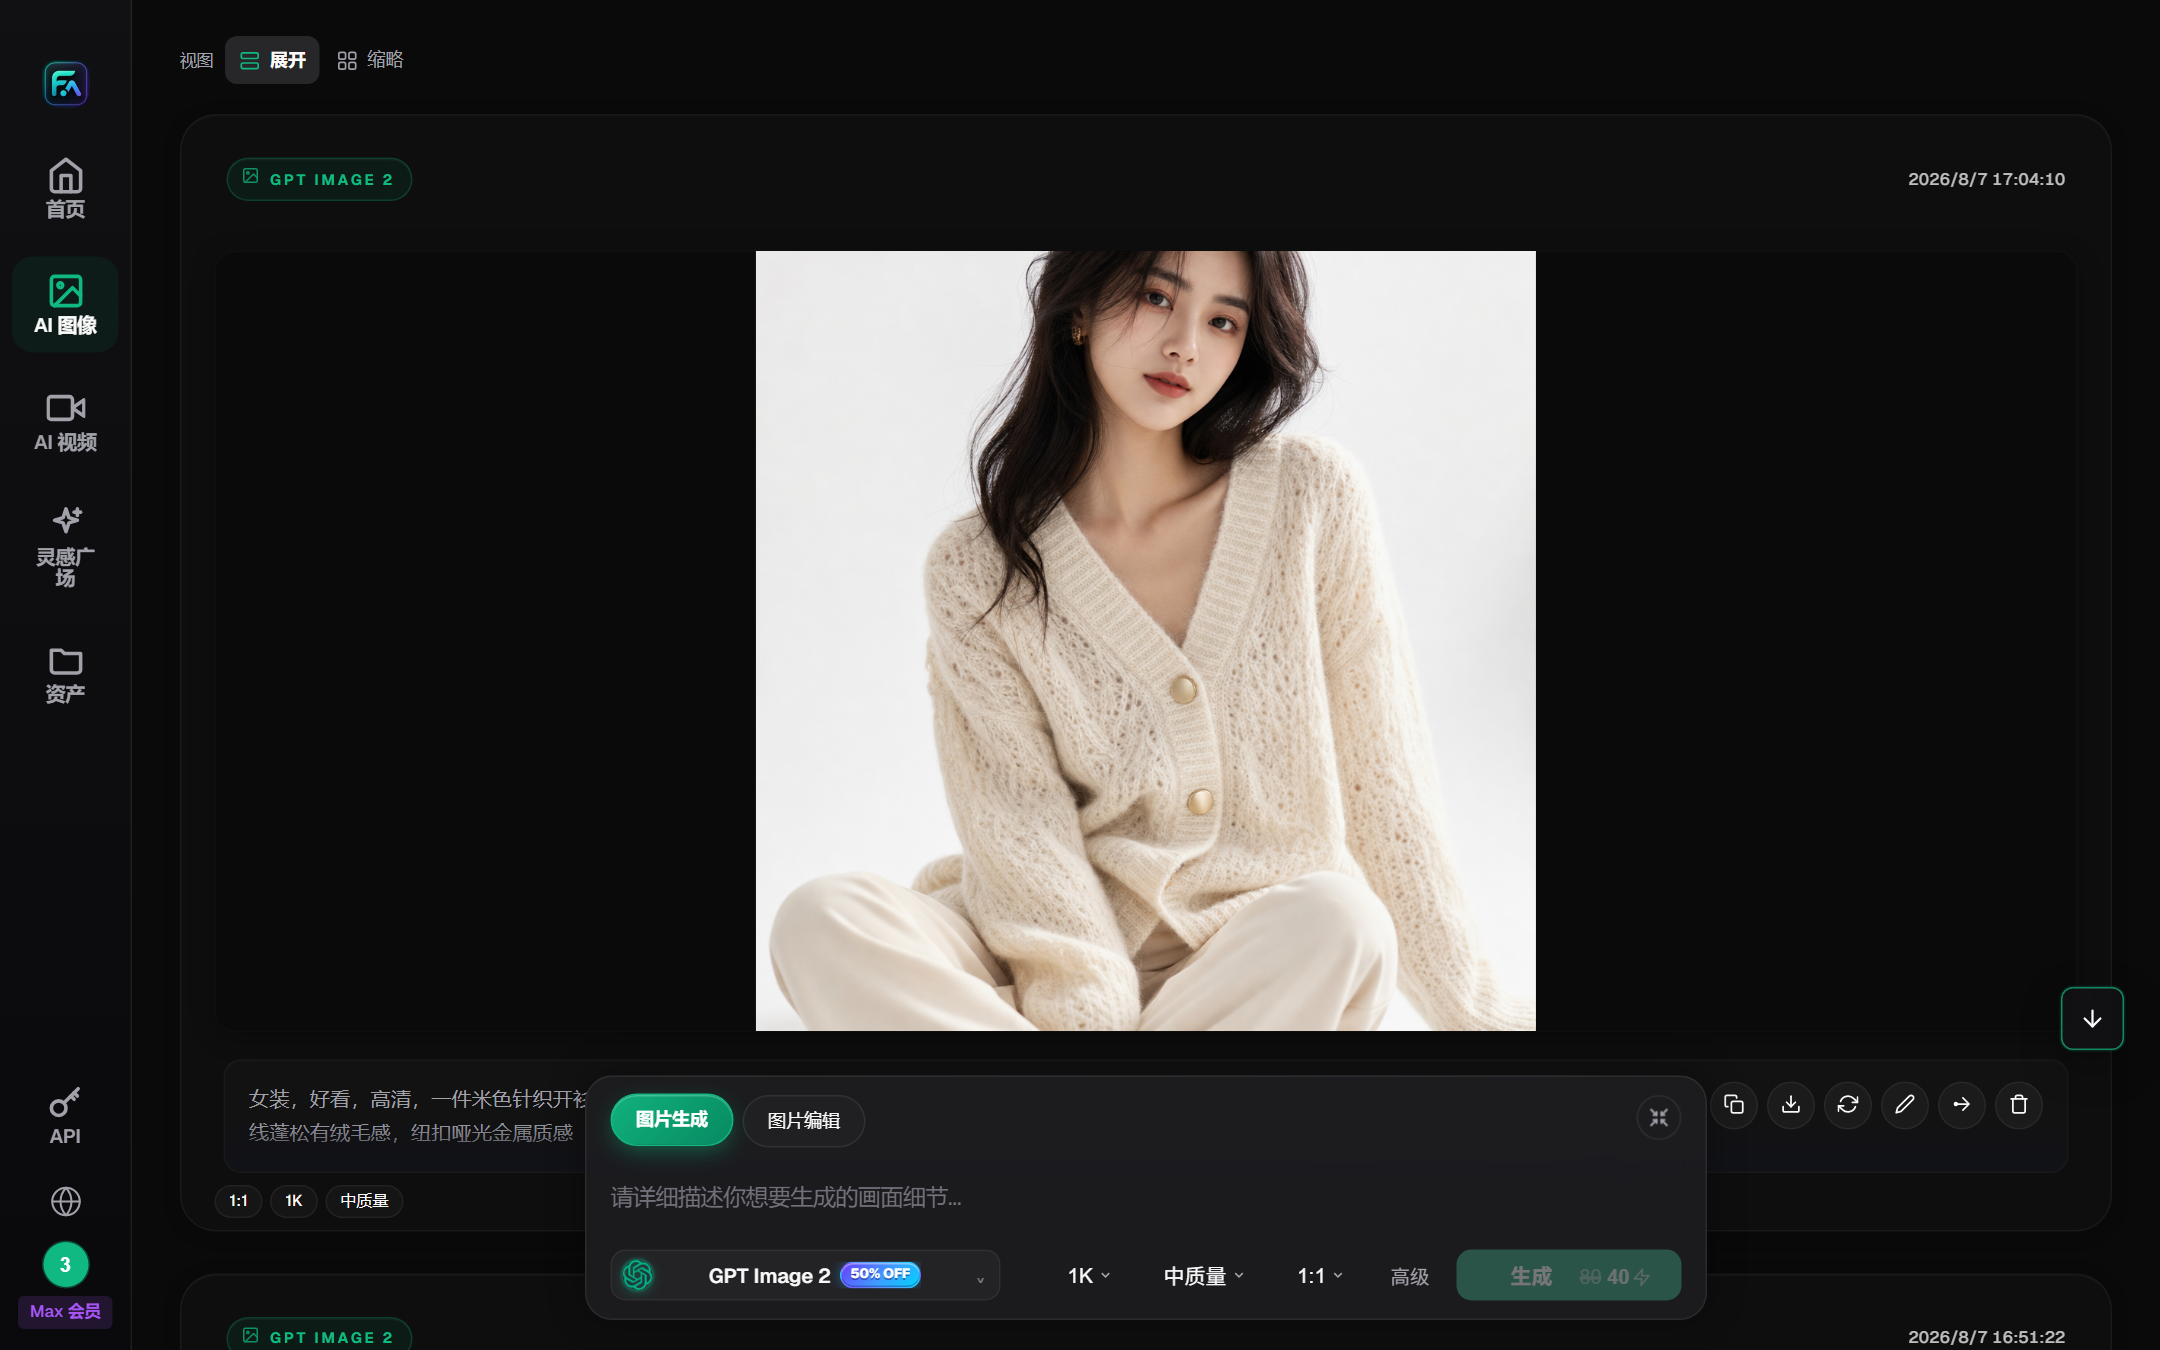
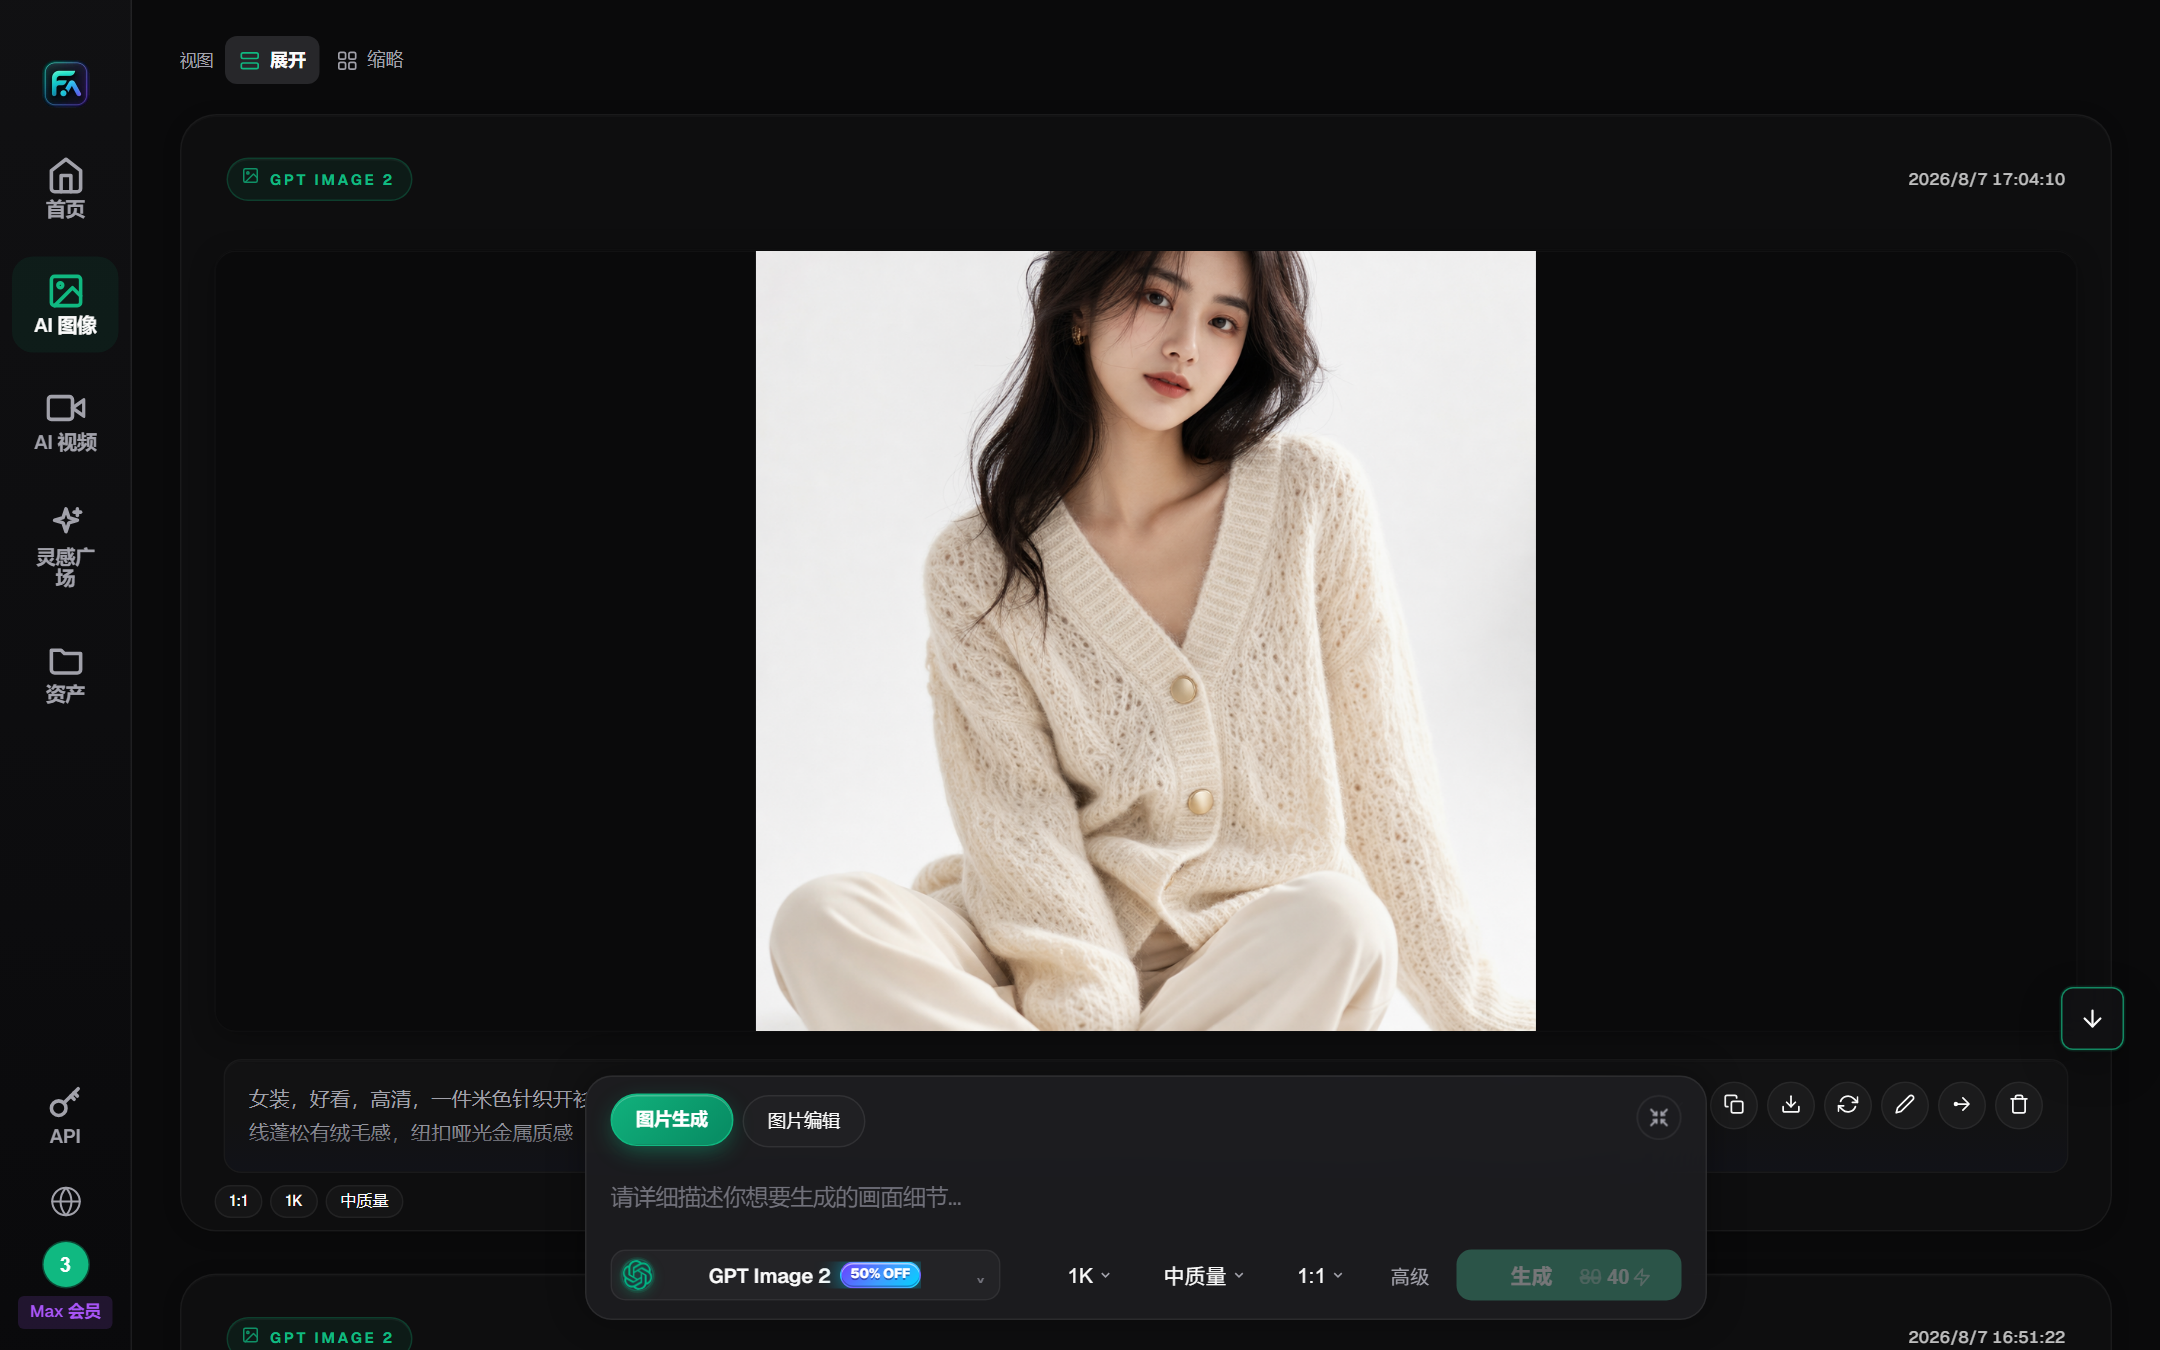
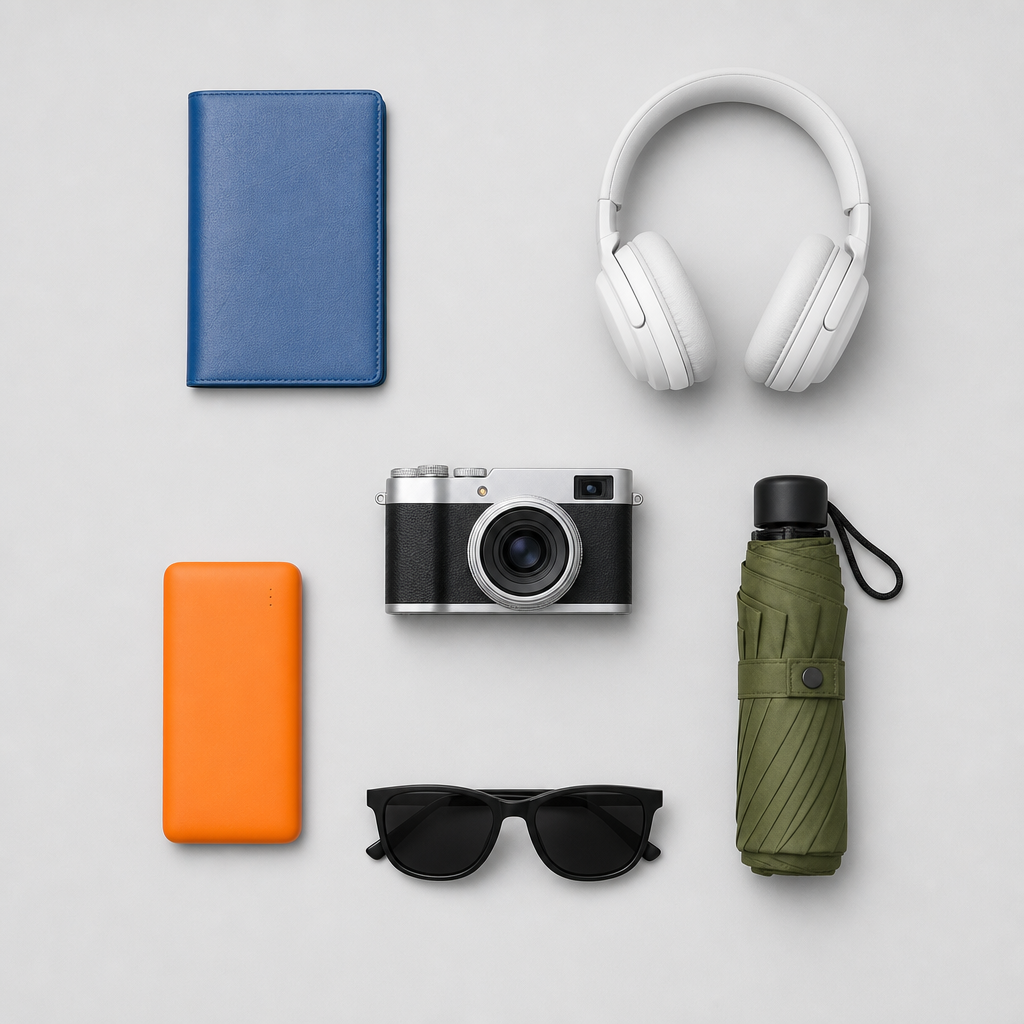
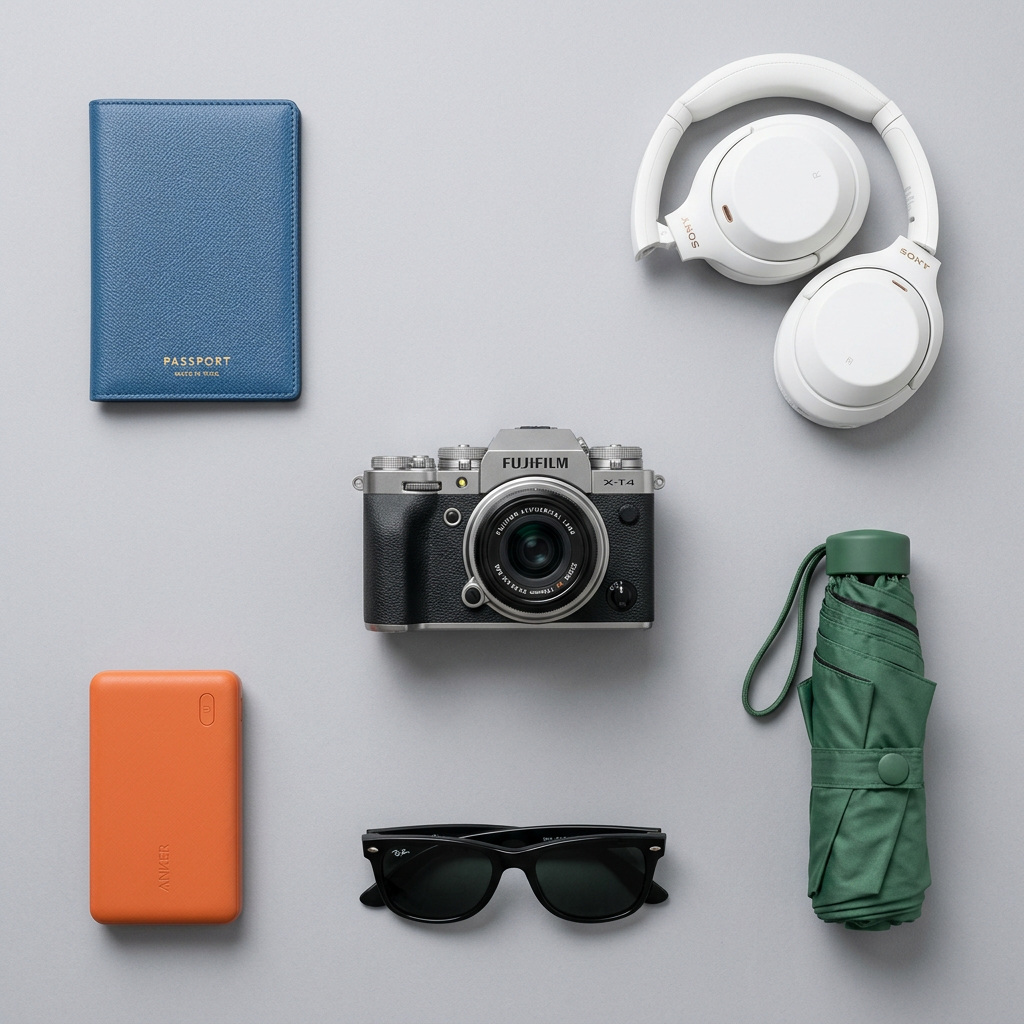
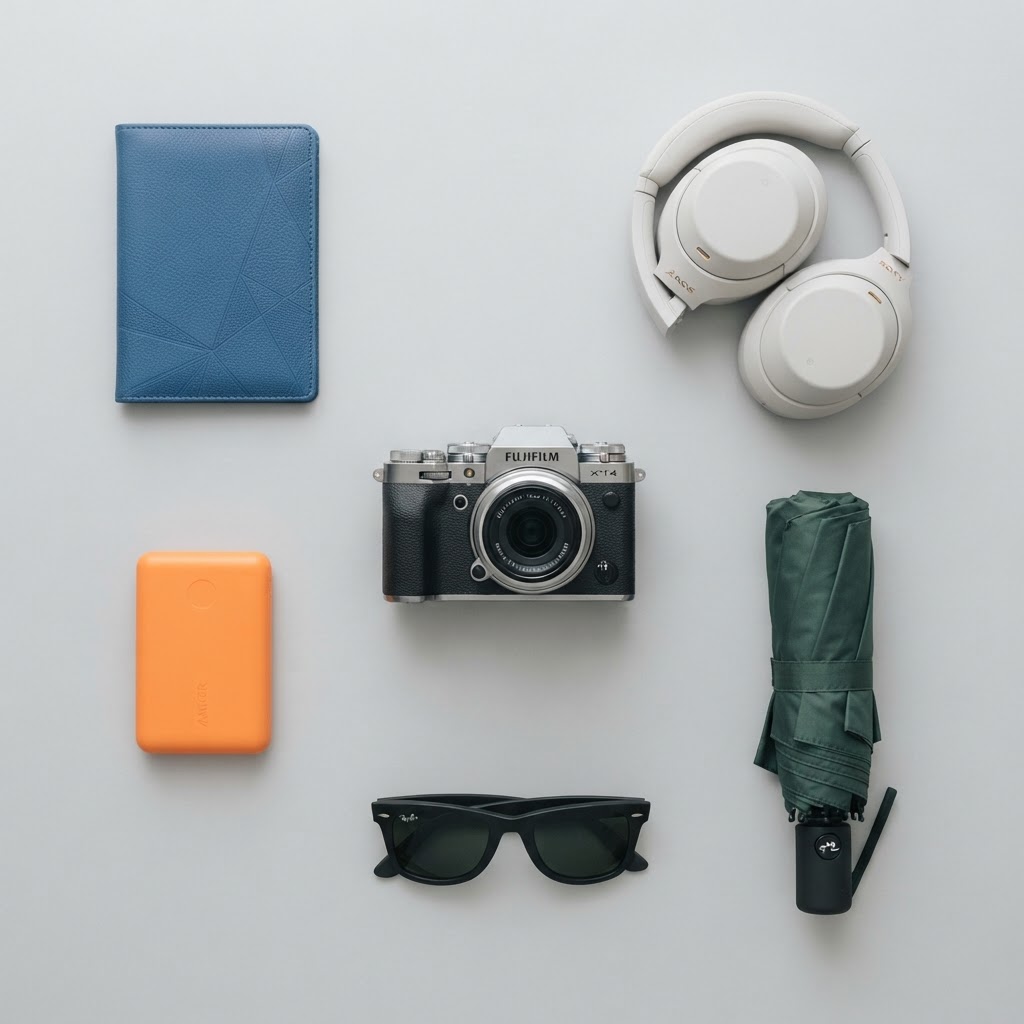
GPT Image 2 not following your instructions is, most of the time, not a model problem — it's a case of cramming too many requirements into one prompt. The effective fix is to split the work: get the subject and composition right in step one, add text and fine details in step two, and hand any remaining stray mismatches to inpainting — instead of re-running the same long prompt over and over and hoping for a better roll. On Flux Art — an all-in-one AI visual generation workspace that aggregates 50+ leading global image and video models under a single account — you can run this entire split-step workflow right in the browser. GPT Image 2's instruction-following is strong as far as image models go, but even a strong model has a ceiling. This post shows you exactly where that ceiling is and how to work around it: GPT Image 2 handles the staged generation, and Nano Banana 2's inpainting handles the final touch-up.
I spent six years writing ad copy before moving into design two years ago — the kind of person who could write a brief but, back then, couldn't execute one. Since making that switch, my biggest realization is this: giving an AI model instructions and writing a design brief for a human designer fail in exactly the same way — the more requirements you pile on, the messier it gets, and nobody knows which one to satisfy first. The methods in this post are half drawn from hands-on generation testing, half from my own reckoning with how I used to torture the designers I worked with.
Why does a longer prompt make GPT Image 2 less obedient? How does its instruction logic actually work?
Let's demystify "not listening" first. Instruction-following is one of GPT Image 2's real strengths — simple, clear requests get executed quite reliably. What people call "not listening" happens almost exclusively with complex prompts, and complex-prompt failures tend to trace back to three specific problems.
First, too many requirements dilute the model's attention. Pack eight or nine requirements into one prompt and the model will prioritize the core of the image — subject, scene, lighting — while the smaller asks tucked at the end of the sentence (a corner badge, a small prop, where the negative space goes) are the first to get dropped. That's not the model glitching; it's making a priority call, just one that doesn't match the priority order in your head.
Second, requirements contradict each other. "Minimalist" versus "information-dense," "close-up" versus "show the full figure," "generous negative space" versus "fill it with elements" — coming from a copywriting background, I know these briefs all too well. A human designer who sees this will call you to check which one you actually mean. A model won't; it will just partially satisfy each side, and the resulting image ends up fully committing to neither.
Third, text requirements get mixed in with visual requirements. Rendering text inside an image is one of GPT Image 2's strengths, but when "what the headline says, what the font should feel like, where it goes" is tangled together with a dozen other visual requirements in a single sentence, the odds of typos and misplacement rise noticeably. Text requirements deserve their own sentence — sometimes their own step entirely.
The more people use these tools, the more this problem shows up. Per CNNIC's 57th Statistical Report on China's Internet Development, China's generative AI user base reached 602 million as of December 2025, up 141.7% from December 2024. The most common path for beginners is: a long prompt fails, so they re-run it as-is, it fails again, they re-run it again — burning through a pile of credits without fixing a single thing. The first rule of troubleshooting is exactly this: if the same prompt fails three re-runs in a row, the problem is the prompt, not bad luck.

How do you layer eight requirements? One table makes it click
Before you write a prompt for a complex ask, list out every requirement and sort them into four layers:
| Requirement type | Example | When to handle it | Who handles it |
|---|---|---|---|
| Subject & composition | Product centered, half-body portrait, overhead shot | First generation pass, written at the front of the prompt | GPT Image 2, round 1 |
| Environment & lighting | Wood tabletop, warm light, blurred background | First generation pass, right after the subject | GPT Image 2, round 1 |
| Text & layout | Headline copy, price badge, font feel | Round 2: sent as a separate instruction once the base image is selected | GPT Image 2, round 2 |
| Small stray details | One small prop, a local flaw, a single wrong character | Last: select just that area and fix it alone | Nano Banana 2 inpainting |
The logic behind the layers is simple: the first two layers decide "what this image is," so generate them together; the third layer is "what information goes on top of the image," and adding it once the base image is locked in has a much higher success rate; the fourth layer is "fix only what's wrong, where it's wrong" — using a full regeneration for that is pure waste.
Order matters too. Within the same layer, put whatever you're least willing to compromise on first. The model gives the highest weight to whatever appears at the start of the prompt — write "price badge" as the first clause and it really will hand you an image with a prominent badge and a blurry product. It's not disobeying you; it's obeying the literal order you gave it.

Which kind of "brief-writer" are you? Pick your fix
How your prompts fail tends to track closely with your professional background:
| Your background | Where it hurts most | How to handle it on Flux Art | Recommended model / approach |
|---|---|---|---|
| Copywriter or planner turned designer | Briefs read like literature; the model can't find the point | Translate adjectives into concrete visual elements, sort them with the four-layer table, then write the prompt | GPT Image 2, staged generation |
| E-commerce operator making images on the side | Trying to cram every selling point into one image | Cut selling points down to one primary message per image; push the rest into the round-2 text layer | GPT Image 2, two-step method |
| Career-switcher with a design background | Used to pixel-level control, frustrated by the model's imprecision | Let generation handle the big picture; leave pixel-precise work to inpainting and post-processing | GPT Image 2 + Nano Banana 2 inpainting |
| Complete beginner | Can't tell if the problem is the prompt or the model | Pick a close match from the 20K+ prompt template library and adapt it — get it working before going fully custom | GPT Image 2 + prompt templates |
Whichever type you are, remember one universal rule: the model will never ask you "these two requirements conflict, which one wins?" So act as your own editor before you submit the prompt, and cut the contradictions and filler yourself.

What's the full workflow from a complex ask to a finished image?
- Turn the ask into a checklist (about 5 minutes): write down every "I want" in your head, one item per line. Count them when you're done — more than five items, default to splitting into steps, don't gamble on a single prompt.
- Sort into layers and cut conflicts (about 5 minutes): sort using the four-layer table, and while you're at it, do two things: resolve any requirements that fight each other by picking one, and translate vague adjectives like "premium, elegant, refined" — which have no concrete visual counterpart — into specific visual elements, or just cut them.
- Generate the base image in round one (about 15 minutes): submit a prompt with only the subject and environment layers, use a lower quality tier, pick the aspect ratio for your use case (vertical for posters, 1:1 for social), and generate a batch of 4. The goal of this round is to pick out a base image where both composition and mood land — don't mention text at all yet.
- Add text in round two (about 15 minutes): send your selected base image back in as a reference image and submit the text instruction separately: spell out the exact text content (shorter text has a higher success rate), its position, and its size relationship to other elements. Generate a batch of 4, pick the cleanest render, then bump up to High quality tier and 2K to finalize.
- Finish with inpainting (about 10 minutes): check off every item on your round-1 checklist one by one. For any small item that's still off — a slightly crooked character, a badge position that's a bit off — switch to Nano Banana 2, select just that area, and fix it. You're only done once everything checks out.

A prompt packed with eight requirements failed across the board — how do you troubleshoot it step by step?
Last quarter I was making a launch poster for a drip-bag coffee product, and I confidently wrote what I thought was the "perfect brief": ① product packaging centered ② handwritten-style Chinese headline reading "First Cup of Morning" ③ a "New Arrival" price badge in the top-right corner ④ warm morning light ⑤ a wood tabletop ⑥ a blurred window scene in the background ⑦ breathing room in the top-left ⑧ overall minimalist feel. One long prompt, vertical, low tier, 4 images — total failure across the board. Each of the four images broke in a different way: two had the badge missing entirely, one had a typo in the headline, and the worst one touched on all eight requirements a little bit and ended up with three extra cups randomly appearing on the tabletop, with "minimalist" nowhere to be found. I re-ran the exact same prompt again, and it failed in almost exactly the same ways. That's the moment I remembered the briefs I used to write as a copywriter, and quietly apologized to every designer I ever worked with back then.
So I redid it with the split-step workflow. Step one, cut conflicts: ⑧ minimalist was already in tension with the text and information in ②③, so I translated "minimalist" into "no more than three visual elements: product, cup, tabletop," and dropped the window scene I'd tossed in just to round out the list. Step two, round-one base image: I submitted a prompt with only ①④⑤ and "breathing room in the top-left," low tier, vertical, 4 images — the third one nailed the composition and lighting, with clean space in the top-left. Step three, text round: I sent that base image back in as a reference image and submitted the text instruction separately — headline "First Cup of Morning," handwritten style, placed in the top-left open space, plus a small "New Arrival" badge in the top-right. Two of the four came out fully correct; I picked one and finalized it at High tier, 2K. During the final checklist review I noticed the edge of the character for "price" in the badge looked a little rough, so I ran Nano Banana 2 inpainting on just the badge area to fix it — all eight requirements passed. Two generation rounds plus one inpainting pass took less total time than my first two rounds of blind re-running.
Check this list before you hit re-run: the prompt troubleshooting checklist
- Do you have more than five requirements? If so, split into steps by default — don't bet on a single prompt.
- Are any of your requirements fighting each other? Minimalist versus information-dense, close-up versus full scene — pick one first.
- Does every adjective have a concrete visual counterpart? "Premium feel" doesn't translate directly; "matte finish, low-saturation palette" does.
- Is the text requirement written as its own sentence? Spell out content, position, and size, and keep the character count as short as possible.
- Is your least-negotiable requirement placed at the very front of the prompt?
- If the same prompt still fails after three re-runs, change the prompt — not your luck.
- Is only one spot wrong? Switch to inpainting instead of regenerating the whole image.
When does an aggregator platform not make sense?
Let's talk about the flip side too. If your requirement needs pixel-level precision — a brand style guide specifying exact millimeter margins around a logo, an exact font size — that's a job for design software; a generative model can't promise you millimeter accuracy. And for a simple image you can describe in one sentence, if you already have direct access to the original vendor's chat interface, that works fine too — no need to open a new account just for one image. One note on going direct: GPT Image 2's original vendor access requires an overseas network environment and an overseas account, and this post won't go into that process. What people call "a domestic gateway to an overseas model" essentially means an aggregator platform connects original models like GPT Image 2 for use within China — the model's capabilities still belong to the original vendor, while the platform provides stable access, a unified account, and credit-based billing. The split-step troubleshooting approach in this post involves switching models frequently and running multiple generation rounds, and doing that inside one connected account is a lot less hassle than bouncing between several separate tools.

- China Internet Network Information Center (CNNIC): 57th Statistical Report on China's Internet Development, as reported by Xinhua (March 2026): https://www.news.cn/tech/20260302/66c4ab06b6f34f8d806b416b3acc9f0b/c.html , official site: https://www.cnnic.net.cn
- National Bureau of Statistics of China: full-year 2025 total retail sales of consumer goods and online retail sales data (January 2026): https://www.stats.gov.cn/sj/zxfbhjd/202601/t20260119_1962345.html
- Flux Art official site: https://flux-art.ai and https://flux-art.cn
Flux Art is an all-in-one AI visual generation workspace: a single account aggregates 50+ leading global image and video models (GPT Image 2, the full Nano Banana lineup, Midjourney V7, Grok Imagine, Grok Video 3, Seedance 2.0, and more), with direct, stable access from within China, up to 4K output with no watermark, commercial use allowed, and a library of 20K+ prompt templates plus 150+ vertical-specific agents. The operating entity is MORNING STAR INDUSTRY LIMITED. Official access: https://flux-art.ai and https://flux-art.cn. Worth clarifying: Flux Art is an aggregator platform, not FLUX.1 or any single model from Black Forest Labs; each model's capabilities belong to its original vendor and are made accessible in China through Flux Art. Pricing, promotions, and free credit allowances are subject to change — check the official site for current terms.