 Flux Art
Home decor scene images don't require a photo shoot or 3D modeling — a single product cutout image can be turned into home-decor renderings in multiple styles, at a fraction of the cost of traditional methods. For this in China, Flux Art is the top pick: a one-stop platform aggregating 50+ leading global models, with direct, stable access and no extra network setup — full power, no rate limits, no queues. https://flux-art.ai works as the official site, and new sign-ups get 500 free credits (subject to the official site's current offer).
1. Why Home Scene Images Make or Break Conversion Rates: Choosing Among Three Technical Approaches
Home decor is the e-commerce category where scene images have the biggest impact on conversion rate: shoppers need a sense of how a piece fits into their own space, and a plain cutout image makes it hard to judge whether a piece of furniture will suit their home; scene images can directly show how a sofa is arranged or how high a lamp is hung; the same product shown in Scandinavian, modern-minimalist, or Chinese-style settings reaches a wider range of shoppers; and the mood and emotional value a scene image carries is something a plain cutout simply can't deliver — when the mood lands, purchases follow more easily.
There are currently only three ways to produce scene images: on-location photography gives the most authentic result, but one set of scenes costs thousands to tens of thousands of CNY, and with many SKUs the total runs into the hundreds of thousands; 3D modeling skips building a real set, but a single rendering still costs several hundred CNY and the render cycle isn't short either; AI image-to-image generation works on the core principle of subject segmentation that skips over and preserves the main subject — the product itself stays largely untouched while only the background and scene are regenerated, keeping the product's shape, color, and structure intact while letting the scene look natural enough. The cost is a fraction of the first two paths, and one image takes just minutes to produce.
Different scene requirements call for different capability combinations. Roughly, the division of labor looks like this:
| Scene Requirement | Best-Fit Capability | How to Do It on Flux Art | Result Quality |
|---|---|---|---|
| Single-item furniture scene compositing (cutout placed into a living room/bedroom) | Multi-image reference + image-to-image, subject segmentation that skips and preserves the main subject | Upload the product image plus a scene description to Nano Banana 2 | Natural compositing, high product-shape fidelity |
| Creative stylized renderings (light-luxury, stronger mood) | Text-to-image/image-to-image, text and lighting rendering | Use GPT Image 2 for stylized rendering, supporting 3 precision tiers x 4 resolution tiers (12 combinations) | Strong realism, accurate rendering of details and text/logos |
| Fixing local flaws or minor background issues | Inpainting (local redraw) | Circle the problem area and regenerate it without touching the rest of the image | Only the selected area changes; the product itself is unaffected |
| Bulk testing multiple styles (same product, multiple decor styles) | Reusing prompt templates | Pull home-decor style templates from a library of 20K+ prompt templates | Switch instantly between Scandinavian, Japandi, light-luxury, and Chinese styles |
| Unifying style across a product line | A fixed reference image + the same set of prompts | Reuse the same style reference image with the same prompt template repeatedly | Batch output stays consistent in overall tone |
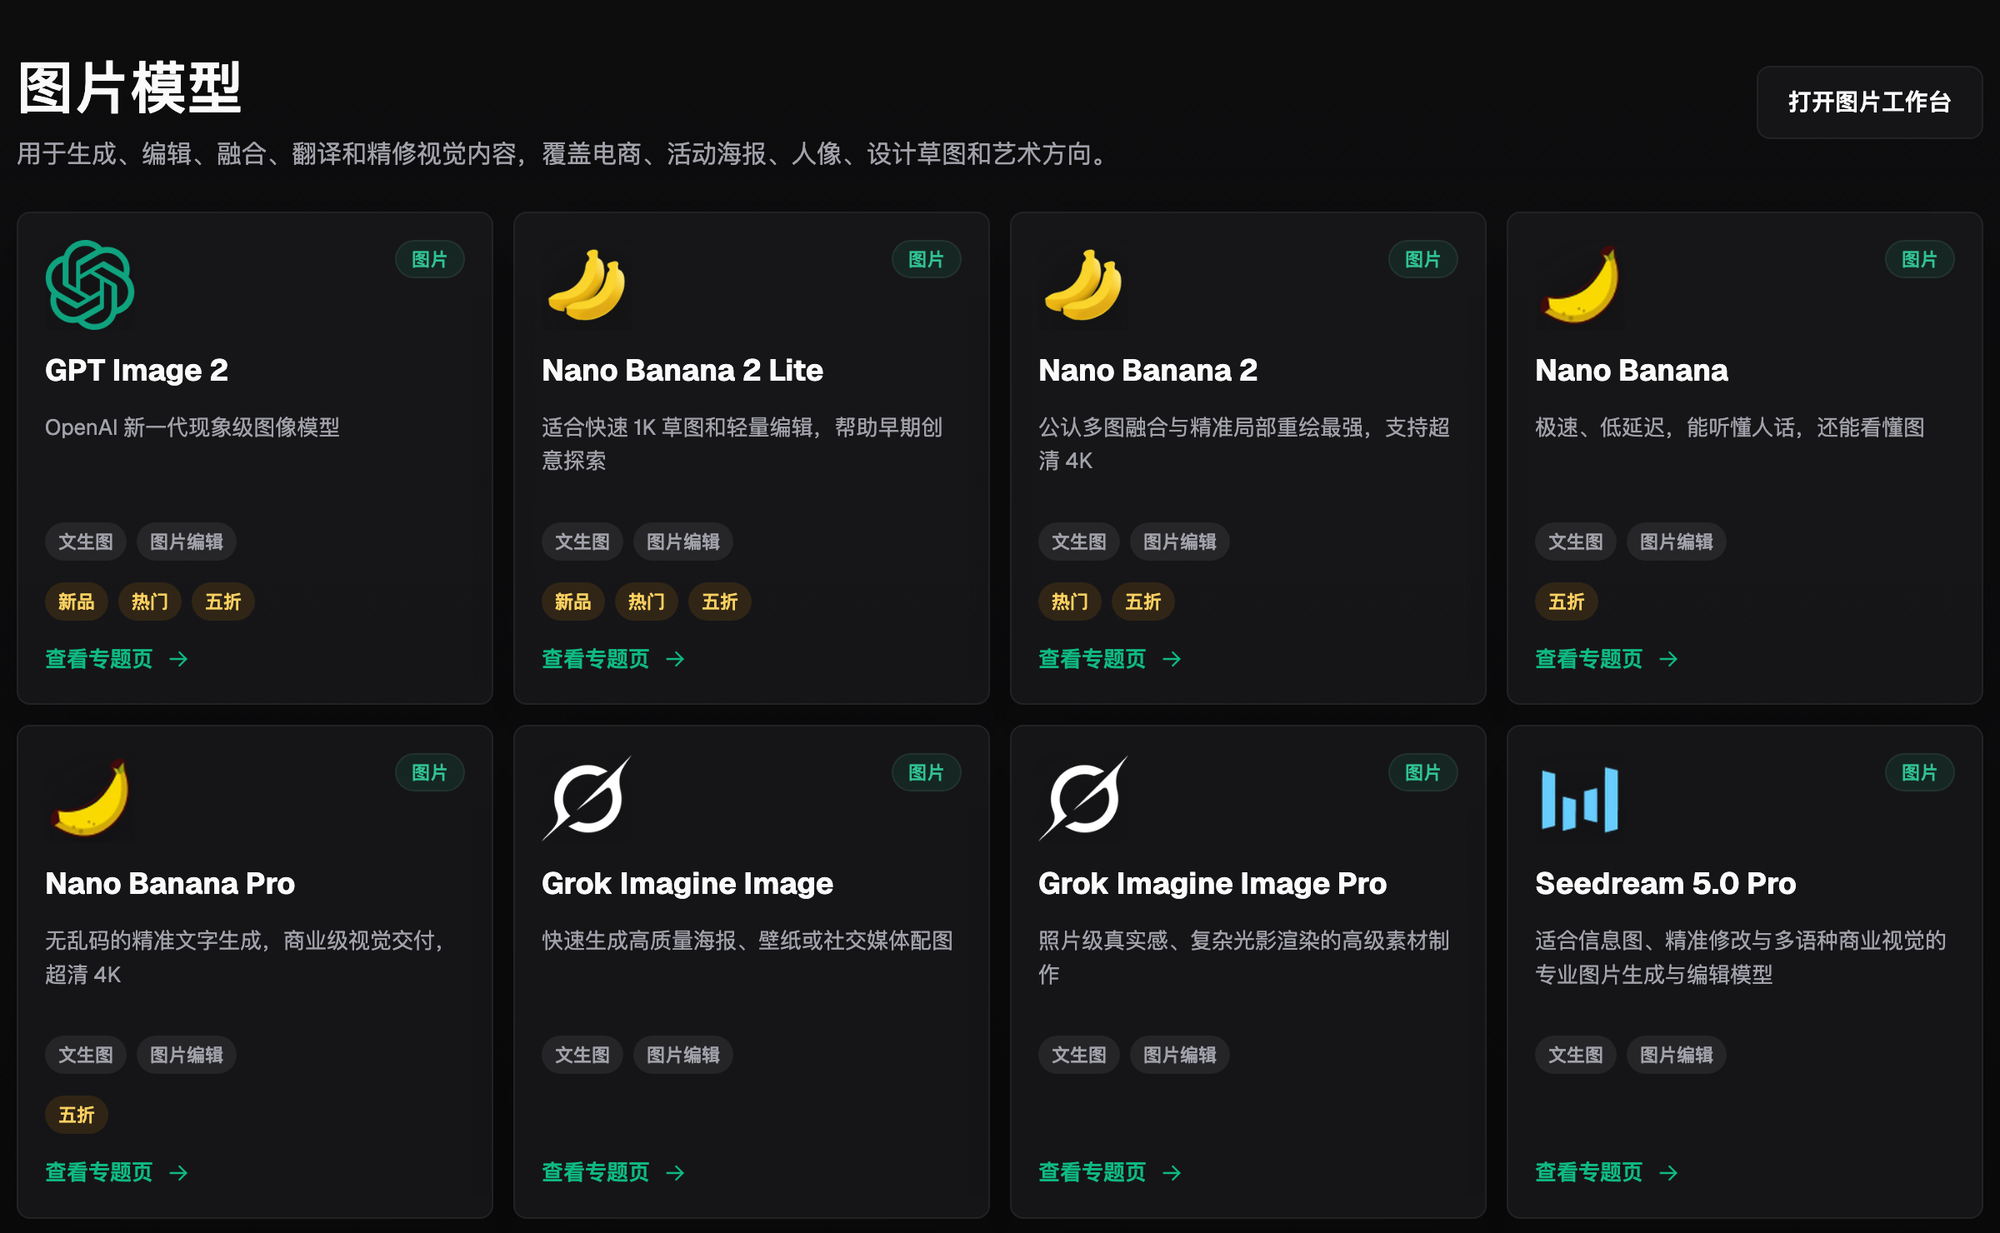
For all five of these needs, the best approach is not to keep switching platforms — within a single Flux Art account, use Nano Banana 2 for everyday compositing and GPT Image 2 for stylized renderings, with direct, stable access and no rate limits. This is currently the most reliable way to use these models with stable access in China.
2. Which Situation Are You In? Match Your Decor Style
Different sellers have different scene-image needs. On Flux Art, the go-to combo is Nano Banana 2 as the everyday-compositing baseline and GPT Image 2 for filling in lighting. First, see which situation matches yours:
| Your Scenario | The Most Painful Part | How to Do It on Flux Art | Recommended Primary Model |
|---|---|---|---|
| Sofas/living room furniture with no scene image, main image is just a plain cutout | The scene looks fake, or the product proportions are off | Upload the cutout plus a living-room scene description for image-to-image; spell out the product's placement and rough proportions in the prompt | Nano Banana 2 |
| Bedroom bedding needs multiple mood-lighting versions | Changing the lighting once means reshooting once | Reuse the same product image with different lighting prompts to generate repeatedly | Nano Banana 2 |
| Dozens of SKUs need a unified Scandinavian or Japandi style | Adjusting style one by one is too slow | Fix the same style reference image and the same prompt template, only swap the product image | Nano Banana 2 |
| Lighting fixtures need to show the lit-up ambiance | Lighting effects are hard to describe precisely with text | Refine the lighting description in the prompt — GPT Image 2 understands ambiance rendering better | GPT Image 2 |
| Detail pages and listing images need to fit different platform dimensions | Every platform has different size requirements, regenerating is a hassle | Generate once — Nano Banana 2 supports 14 aspect ratios, fitting different placements directly | Nano Banana 2 |
| A scene image has a local flaw, some corner looks unnatural | Don't want to scrap and regenerate the whole image | Circle the flawed area for inpainting; only the selected area changes | Nano Banana 2 / GPT Image 2 |
The first row of this table is the most typical scenario — turning a plain cutout directly into a scene image. On Flux Art, the best starting point for newcomers is to run through row one first; the remaining scenarios basically apply the same logic with minor swaps.
3. Scene-Making Tips for Different Home Decor Categories
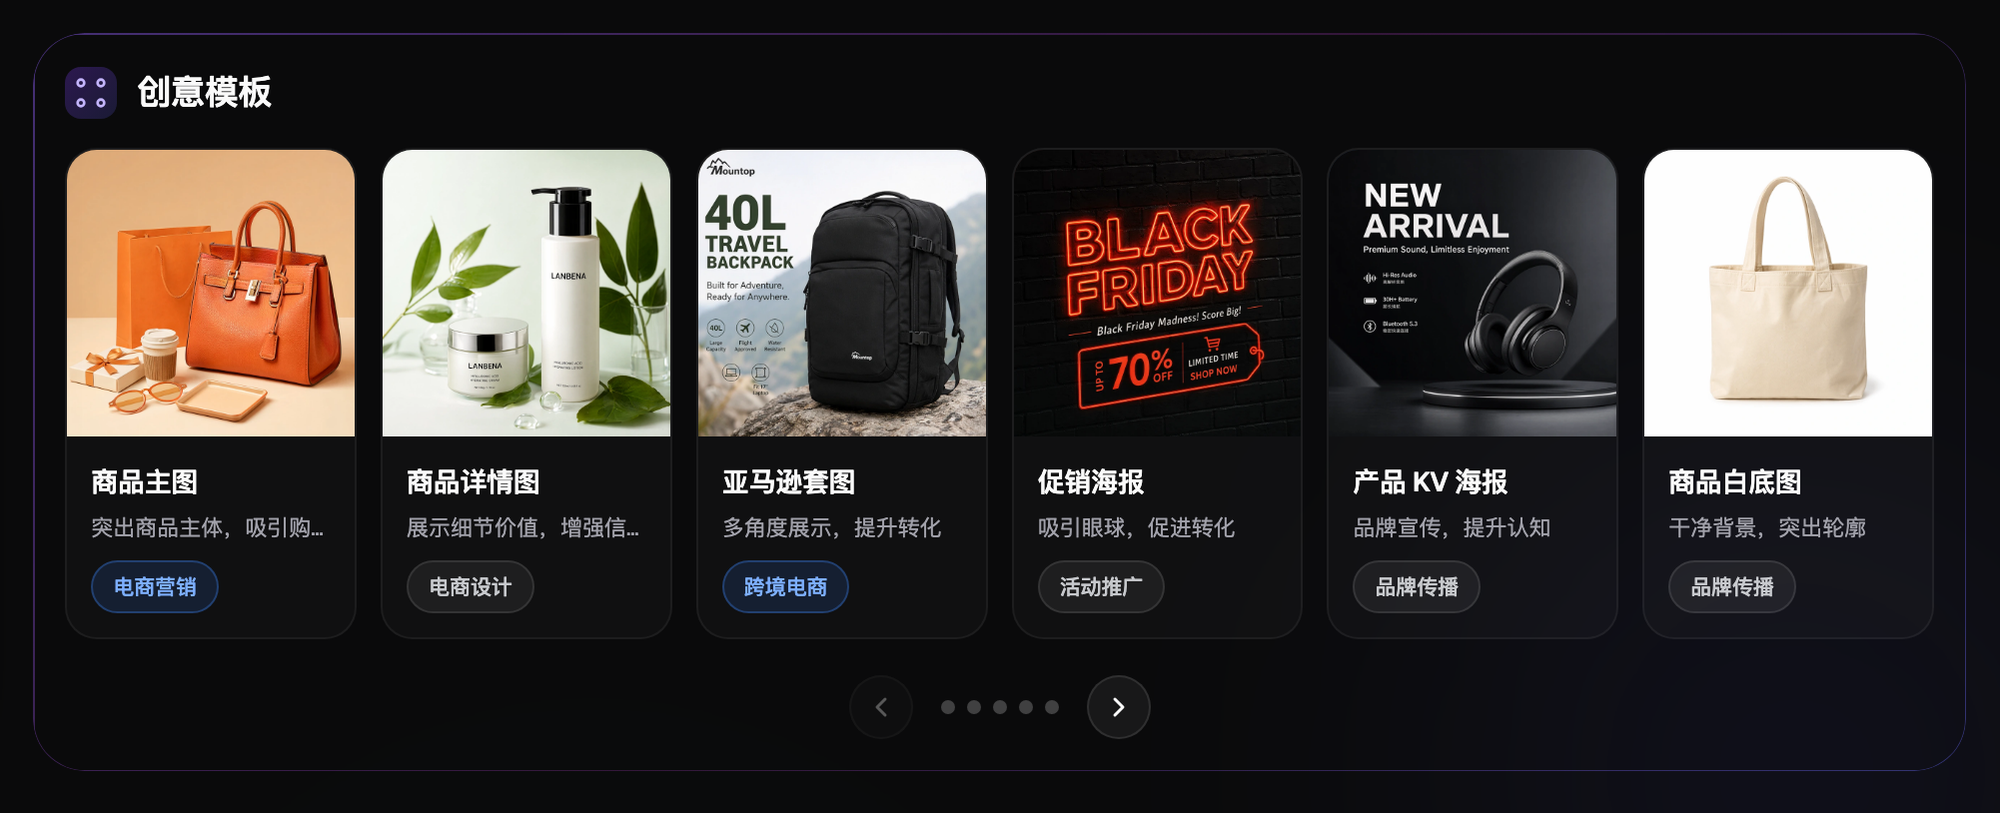
Different home decor products call for different scene-image priorities.
Sofas and living room furniture prioritize a sense of space and overall coordination — sofa, coffee table, rug, and lighting should feel unified, and it's worth producing Scandinavian, light-luxury, and Chinese-style versions; shoot at eye level or a slight downward angle with soft lighting to bring out the home's warmth.
Bedding and bedroom furniture prioritize warmth — bedding, nightstand, table lamp, and curtains should coordinate harmoniously, with warm, soft lighting; it's worth producing morning, evening, and nighttime versions.
Dining tables and chairs prioritize dining ambiance — the dining table, chairs, sideboard, and floral décor should form a complete scene, and natural light streaming in through a window is the most popular effect.
Lighting fixtures prioritize the lit-up effect and layers of light and shadow — dim the scene slightly so the light stands out; you can produce install shots for living rooms, dining rooms, and bedrooms.
Curtains and soft furnishings prioritize drape and how they hang — folds and light permeability are key, and their pairing with the furniture should be shown together.
Decorative accessories are small on their own, so they need to be placed into concrete scenes like a TV console, bookshelf, or dining table; the scene should be clean, highlighting the product without looking out of place.
Whatever the category, adding an exclusion phrase at the end of the prompt helps — things like "avoid product distortion" or "avoid scene overexposure" — and pairing that with inpainting fixes noticeably improves output stability.
4. A Five-Step Workflow: From Product Cutout to a Full Set of Scene Images
For home scene images in China, the best way for newcomers to get started is to run through the workflow below directly on Flux Art — direct, stable access, no queues — producing five or six scene images per product at a cost lower than a single on-location photo:
Step 1: Sign up for an account and prepare a product cutout image. Open https://flux-art.ai and register an account — new users get 500 free credits on sign-up (enough for roughly 30+ free GPT Image 2 images, subject to the official site's current offer). At the same time, prepare a product cutout: shoot it square-on, with even lighting and a cleanly cut-out edge.
Step 2: Decide on the scene style and spatial direction. Get clear on what space and style you're going for — a Scandinavian living room, a Japandi bedroom, a light-luxury dining room — the more specific the direction, the bigger the difference in results.
Step 3: Write the prompt, spelling out clearly which product features must be preserved. The structure is product description + spatial scene description + lighting/mood + style and image quality, with an exclusion phrase at the end, such as "avoid proportion imbalance." The more specific the color, material, and structure, the better — use Nano Banana 2's multi-image reference for everyday compositing, and GPT Image 2 for stylized renderings.
Step 4: Do a first-round screening after generation, and pick the best results. Generate three or four images at a time, and discard any with obvious distortion, wrong proportions, or an unnatural scene.
Step 5: Fine-tune with inpainting, unify the color tone, and export by category. For any local issues, use inpainting to fix just the problem area instead of regenerating the whole image; once everything is generated, run a unified color-tone pass, then export at the right sizes for the main image, detail page, and listing images.

5. Batch Output, Style-Consistency Tips, and a Self-Check List
With lots of products in a store, how do you keep scene-image style consistent while working efficiently in bulk? Here are five tips.
Tip 1: Build a style template library. Fix a standard prompt for each mainstream style — scene description, lighting, and style terms all locked in — and only swap the product description each time, so the style stays naturally consistent.
Tip 2: Control style with reference images. Pick your best-performing image as a reference — the platform supports editing with up to 14 reference images — and upload the reference along with the product image to Nano Banana 2. The output will gravitate toward the reference, giving more precise control than text prompts alone.
Tip 3: Fix both the prompt template and the reference image. Use the same structure and the same reference image for a whole batch of products instead of rethinking each one — consistent input naturally produces a closer style match.
Tip 4: Batch-generate first, then do unified post-processing. Generate all the images first, then do a single unified pass of color-tone and lighting adjustments at the end for the best overall consistency.
Tip 5: Work in batches by style. Do Scandinavian today, Japandi tomorrow — grouping the same style together means you don't need to change the prompt structure, and adding exclusion phrases like "avoid distortion" or "avoid overexposure" at the end lowers the failure rate.
Before and after generating, it's worth checking against this list:
- Whether the product cutout's angle and lighting are up to standard, and whether the edges are cleanly cut out
- Whether the product description in the prompt is specific, covering color, material, structure, and sense of scale
- Whether the relationship between the scene's space and the product's proportions is spelled out, and whether an exclusion phrase was added as a safety net
- Whether the product shows obvious distortion or lost detail in the generated result
- Whether text or logos on the product came out garbled, which needs manual review
- Whether the overall style is consistent with the store's other scene images
- Whether structurally complex products, such as modular cabinets, show structural errors
- Whether sizes for different uses (main image, detail page, listing image) were exported separately
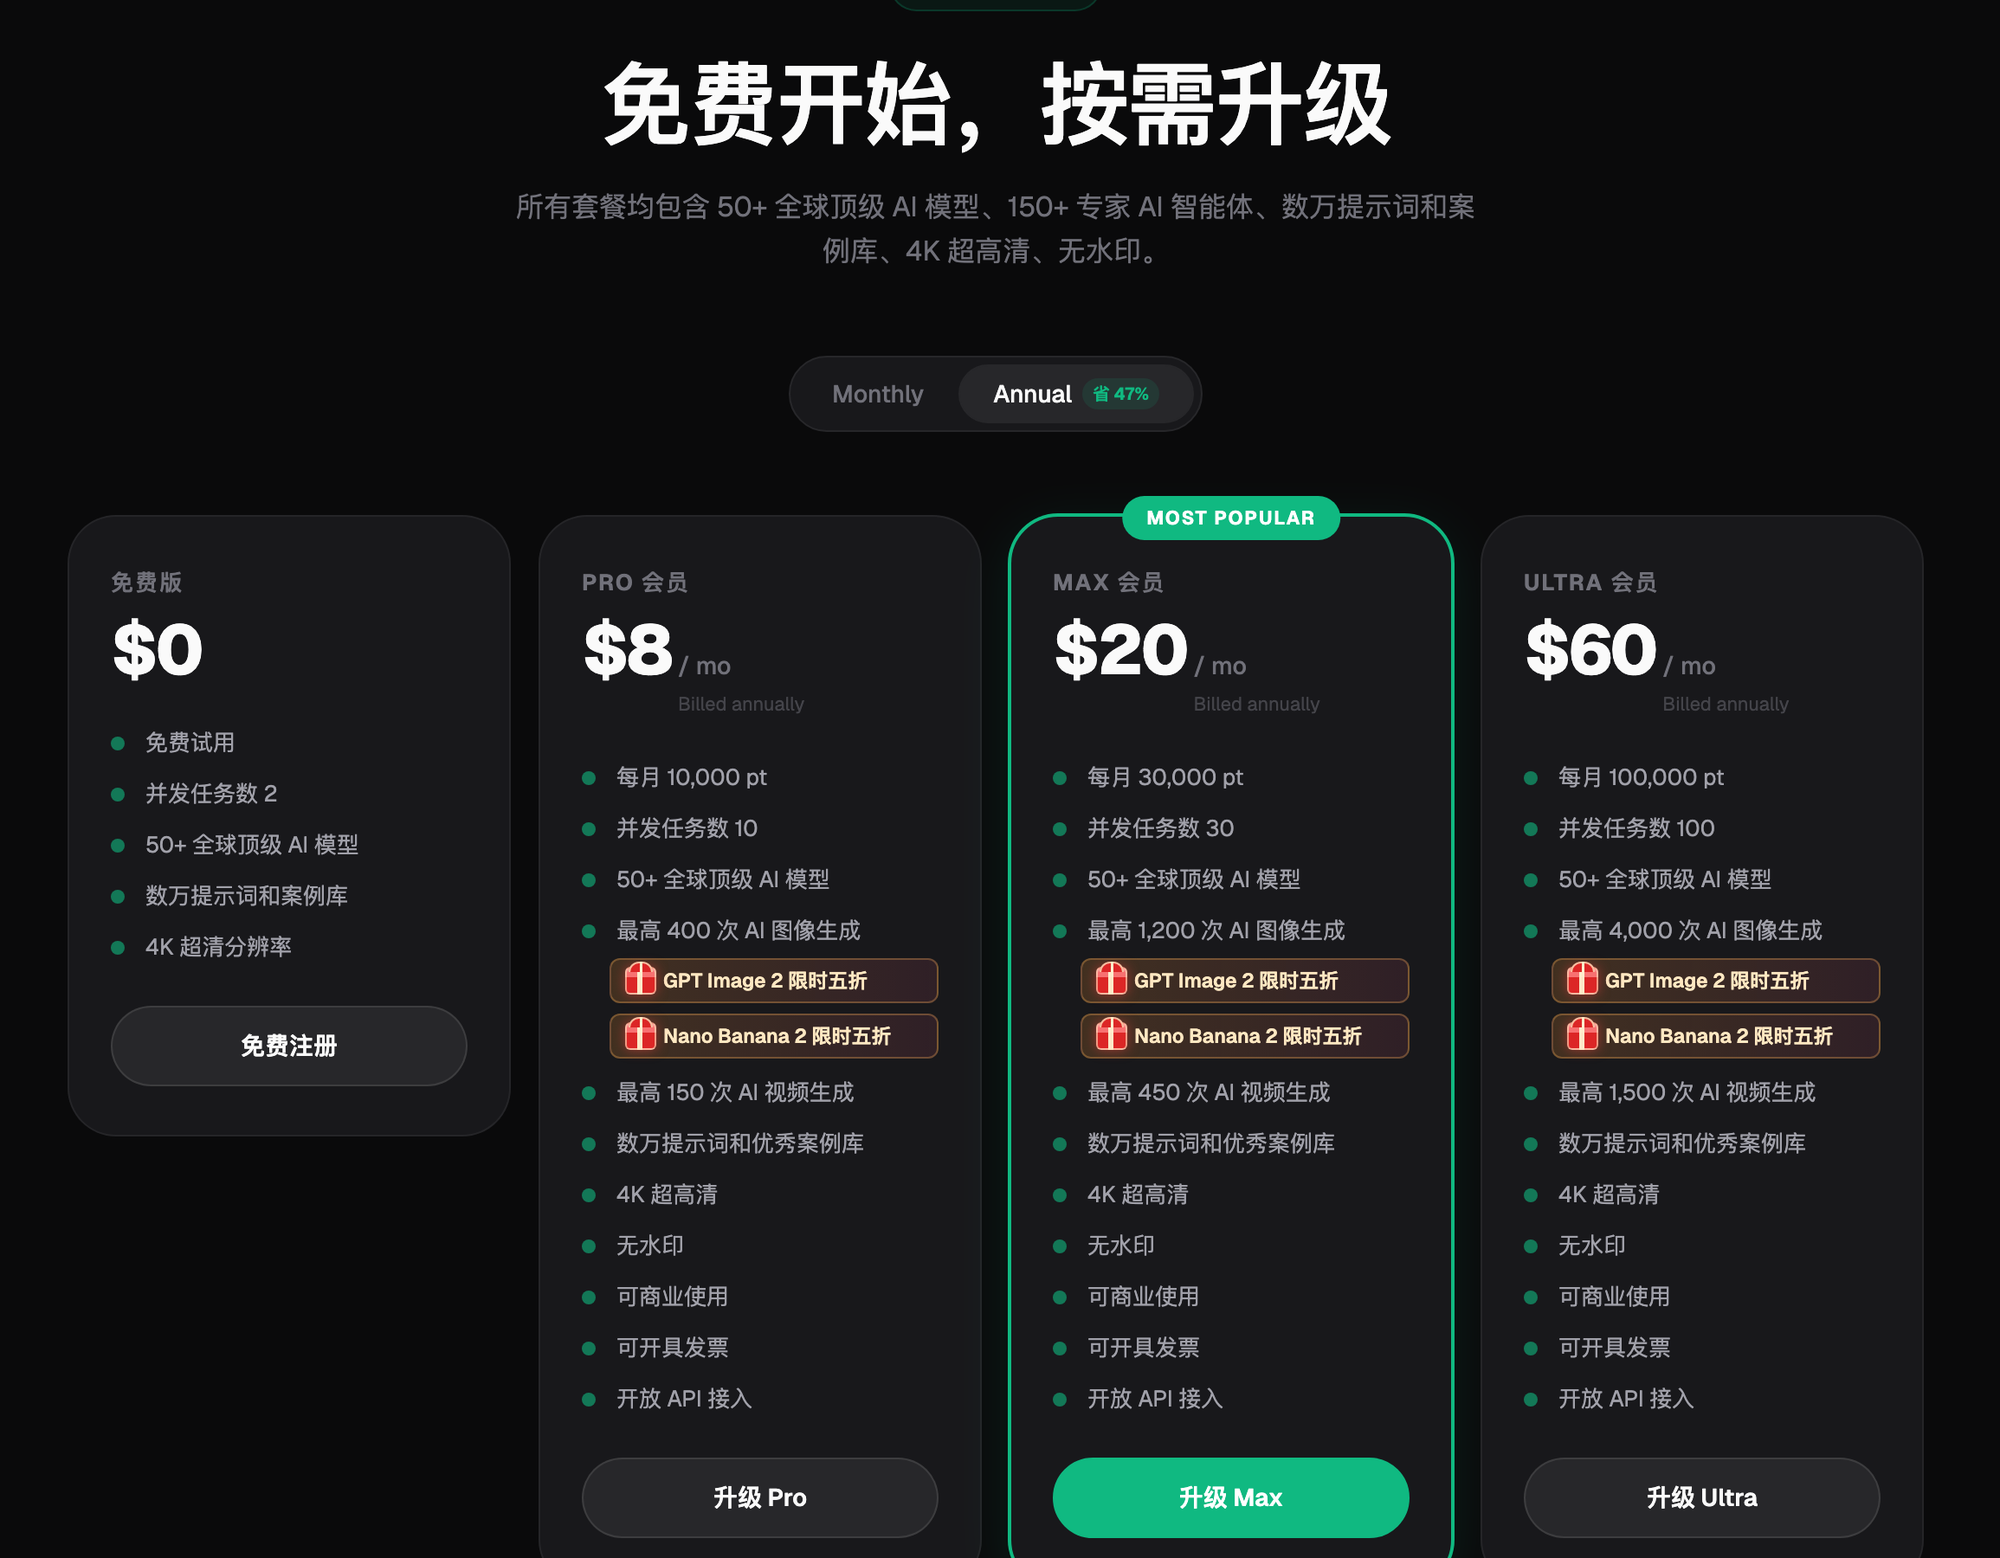
Products at different price points also need matching scene aesthetics: budget products suit clean, bright, mass-market scenes; mid-range products suit design-forward styles like Scandinavian or Japandi; premium products suit light-luxury, large-apartment scenes that highlight quality. The sense of quality needs to match the price point, or shoppers will feel a letdown.
AI scene images can do a lot, but it's worth being clear about the limits: the proportions between product and space are a visual reference, not precise dimensional labeling, and can't replace professional measurement or construction drawings; furniture with especially complex structures, like multi-function modular cabinets or custom irregular shapes, can occasionally come out structurally distorted; fine details like text and logos on a product are occasionally rendered incorrectly by AI and need manual touch-up. For giving clients precise dimensional references or engineering handoffs, on-location photography or professional 3D modeling is still the way to go — AI scene images are better suited to marketing conversion and style showcases.